Cherry Pie
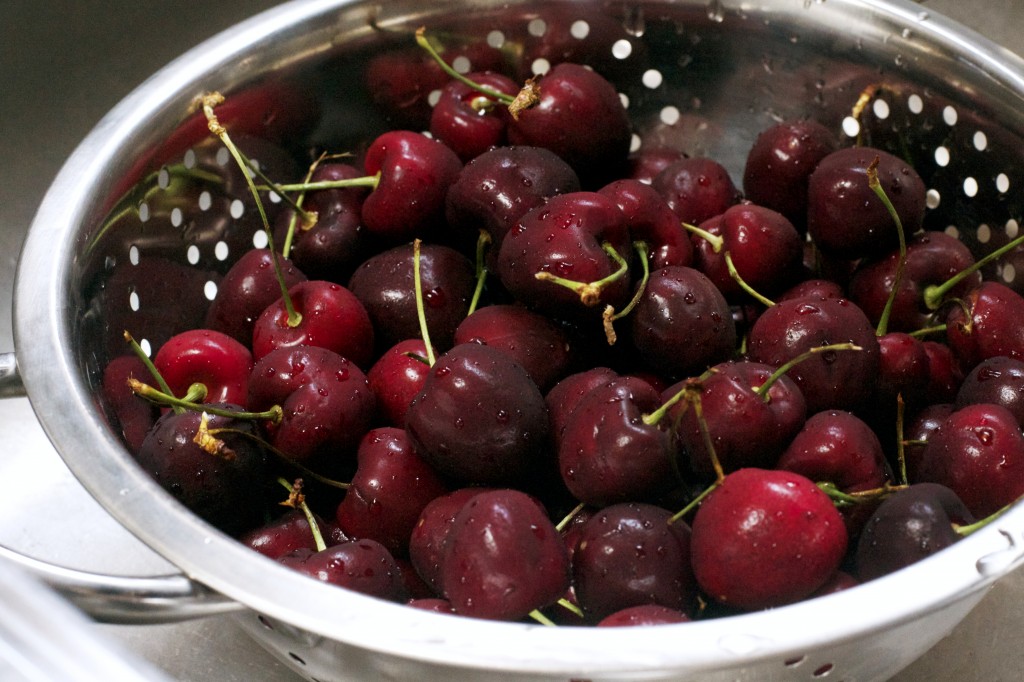
Once again at the local grocery store something caught my eye………beautiful, plump, bright red cherries.
Now, neither Tim nor I are huge cherry fans, but their allure was too much, so I bought them! Tim saw them in the frig and asked why I bought cherries? I had no answer………
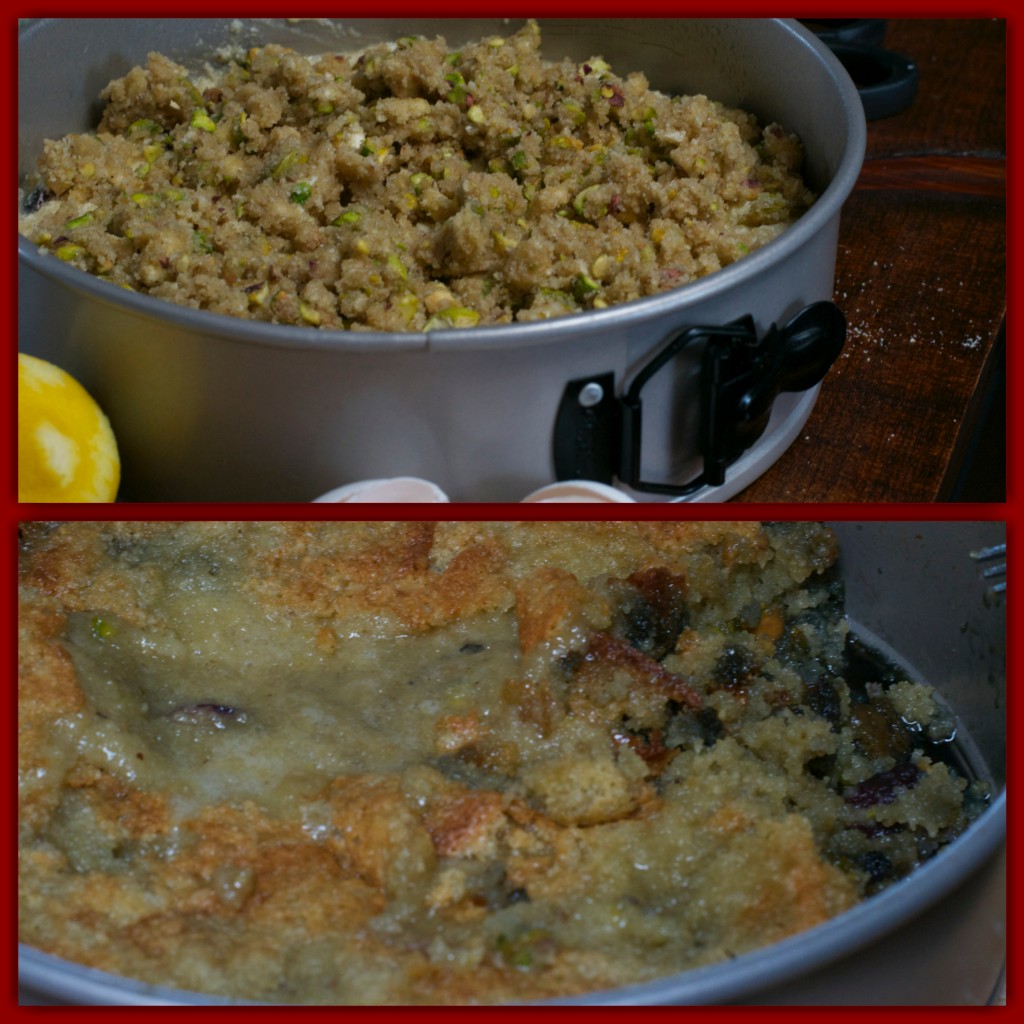
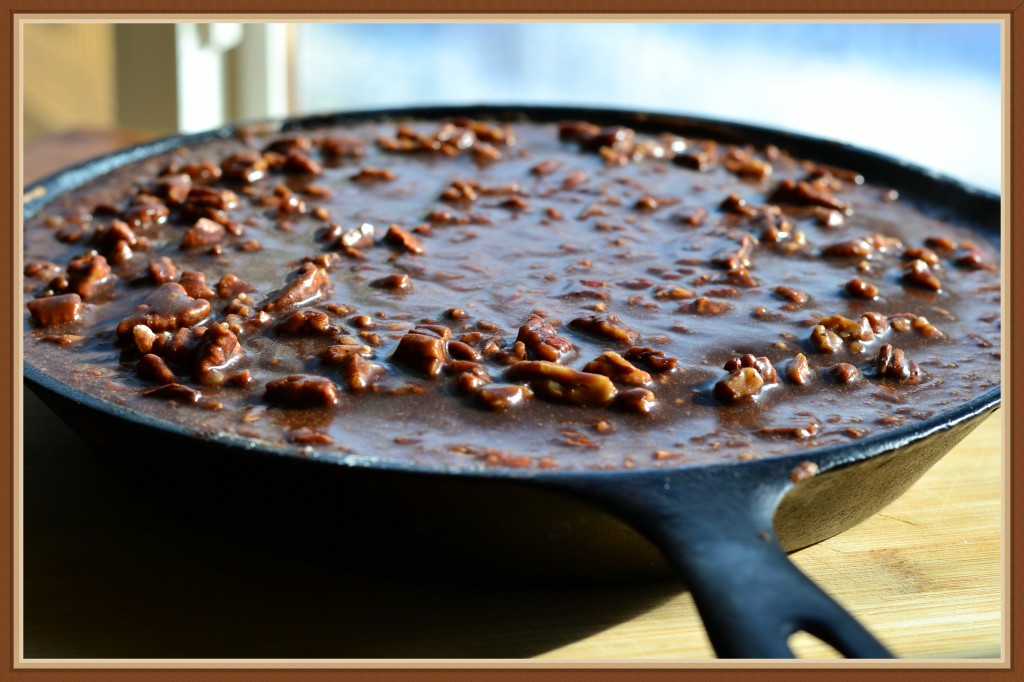
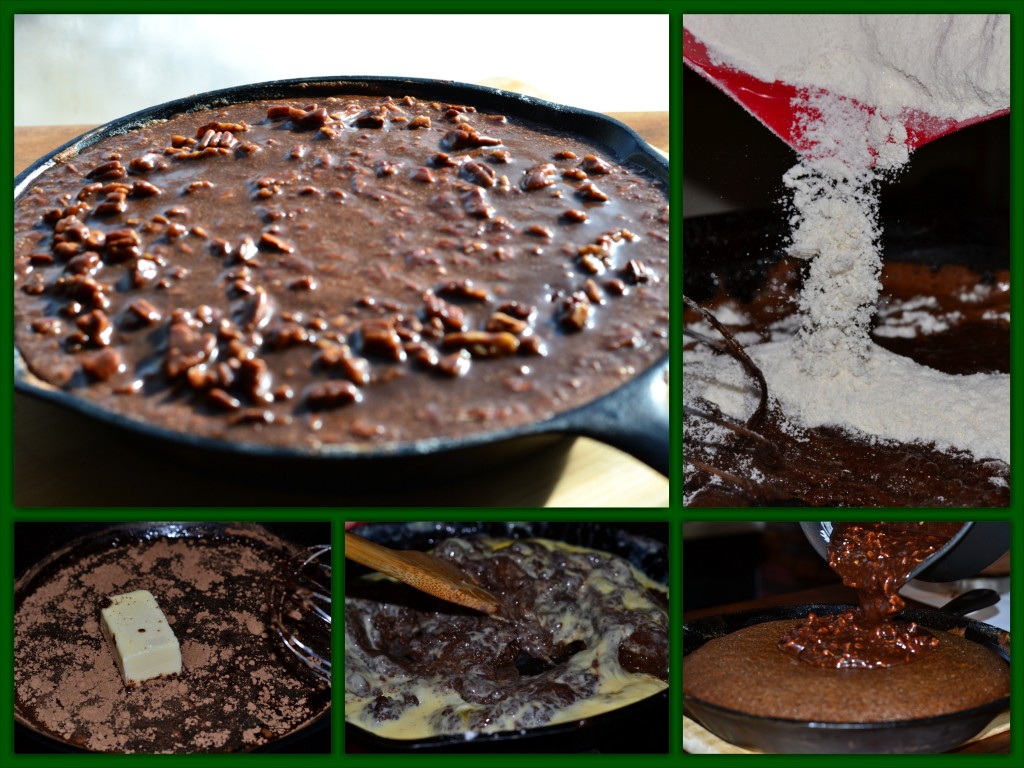
Now, to find something to actually do with them, I scoured the internet……..so many variations to cherry pie……..but I wanted something different. I found a cake recipe that I wanted to modify for my “Gluten Free” friends. Epic FAIL!!!! It was awful!!! Not really sure what I did wrong but it was a soupy mess…..see below……. The beautiful pistachio topping sank into the batter and disappeared. I will try this again after much modification, but such a waste of the beautiful cherries.
All I can say is that sometimes in the world of food, things do not always go as planned. 🙁
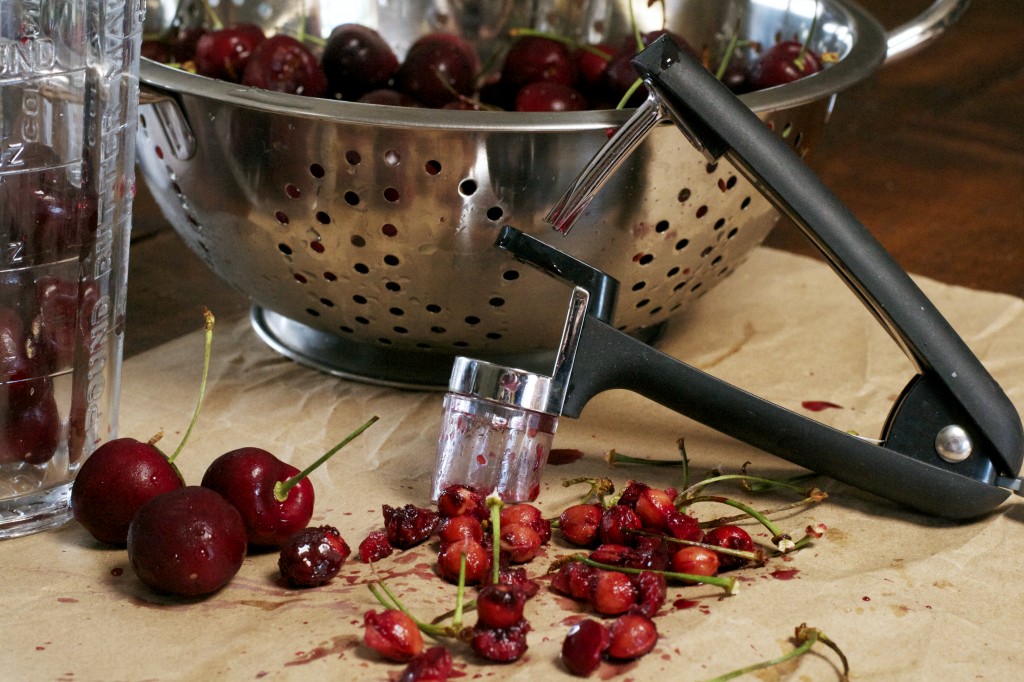
So , on to bigger and better things. I want to tell a gadget story……my Mom, who by the way made the best pies in the world….. her crust was flaky and tender (something I cannot replicate), especially her coconut cream pie. Mom was one to buy every little gadget on the market. When she passed away and we were cleaning out her house I came across a cherry pitter. Now, since I am not a cherry fan I wondered what I would ever use this for? But I kept it anyway………..What a great little tool! If you love cherries, or have a cherry tree, do yourself a favor and buy one……it is the bomb! Be sure you put down a paper bag, or something to catch the pits, as it is a messy process.
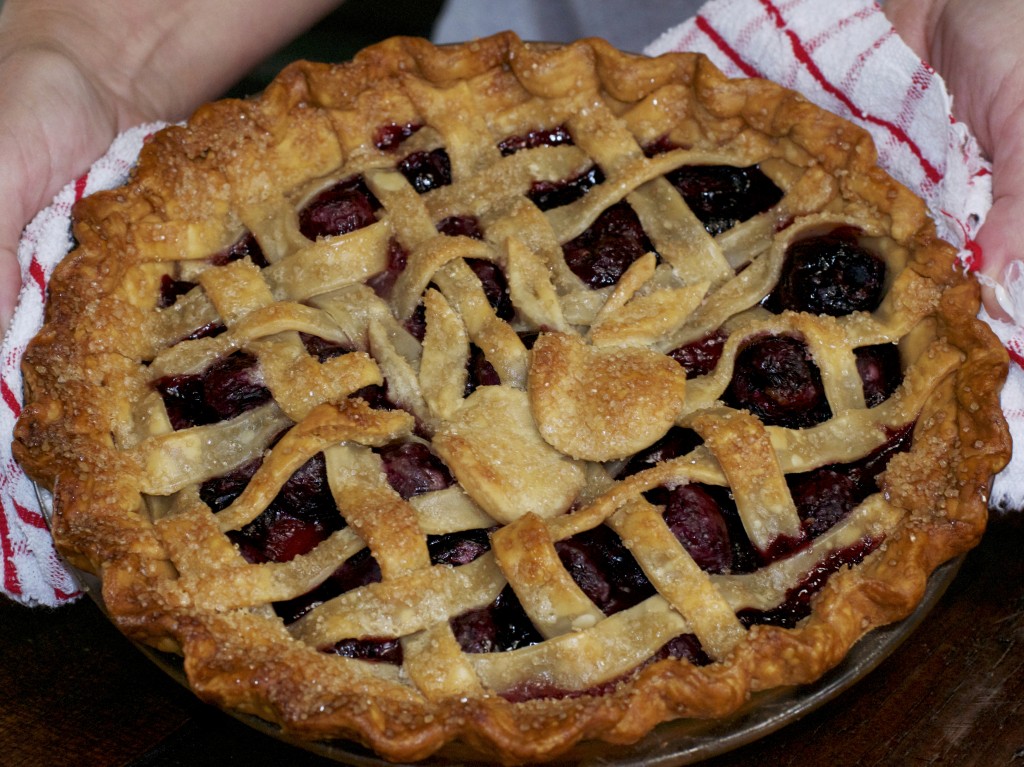
After my fail, I had to do something with the remaining cherries. I remembered that Tim’s Uncle Ron “a.k.a. Rude Dog” liked cherry pie. So, I made my first every cherry pie……. with a lattice top. I did have to Google how to make a lattice top as I have never made a pie with one before……….wow……three firsts in one day! 1. Epic Fail 2. Cherry Pie. 3. Lattice top pie. My, oh my, what a day.
So here is the final result of the Cherry Pie……….
I am still waiting to hear back from Uncle Ron………I hope he enjoyed it!
Print
Cherry Pie
- Prep Time: 15 minutes
- Cook Time: 45 minutes
- Total Time: 1 hour 25 minutes
- Yield: 8 servings 1x
- Category: Dessert
- Method: Bake
- Cuisine: American
Ingredients
- 1 unbaked double pie crust recipe (store bought or homemade)
- 7 cups sweet cherries, pitted
- 1/2 cup sugar
- 1 tablespoon fresh lemon juice
- 1 teaspoon fresh lemon zest
- 1/2 teaspoon almond extract
- 1/2 teaspoon vanilla extract
- 1/4 cup corn starch
- 1 tablespoon of butter, cut into tiny pieces
- 1 tablespoon milk
- Turbinado sugar (natural cane sugar)
Instructions
- Preheat the oven to 425°F.
- Toss together the pitted cherries, sugar, lemon juice, lemon zest, almond extract, vanilla extract and corn starch in a large bowl until evenly coated.
- Roll out the bottom pie crust, and gently lay it in a 9-inch pie pan. Transfer the cherry filling to the pie crust, and sprinkle with little dots of butter.
- Roll out the top pie crust, and either lay on top and cut a few slits in the middle to make a full double pie crust. Or cut the top pie crust into strips to make a lattice pie crust (I Googled this as it was the first lattice pie I have ever made). Brush pie crust with milk and sprinkle with Turbinado sugar. Then freeze for about 10 minutes, before baking.
- Place the pie in the middle rack, on a baking sheet lined with parchment paper or tin foil to catch any drips. Bake for 15 minutes, then reduce the temperature to 350°F and cook for 35-45 additional minutes, or until the crust is nicely golden and the filling is thick and bubbly.
- Cool completely before serving.
Keywords: cherries, pie crust, pie, bake

