So a day late and a dollar short. I know Valentine’s Day was yesterday. And I had every intention of posting this White Chocolate Flourless Cake recipe earlier in the week but then……well life! 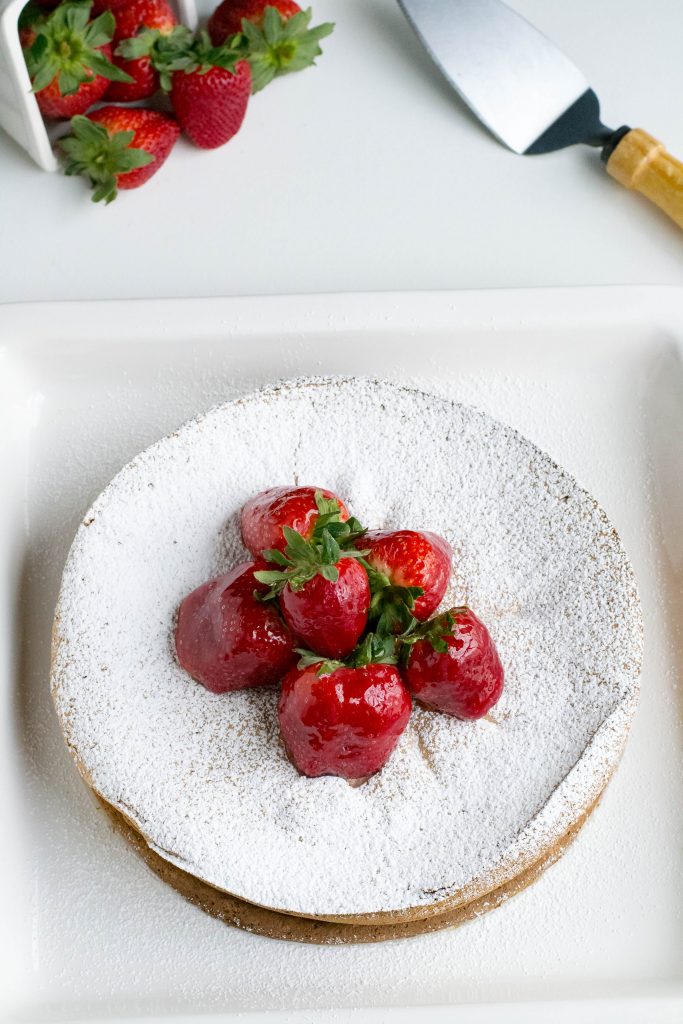
We have all seen or possibly made flourless chocolate cake. You know the rich, dense, fudgy cake that has no flour…perfect for those who have gluten issues. Well, it’s always regular chocolate. So why not switch it up with white chocolate?
I had this idea, but as I researched working with white chocolate, which I know isn’t really chocolate, it is not an even swap. The folks at FOOD 52 have a great article on how to have success using white chocolate. It was an excellent guide on how to swap chocolates in baking.
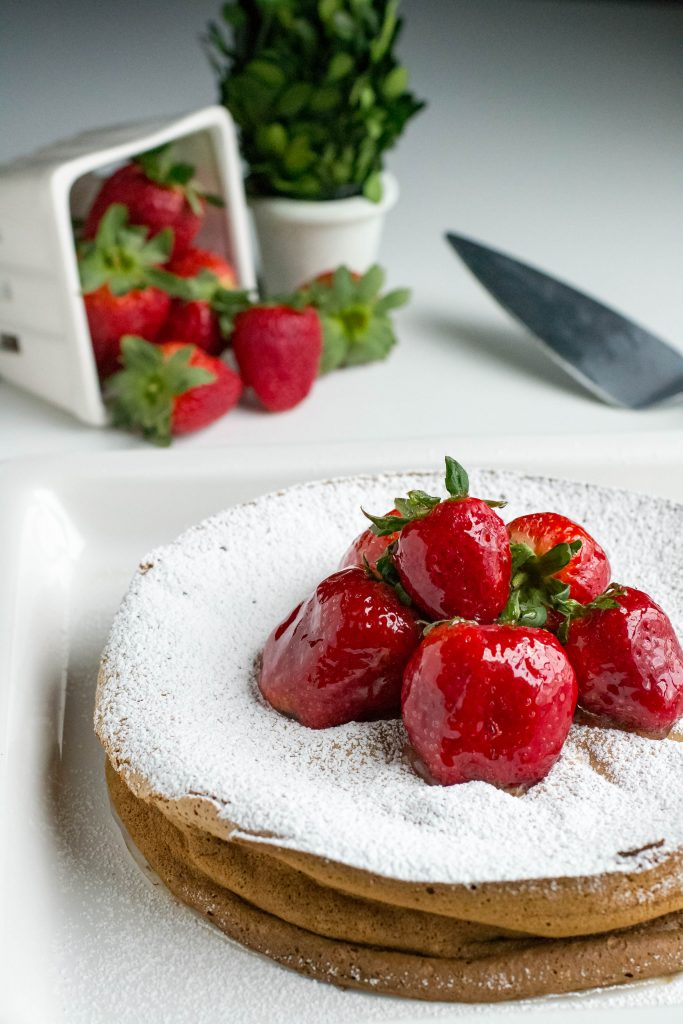
Starting with a Martha Stewart recipe, you can’t go wrong with Martha, I made some adjustments to the recipe and just dove in.
Since white chocolate is made of cocoa butter, I left out the butter in the original recipe. I also left out the espresso powder as I was using strawberries as a garnish and did not think the espresso would be a good fit.
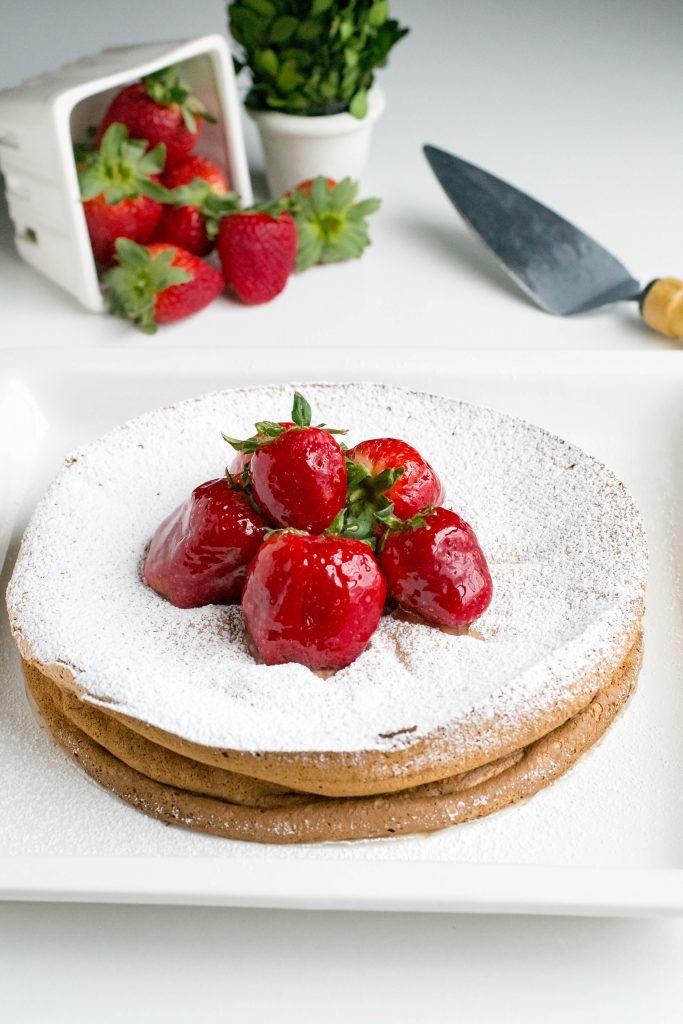
I added a couple of tablespoons of white gel food coloring in the hopes of making the cake a stark white. White chocolate, at least good quality white chocolate, is not white, but more of a creamy off white, ivory color.
butter. While it did not turn the cake as white as I would have liked, I was happy with the results. You can leave it out if you wish.
Although the cake is made in several steps, it was actually quite easy to make, and the result was delicious. Super moist and full of white chocolaty goodness.
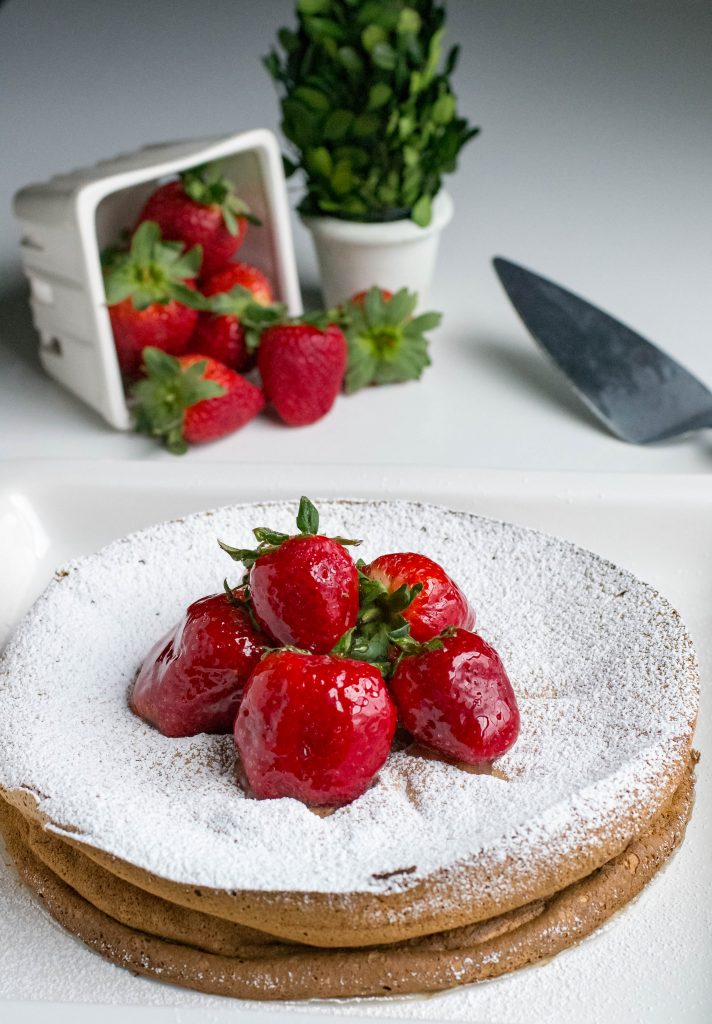
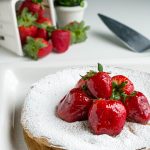
Topped with fresh strawberries ( I found the most amazing berries at Aldi) that I candied…..that’s right candied strawberries it made a beautiful presentation.
Making candied berries was easier than I thought. A sugar, corn syrup, and water mixture is brought to a boil, and once at 300 degrees, you can dip your berries to make them beautifully shiny.
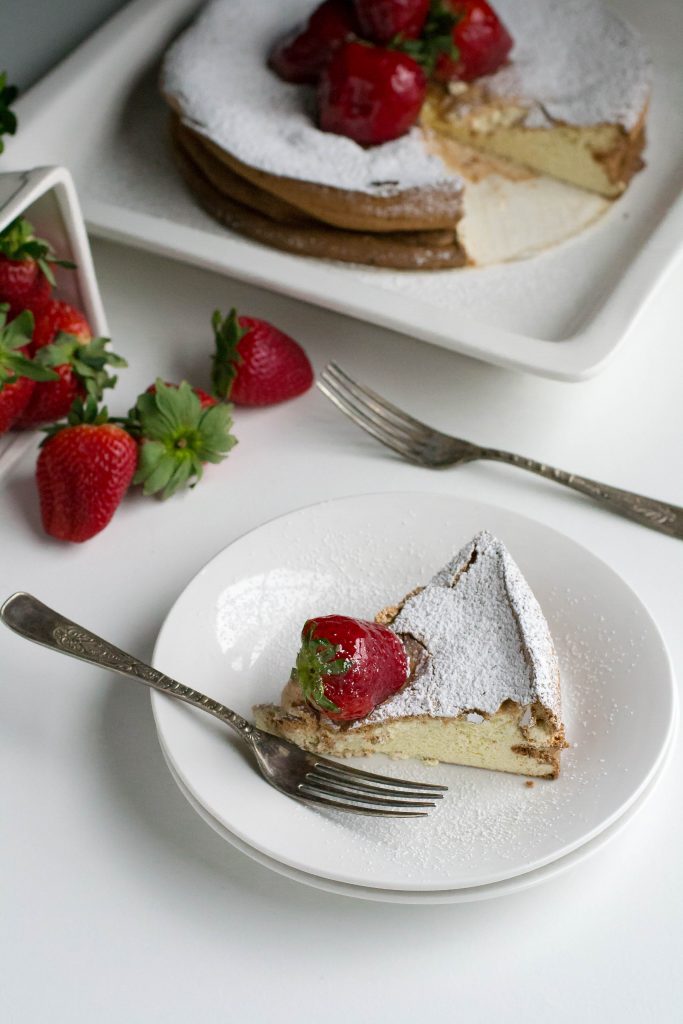
Please be sure to take extra precaution as the mixture is extremely hot and will cause severe burns if it comes in contact with your skin. Also, this is not a project for kids for the same reason. Use sturdy toothpicks or skewers when dipping. Something with length to keep your hands away from the syrup.

Even though we have passed Valentine’s Day, you can still make your sweetie a White Chocolate Flourless Cake…just because!
Print
White Chocolate Flourless Cake
- Prep Time: 20 minutes
- Cook Time: 1 hour
- Total Time: 1 hour 30 minutes
- Yield: 8 servings 1x
- Category: Dessert
- Method: Bake
- Cuisine: American
Description
Flourless cake with a rich white choclate flavor. Top with fresh berries or your favorite sauce or glaze.
Ingredients
Non -stick baking spray
6 ounces white chocolate, chopped (not white chocolate chips)
6 large eggs, separated, room temperature
1 cup sugar, divided
1/4 teaspoon coarse salt
1 tablespoon pure vanilla extract
2 teaspoons white gel food coloring (optional)
Instructions
Preheat oven to 350 degrees.
Invert bottom of a 9-inch springform pan (this makes it easy for the cake to slide onto a serving platter) Line the pan with a parchment round; spray with non-stick baking spray.
Using a microwave, set to medium power. Place the white chocolate chunks in a microwave-safe dish and heat for 30 seconds at a time, mixing after each stop. When there are a few bits of unmelted white chocolate remaining, continue stirring until all the white chocolate is melted.
Beat together egg yolks and 1/2 cup sugar with a mixer on medium-high speed until thick and pale, about 3 minutes. Add the salt, vanilla, and melted chocolate; beat about 1 minute more. Stir in the white food gel if using
In a separate bowl, beat egg whites on medium-high speed until foamy. Increase speed to high; gradually add remaining 1/2 cup sugar, beating until stiff peaks form, about 5 minutes. Fold beaten eggs into the chocolate mixture in 3 batches. Don’t over mix. It will deflate the batter.
Transfer batter to pan and bake until set, 40 to 45 minutes. Let cake cool completely in pan on a wire rack. Remove side of pan; transfer cake to a serving plate. Serve with the desired topping.
Keywords: white chocolate, flourless, gluten free, dessert, bake, cake
Candied Strawberries
- Prep Time: 10 minutes
- Cook Time: 5 minutes
- Total Time: 15 minutes
Ingredients
2 cups of sugar
1/2 cup corn syrup
1 cup of water
Strawberries
Toothpicks
Instructions
Rinse the strawberries and dry them very thoroughly; if there’s moisture on the berries, the sugar syrup won’t stick to it.
Line a baking sheet with parchment paper and spray with non-stick cooking spray
Insert toothpicks into the stem end of each strawberry and gently pull the leaves away from the strawberries.
Place sugar, corn syrup, and water into a small saucepan. Using medium-high heat bring the mixture to a boil until it reaches 300ºF (hard crack stage) then turn the heat to the lowest setting.
Carefully dip the strawberries into the syrup & twist to make sure it’s completely covered up to the leaves. Let excess syrup drip off and set them on parchment paper to cool and harden. Use caution working with the syrup; it is extremely hot.
The candied strawberries will only take a few minutes to harden. They can be placed in the refrigerator for several hours. Dipped berries should be enjoyed within 3-4 hours, as they will begin to weep.

