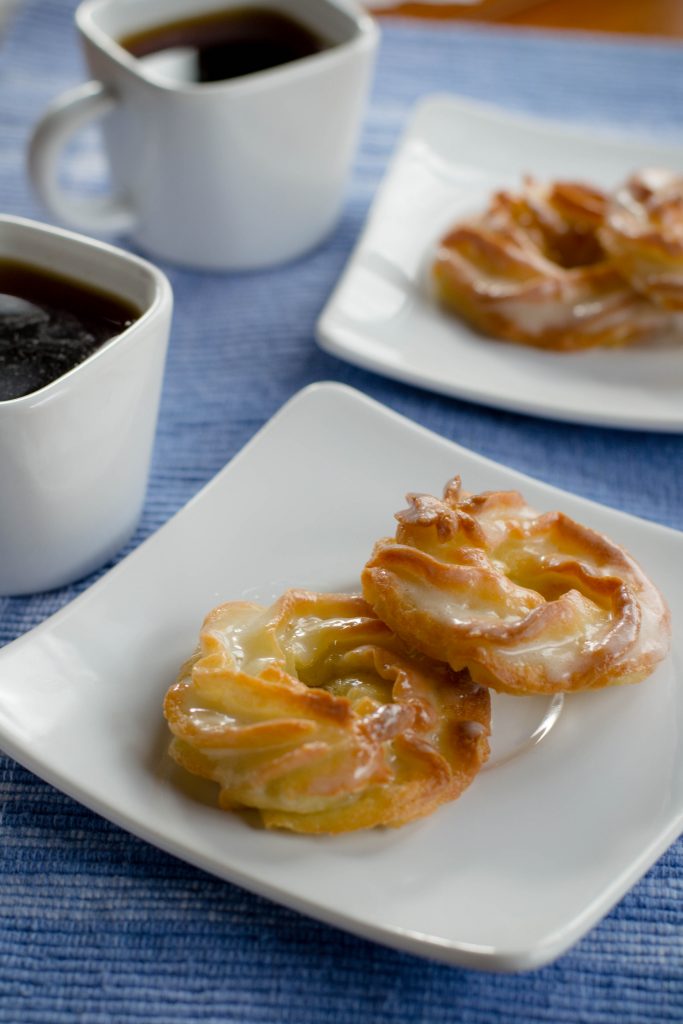
French Crullers……in an Air Fryer…….WHAT????? Its true, I’m here to tell you,it worked like a charm.
I have a passion for anything French, and have since I was a child. When I managed a ‘fake-n-bake’ bakery in a local grocery store, one item that we had frequently was French Crullers. These of course, came precooked and all I had to do was ice them. But, my mouth still drools thinking of them.
French crullers are made with pâte à choux, which makes them lighter than air, with all sorts of nooks and crannies to hold onto their light glaze. What is a pâte à choux you ask???? It’s a mixture of flour, water, butter and eggs. Thicker than batter, but not quite as thick as dough. You can pipe it into any shape. It can be baked or fried. You can add other ingredients, like cheese, or it can be filled or glazed.
As I said in my last post, we got an Air-Fryer for Christmas …..thank you to my brother and his girlfriend for a most wonderful gift <3. I am slightly obsessed with it. The Air Fried Cornish Hens were awesome…if I do say so myself. Crispy with little or no oil, its amazing!
Anyway, in the instruction book, and yes I do read the instructions!….there was a recipe for doughnuts. Interesting I thought. Perusing Pinterest I saw a recipe for French Crullers. Could these be air fried? Could they still be airy, and yummy. Yes they can!!
I used a standard recipe for pâte à choux. I cut pieces of parchment paper to fit the basket of my fryer, sprayed them with a touch of coconut oil spray, and piped the dough onto the sheets, and lightly sprayed the dough with the coconut oil as well. Into the air fryer, and 15 minutes later, French Crullers.
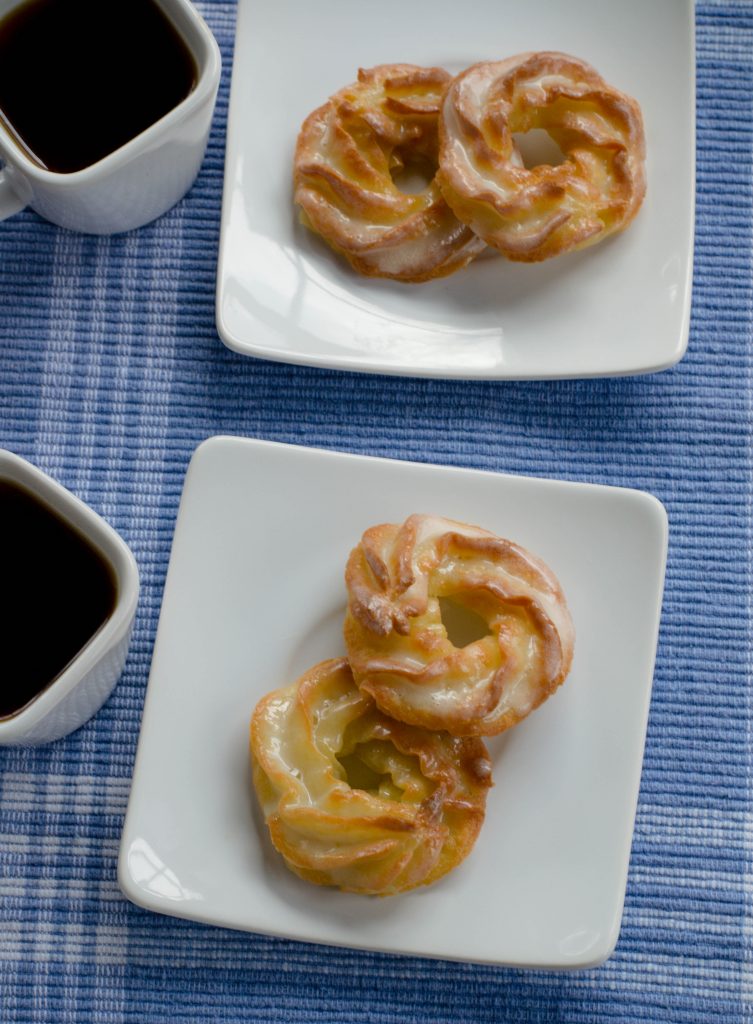
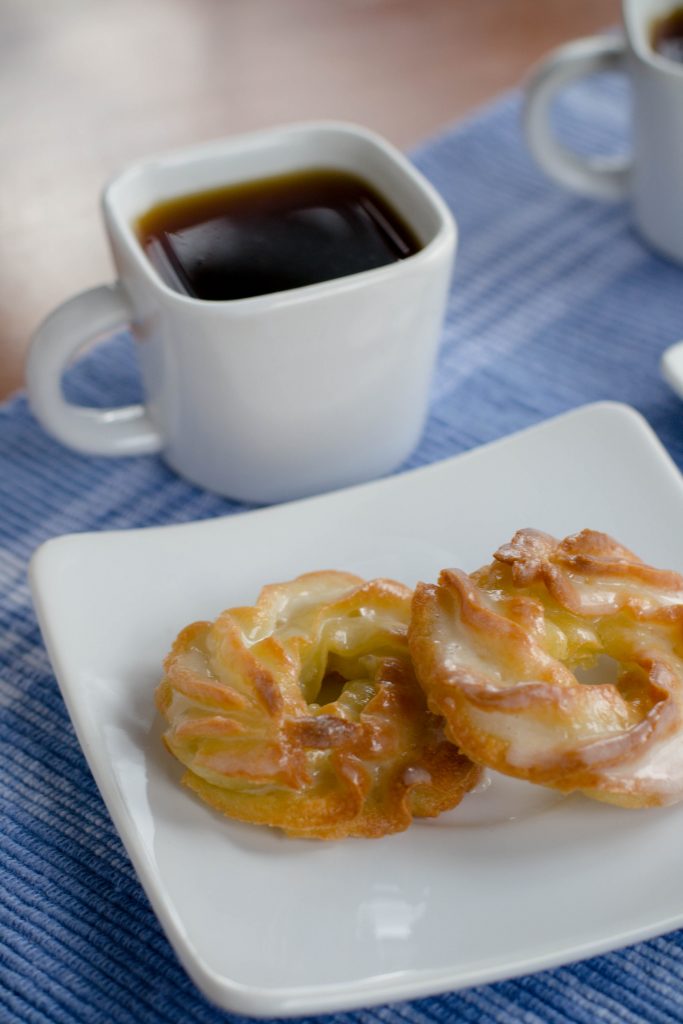
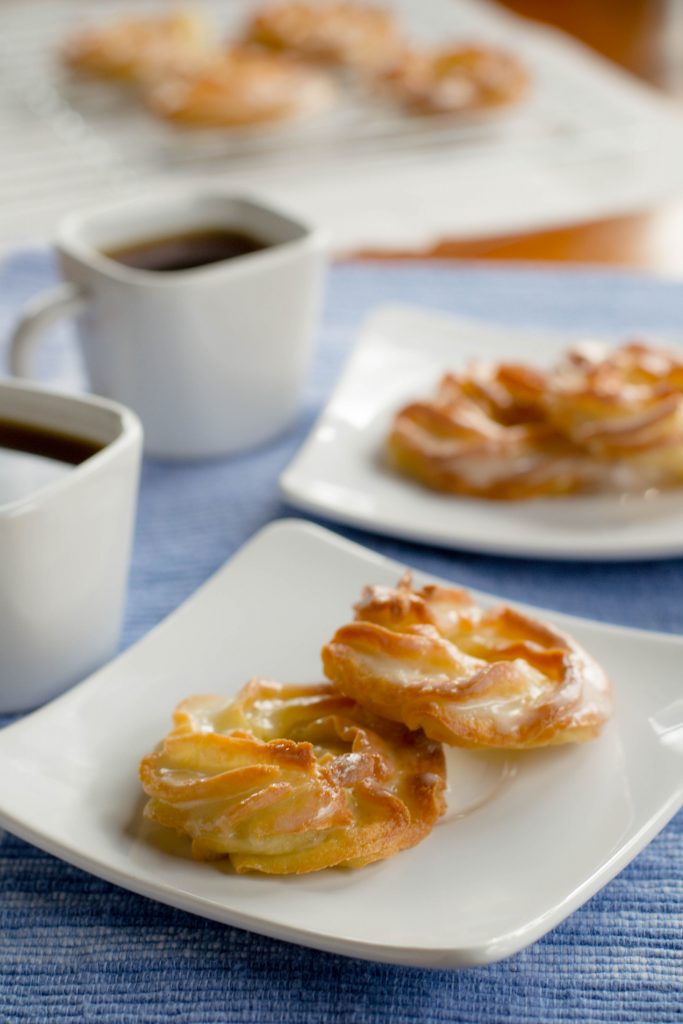
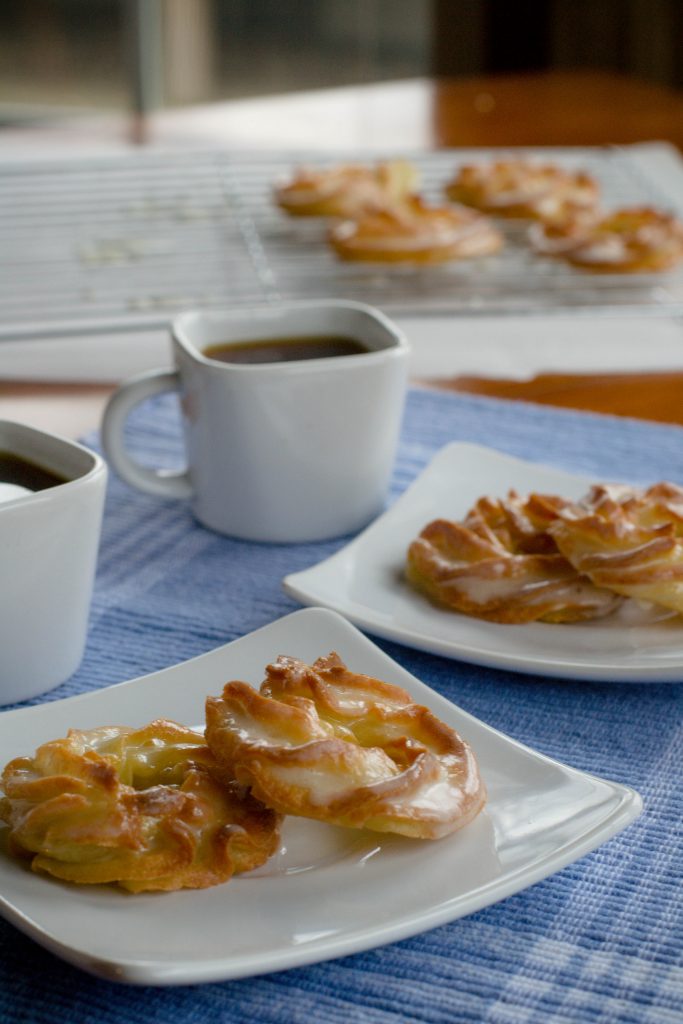
A glaze of powdered sugar, and these little gems were ready to meet me, Tim, and two cups of coffee. They were truly delicious. Slightly crispy on the outside and airy and light on the inside.
I have not thrown over my pressure cooker a.k.a. Insta Pot for the Air Fyer, but if it was a race, it would be a close one.
Off to my next Air Fry adventure……….
Print
French Crullers
- Yield: 12 1x
Ingredients
- 1 cup water
- 6 tablespoons unsalted butter
- 2 teaspoons sugar
- 1/4 teaspoon salt
- 1 cup flour, sifted
- 3 large eggs
- 2 egg whites, slightly beaten
- Glaze
- 1 1/2 cups confectioners’ sugar
- 1 teaspoon vanilla
- 3 – 4 tablespoons milk
Instructions
- Bring the water, butter, sugar, and salt to a brisk boil in a heavy-bottomed saucepan. Stir in the flour all at once and continue stirring until the flour is completely incorporate. Keep stirring over medium-high heat.
- When you see a thin film start to coat the bottom of the pan, the batter is ready. Transfer the dough to the bowl of a stand mixer.
- Mix on low speed for a minute to help it cool.
- Add eggs one at a time medium speed making sure each egg is completely incorporated before adding the next.
- Add egg whites a bit at a time until the dough becomes smooth,glossy, and still holds shape.
- Transfer the dough to a large pastry bag fitted with a large star tip.
- Preheat your Air Fryer to 360*
- Cut a piece of parchment paper to fit in the inside of the basket of the air fryer. You will need 3-4 pieces cut the same size. Spray each pieces with non-stick cooking spray. Pipe crullers(circle shape) onto each pieces of parchment. I was able to place 4 on each pieces. This will depend on the size of your basket.
- Lightly spray the tops of the crullers with cooking spray. Place in the air fryer for about 15 minutes or until they are golden and spring back when light pressed. Repeat with remaining dough.
- Allow the crullers to cool to the touch, then dip in a glaze made of powdered sugar, vanilla, and milk.
- Place on a cooling rack to allow excess glaze to drip off. Let the glaze set and enjoy!

