Cherry Pie

Cherry Pie

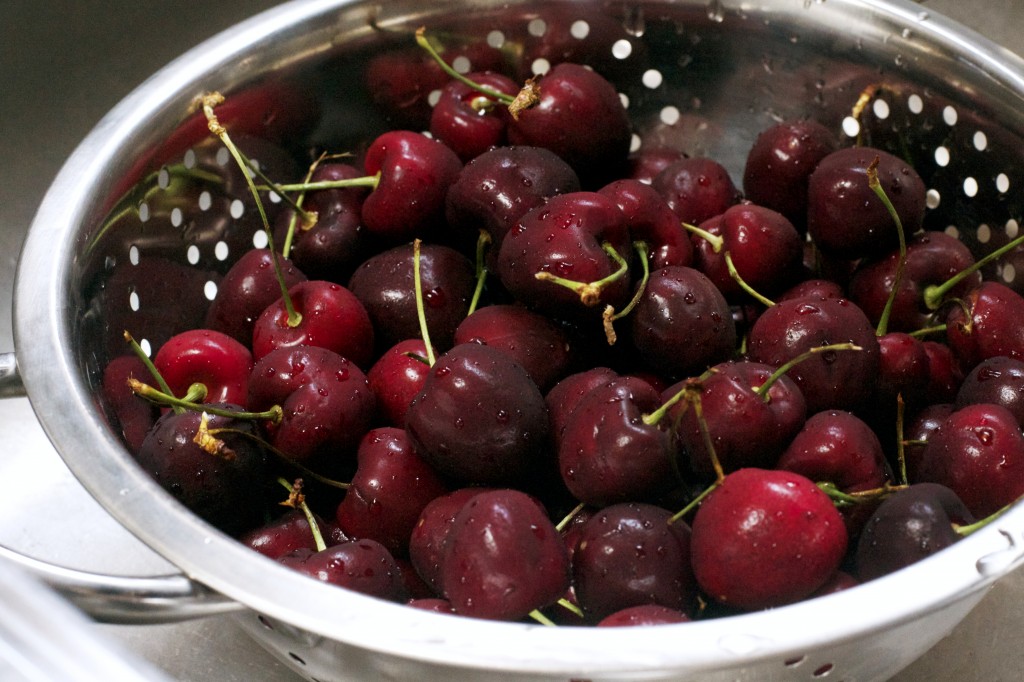
Once again at the local grocery store something caught my eye………beautiful, plump, bright red cherries.

Cherries

Now, neither Tim nor I are huge cherry fans, but their allure was too much, so I bought them! Tim saw them in the frig and asked why I bought cherries? I had no answer………

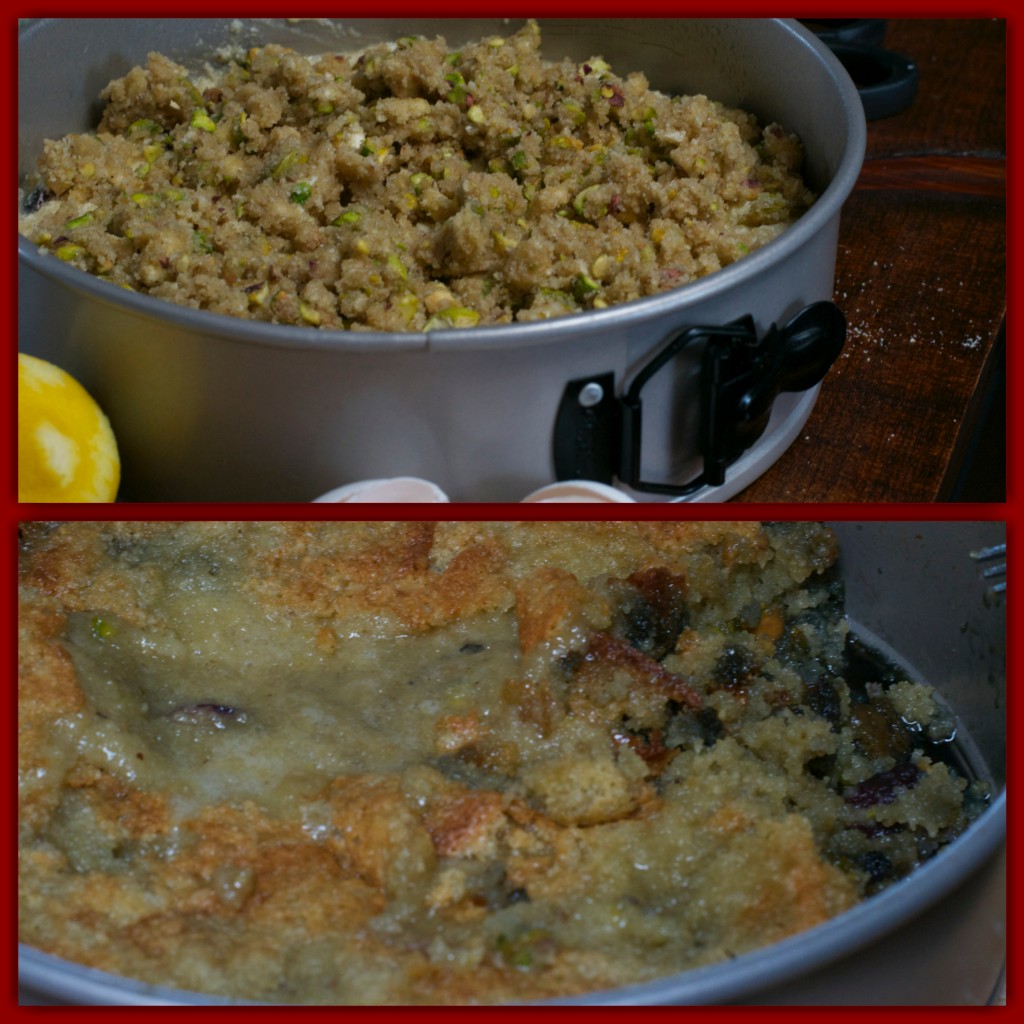
Now, to find something to actually do with them, I scoured the internet……..so many variations to cherry pie……..but I wanted something different. I found a cake recipe that I wanted to modify  for my “Gluten Free” friends. Epic FAIL!!!! It was awful!!! Not really sure what I did wrong but it was a soupy mess…..see below……. The beautiful pistachio topping sank into the batter and disappeared. I will try this again after much modification, but such a waste of the beautiful cherries.

Fail

All I can say is that sometimes in the world of food, things do not always go as planned. 🙁

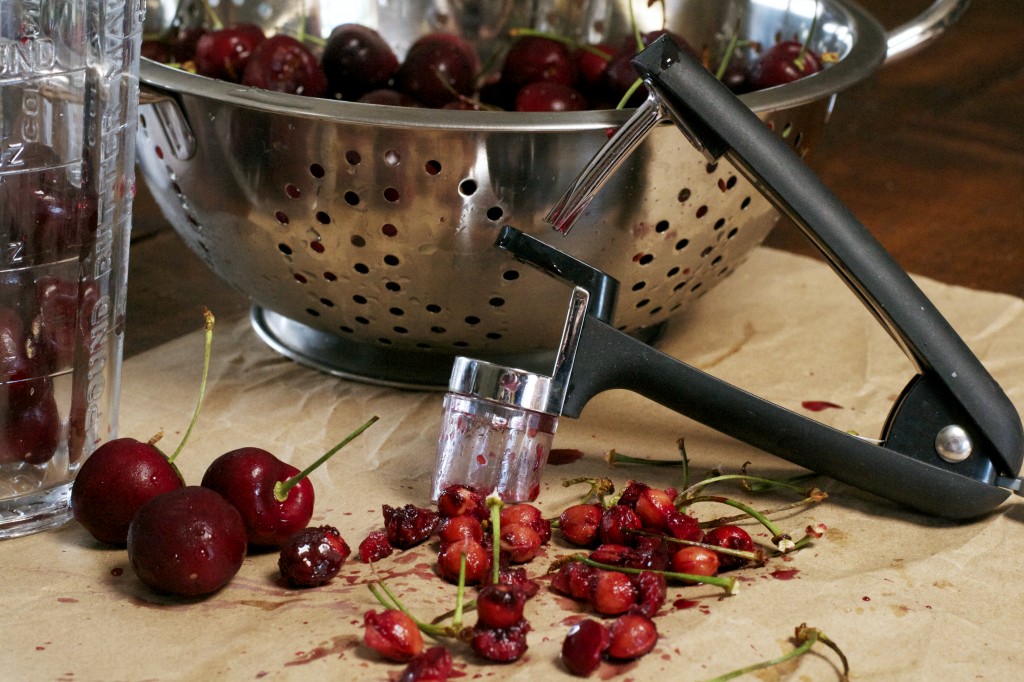
So , on to bigger and better things. I want to tell a gadget story……my Mom, who by the way made the best pies in the world….. her crust was flaky and tender (something I cannot replicate), especially her coconut cream pie. Mom was one to buy every little gadget on the market. When she passed away and we were cleaning out her house I came across a cherry pitter. Now, since I am not a cherry fan I wondered what I would ever use this for? But I kept it anyway………..What a great little tool! If you love cherries, or have a cherry tree, do yourself a favor and buy one……it is the bomb! Be sure you put down a paper bag, or something to catch the pits, as it is a messy process.

Cherry Pitter

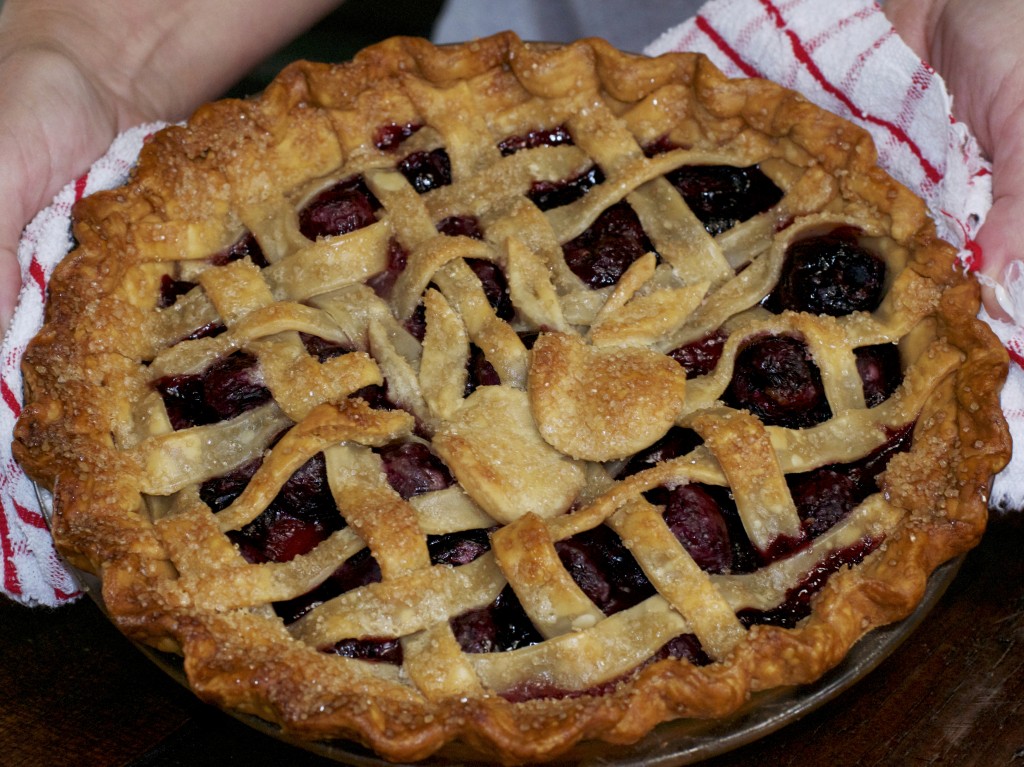
After my fail, I had to do something with the remaining cherries. I remembered that Tim’s Uncle Ron “a.k.a. Rude Dog” liked cherry pie. So, I made my first every cherry pie……. with a lattice top. I did have to Google how to make a lattice top as I have never made a pie with one before……….wow……three firsts in one day! 1. Epic Fail 2. Cherry Pie. 3. Lattice top pie. My, oh my, what a day.

So here is the final result of the Cherry Pie……….

Cherry Pie

I am still waiting to hear back from Uncle Ron………I hope he enjoyed it!

Print

clock clock iconcutlery cutlery iconflag flag iconfolder folder iconinstagram instagram iconpinterest pinterest iconfacebook facebook iconprint print iconsquares squares iconheart heart iconheart solid heart solid icon
Cherries

Cherry Pie

  • Author: Pinterest
  • Prep Time: 15 minutes
  • Cook Time: 45 minutes
  • Total Time: 1 hour 25 minutes
  • Yield: 8 servings 1x
  • Category: Dessert
  • Method: Bake
  • Cuisine: American

Ingredients

Scale
  • 1 unbaked double pie crust recipe (store bought or homemade)
  • 7 cups sweet cherries, pitted
  • 1/2 cup sugar
  • 1 tablespoon fresh lemon juice
  • 1 teaspoon fresh lemon zest
  • 1/2 teaspoon almond extract
  • 1/2 teaspoon vanilla extract
  • 1/4 cup corn starch
  • 1 tablespoon of butter, cut into tiny pieces
  • 1 tablespoon milk
  • Turbinado sugar (natural cane sugar)

Instructions

  1. Preheat the oven to 425°F.
  2. Toss together the pitted cherries, sugar, lemon juice, lemon zest, almond extract, vanilla extract and corn starch in a large bowl until evenly coated.
  3. Roll out the bottom pie crust, and gently lay it in a 9-inch pie pan. Transfer the cherry filling to the pie crust, and sprinkle with little dots of butter.
  4. Roll out the top pie crust, and either lay on top and cut a few slits in the middle to make a full double pie crust. Or cut the top pie crust into strips to make a lattice pie crust (I Googled this as it was the first lattice pie I have ever made). Brush pie crust with milk and sprinkle with Turbinado sugar. Then freeze for about 10 minutes, before baking.
  5. Place the pie in the middle rack, on a baking sheet lined with parchment paper or tin foil to catch any drips. Bake for 15 minutes, then reduce the temperature to 350°F and cook for 35-45 additional minutes, or until the crust is nicely golden and the filling is thick and bubbly.
  6. Cool completely before serving.

Keywords: cherries, pie crust, pie, bake


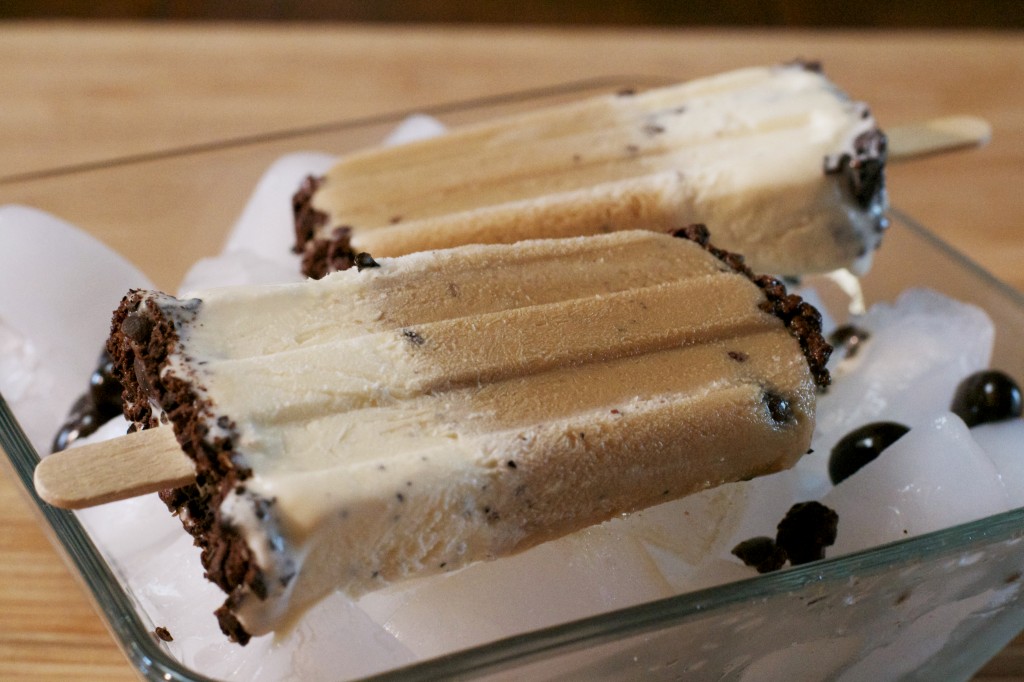
Chocolate Espresso Bean Popsicle

Chocolate Espresso Bean Popsicle

Espresso Bean Popsicles

Warm summer evenings…….you need something cool…….but you love coffee…….too hot for coffee……..think again! Chocolate Espresso Bean Popsicles are just the ticket.

The only popsicles I have ever made were the ones you made with Kool-Aide when you were a kid. Everyone had the Tupperware popsicle mold, and all we had to fill them was Kool-Aide or juice. Well, times they have a changed!

I have seen many recipes for popsicles on Pinterest, and thought I would give some a whirl.  Tim and I love coffee! In the summer we make iced coffee by the pitcher full. We discovered that a french press makes perfect iced coffee. So why not make popsicles?

First I needed the molds. And if all else fails check eBay. With the molds purchased and on the way I needed a recipe.

I wanted a creamy sort of latte taste, so I needed some type of milk. I tried sweetened condensed milk, its sweet and creamy so I hoped it would work. I blended it with hot coffee and poured it into the mold. I also wanted some visual interest, so I mixed the condensed milk I didn’t use in with some cream. That’s how you make ice cream, so why not.

We like a little crunch in things so, chocolate covered espresso beans. Besides being chocolate and all kinds of yummy, they make them look really pretty!

I would never have tried the espresso beans, but years ago one of my girlfriends Michelle, owned a cafe, deli, bakery, coffee shop……..The Herb Garden Deli,Cafe and Bakery. It was a great place, and in the coffee shop, we had chocolate covered espresso beans……..I was leery. But I tried them and all I can say is they are addicting. So, thank you to Michelle for broadening my horizon, so I could years later make this recipe.

Layers of espresso beans, creamy latte, and creamy cream…….like foam on a cappuccino, but all frozen makes a sweet cool coffee treat. Perfect for those warm summer nights when you really want a coffee………

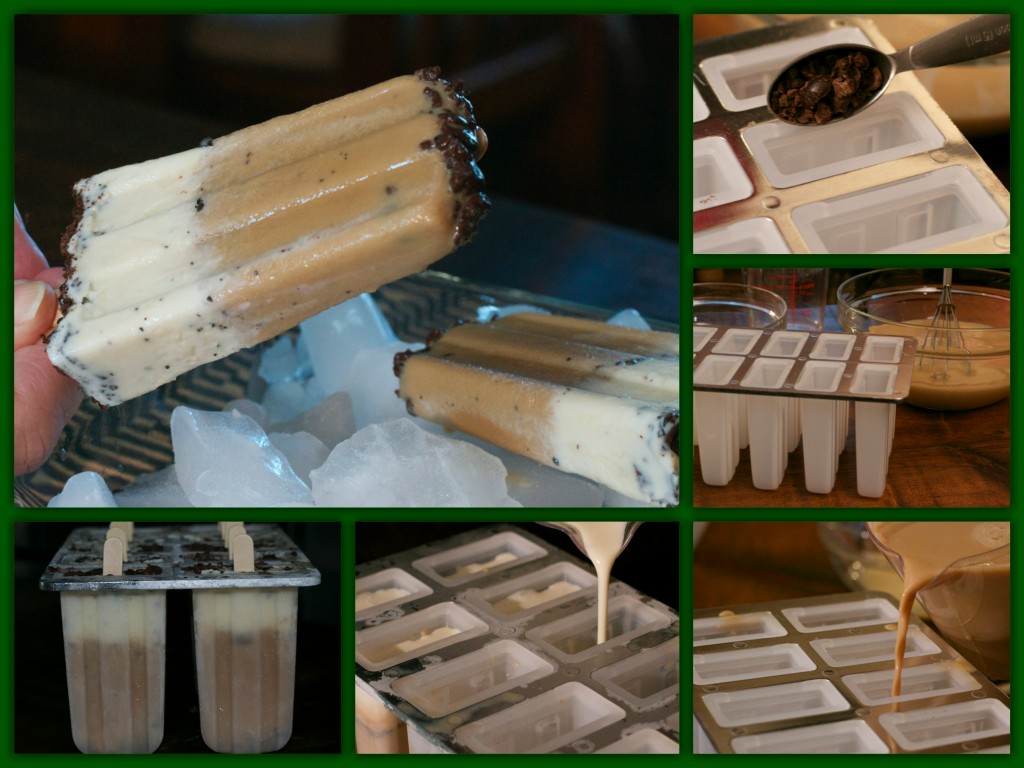
Espresso Bean Popsicles Collage

Print
clock clock iconcutlery cutlery iconflag flag iconfolder folder iconinstagram instagram iconpinterest pinterest iconfacebook facebook iconprint print iconsquares squares iconheart heart iconheart solid heart solid icon
Espresso Bean Popsicles

Chocolate Espresso Bean Popsicle

  • Author: Marty Boyd
  • Prep Time: 2 hours 10 minutes
  • Total Time: 2 hours 10 minutes
  • Yield: 10 1x
  • Category: Dessert
  • Method: Freeze
  • Cuisine: American

Ingredients

Scale
  • 2 cups very strong coffee, hot
  • 114oz. can sweetened condensed milk, divided
  • 3/4 cup heavy cream
  • 1/2 tsp. vanilla extract
  • 1/2 cup crushed chocolate covered espresso beans, divided

Instructions

  1. Place 2/3 cup sweetened condensed milk in a bowl or measuring pitcher. Pour the hot coffee over the top and stir until blended. Allow the coffee to cool for a few minutes.
  2. Place 1 teaspoon of crushed espresso beans into each popsicle mold, then carefully pour the coffee mixture into the molds, until about 2/3 full. Place in the freezer and freeze until slushy, about 1- 2 hours.
  3. Mix the heavy cream with 3 Tb. sweetened condensed milk and vanilla. Pull the Popsicle out of the freezer.
  4. Pour 1-2 tablespoons of cream over the top of each pop and top with another teaspoon of espresso beans, add a popsicle stick to the middle.
  5. Return to the freezer and freeze until hard.
  6. To remove from the molds: Fill the sink with warm water and dip the bottoms of the molds in the warm water for 30seconds or so. If the popsicles do not come out re-dip them.Be careful not to let them in the warm water to long or they will melt.
  7. Eat immediately, or wrap in plastic wrap and place in freezer bags and return to the freezer.

Notes

Prep time does not include overnight freezing.

Keywords: coffee, sweetened condensed milk, heavy cream chocolate covered espresso beans, popsicle


Gluten Free Double Chocolate Pistachio Cookies

Gluten Free Double Chocolate Pistachio Cookies

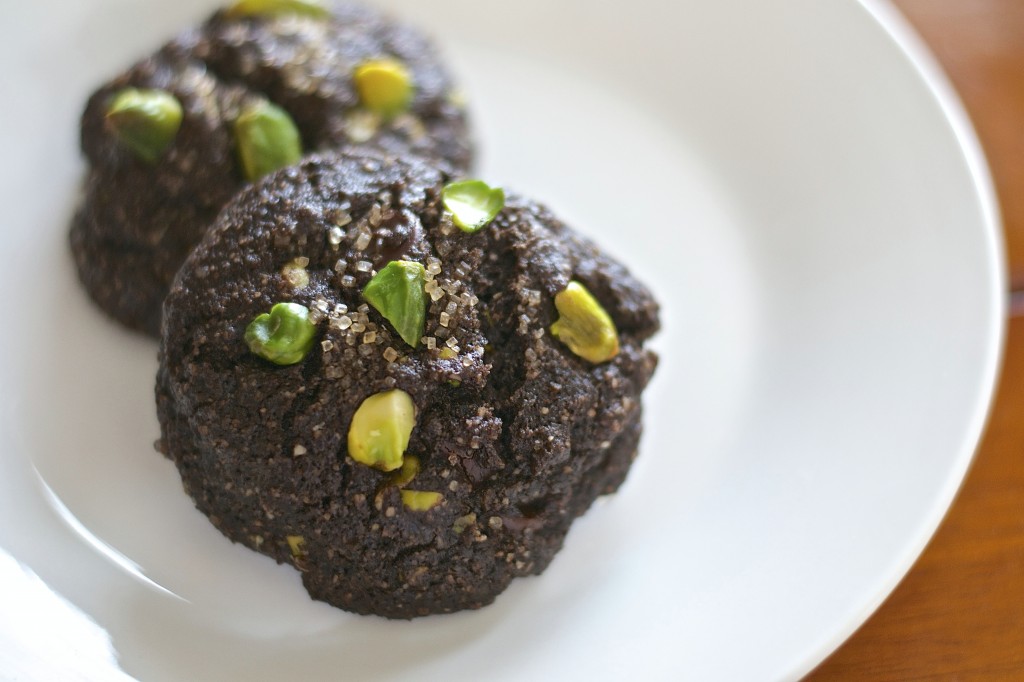
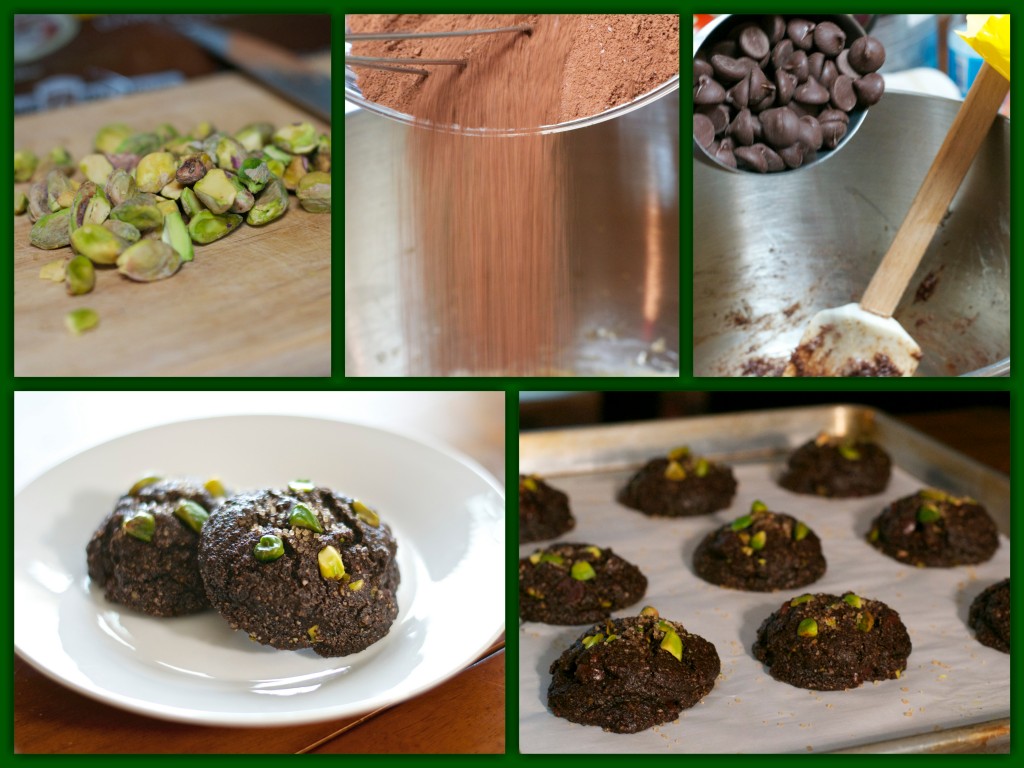
As promised…………..Gluten Free Double Chocolate Pistachio Cookies……….

Gluten Free Double Chocolate Pistachio Cookies 1

 If anyone could tell these are gluten free I would eat my hat! These are some of the best cookies we’ve ever eaten. Double chocolate, crispy on the outside, and fudgy on the inside………a totally perfect cookie. A wonderful treat for those with a gluten intolerance and for those without.

Pistachios………you would think for all the cooking and baking I have done in my life I would have tried pistachios………but no, and neither had Tim. Well, unless you count the “Watergate Cake” that was popular when I was in my early twenties. It was made with pistachio pudding. After tasting them lets just say the pudding does not do justice to these little green nuggets. They are wonderful and I will definitely be searching for other ways to use them.

Gluten Free Double CHocolate Pistachio Cookies

Another thing that I like about this recipe, is that it doesn’t make a huge amount of cookies. It makes ten or so, which is perfect. Enough to share if you are so inclined, but not so many that you are eating them for a month…….like they would last that long at our house…..lol.

So, whether you need a gluten free cookie or not these are a a chocolate lovers delight and a pistachio lovers dream all in one yummy cookie!

Gluten Free Double CHocolate Pistachio Cookie Collage

Print
clock clock iconcutlery cutlery iconflag flag iconfolder folder iconinstagram instagram iconpinterest pinterest iconfacebook facebook iconprint print iconsquares squares iconheart heart iconheart solid heart solid icon
Gluten Free Double Chocolate Pistachio Cookies 1

Gluten Free Double Chocolate Pistachio Cookies

  • Author: Marty Boyd
  • Prep Time: 1 hour 15 minutes
  • Cook Time: 10 minutes
  • Total Time: 1 hour 25 minutes
  • Yield: 2 dozen 1x
  • Category: Cookies
  • Method: Bake
  • Cuisine: American

Ingredients

Scale
  • 3/4 cup almond flour
  • 1/3 cup cocoa powder
  • 1/2 tsp baking soda
  • Sea salt to taste
  • 1/4 cup coconut oil
  • 1/2 cup turbinado sugar
  • 1 egg
  • 1 tsp vanilla extract
  • 1/2 cup dark chocolate chips
  • 1/3 cup pistachios, chopped

Instructions

  1. Combine flour, cocoa powder, baking soda and sea salt in a bowl then set aside. In a separate bowl beat coconut oil with a hand/stand mixer until creamy then add in sugar. Beat in the egg and vanilla extract. Pour in dry ingredients and stir with a wooden spoon until well combined. Fold in chocolate chips and pistachios.
  2. Using an ice cream scoop, scoop batter on a parchment lined cookie sheet. Place in the fridge for 1 hour.
  3. Preheat oven to 350 degrees Fahrenheit. Bake cookies for 10-12 minutes, then let cool for 5 minutes before transferring to a cooling rack.

Keywords: chocolate, almond flour, pistachios, cookie, gluten free