Baked Feta

Sunday Snack day……Baked Feta please!!!

Baked Feta

Let’s have a feta lesson……..
According to Good Housekeeping: Feta, a classic Greek cheese traditionally made from sheep’s or goat’s milk, is now available in a milder, less bitter version made from cow’s milk. But whether you choose a creamy Bulgarian feta or a firmer Greek or American one, the zesty cheese is more than a wonderful addition to vegetable and fruit salads. You can use it in just about any recipe that calls for cheese. Add it to cooked rice or tomato-based pastas; use it as a topping for baked potatoes or as a filling for omelets; crumble it over tomato sandwiches; or simply serve it as a table cheese along with olives, bread, grilled vegetables, and salami.

Baked Feta

Feta that is sold crumbled should be stored in an airtight container and used within a few days. When it’s sold in chunks in vacuum-sealed plastic packages, it should be stored wrapped in plastic or in airtight containers and used within 1 to 2 weeks. Feta that comes immersed in a brine solution of water and salt should be stored in its brine and used within 1 to 2 weeks after opening.

I enjoy the tangy saltiness of feta. I have used it in a variety of different dishes, even pizza. But I wanted to make dip.I didn’t want a mayo or olive oil laden dip, just the cheese please.

Baked Feta

Feta pairs very well with red peppers, and I happen to love roasted red peppers. I buy them already roasted. I, as you who follow my blog know, can have a lazy streak…..especially when you can buy a quality product, and someone else has done the work! Cause let’s be real, roasting red peppers is a big fat mess.

I did get a little fancy making a broth for the cheese to bake in…….I can be fancy sometimes. But the broth is a vegetable broth and there is no shame in just buying it. And truth be told, the only reason I made it was I had some veggies that needed to be used.

Baked Feta

Mirepoix is the fancy French culinary term for a combination of diced carrots, onions and celery sautéed in butter and used as an aromatic base to flavor sauces, soups and stews. Even a small amount can significantly contribute to the overall flavor of a finished dish.

I used olive oil instead but you get the idea. I added some water and oregano, and some lemon zest. Simmered to make a veggie broth.

Baked Feta

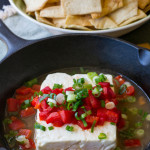
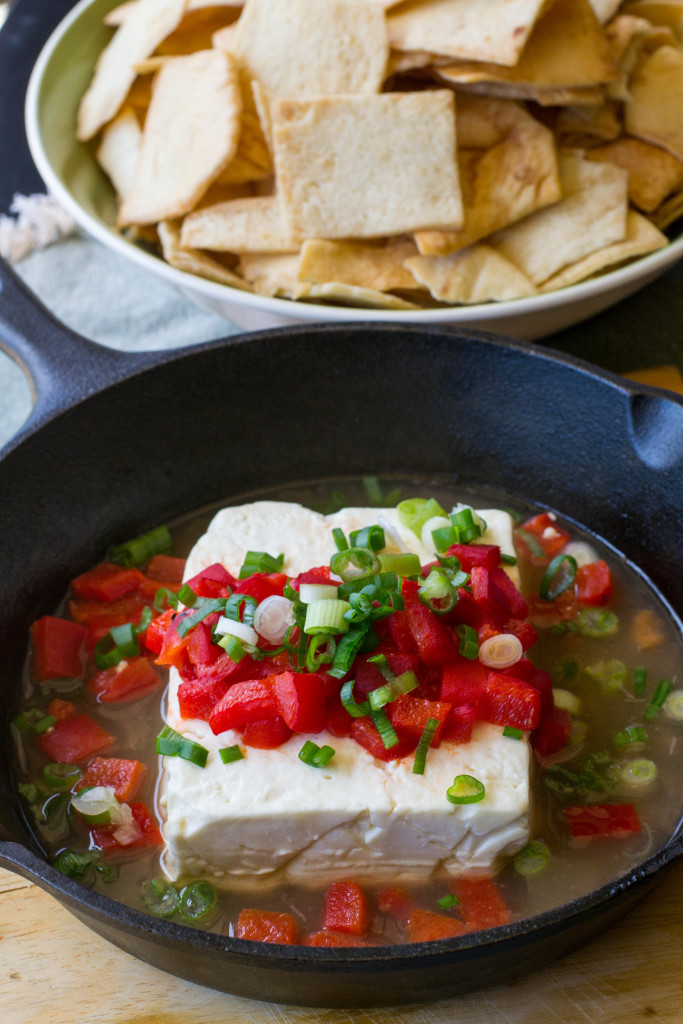
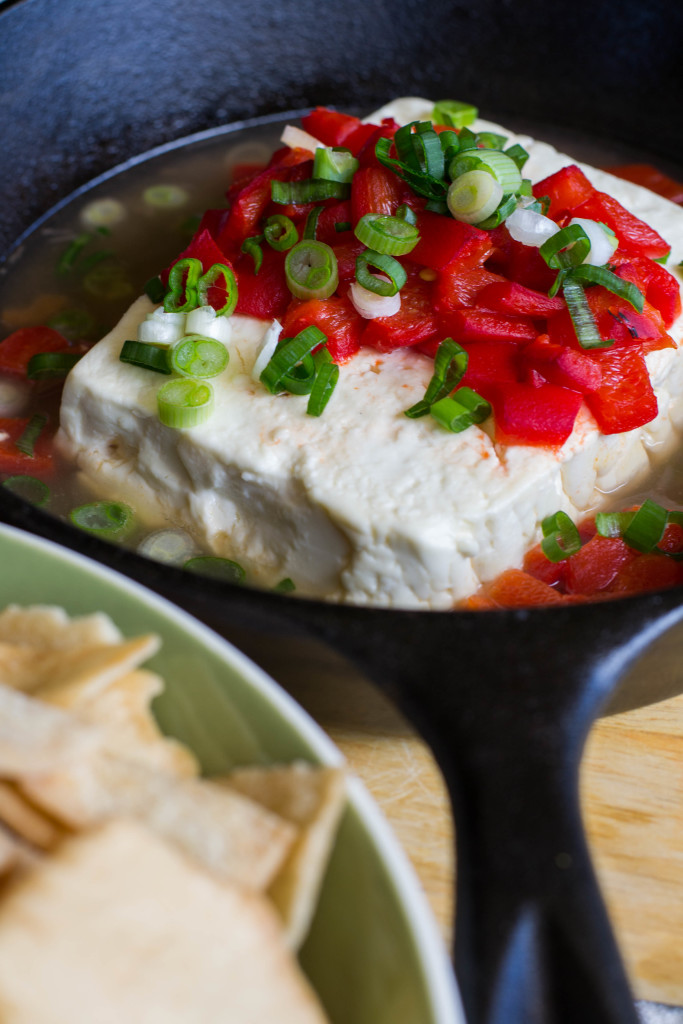
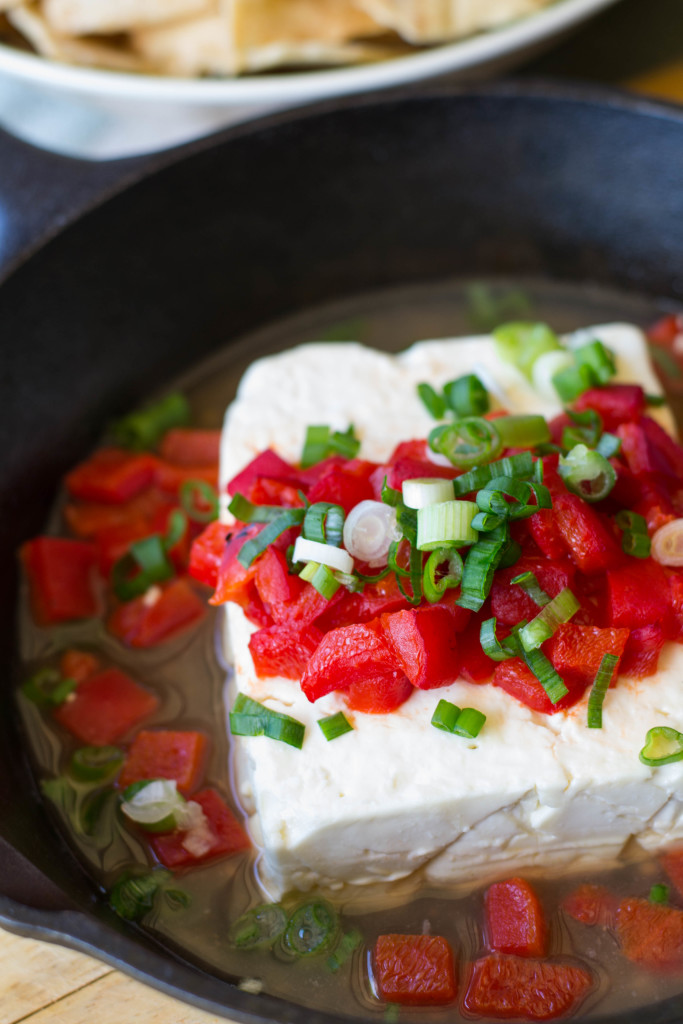
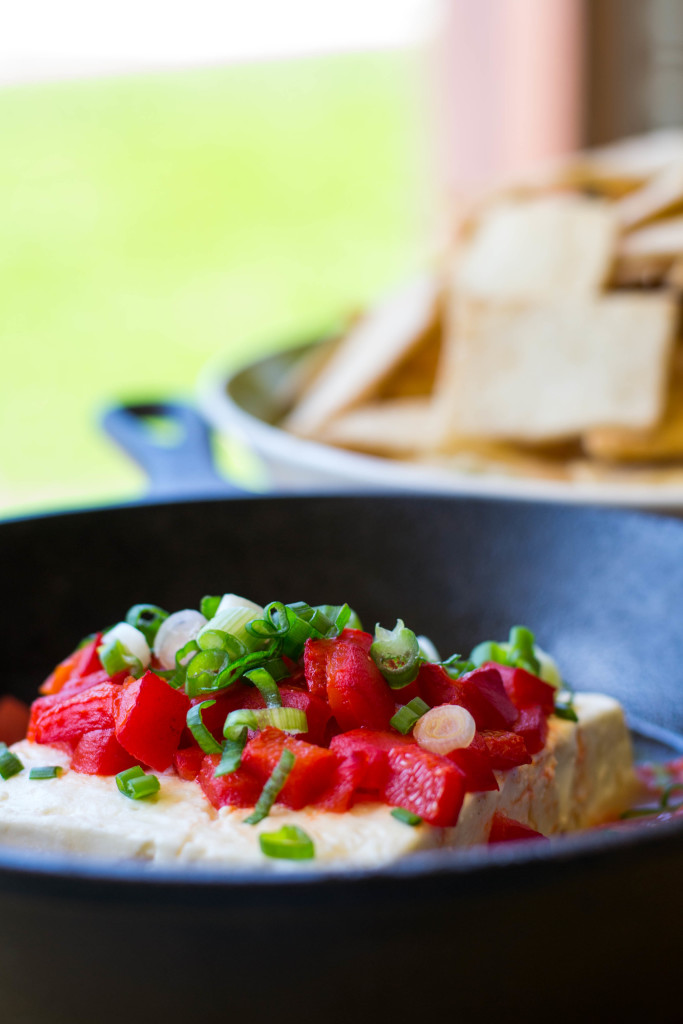
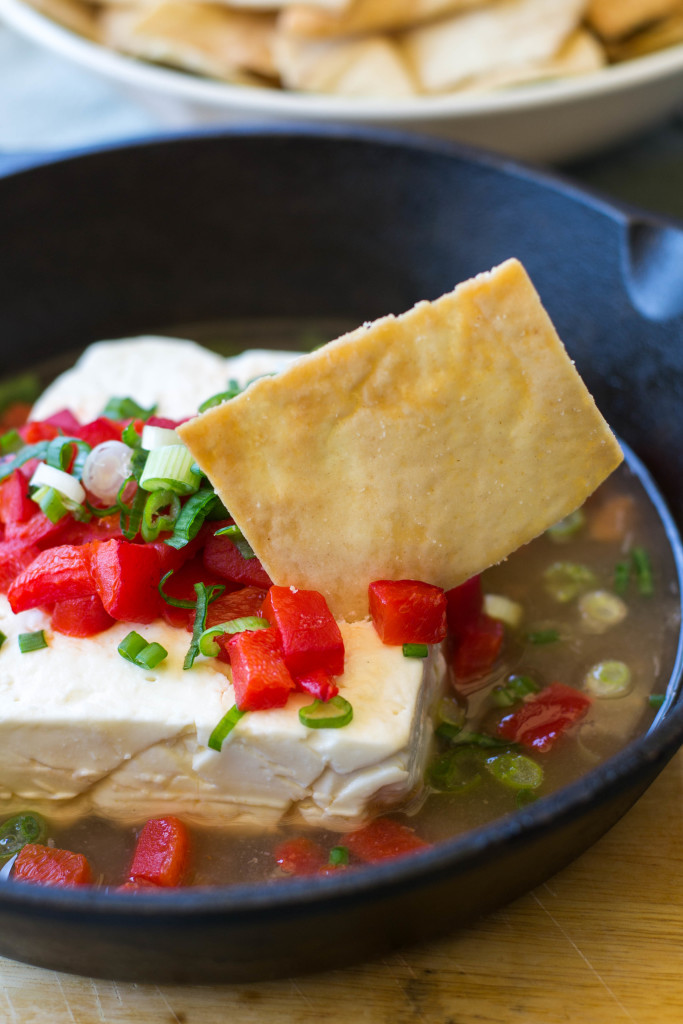
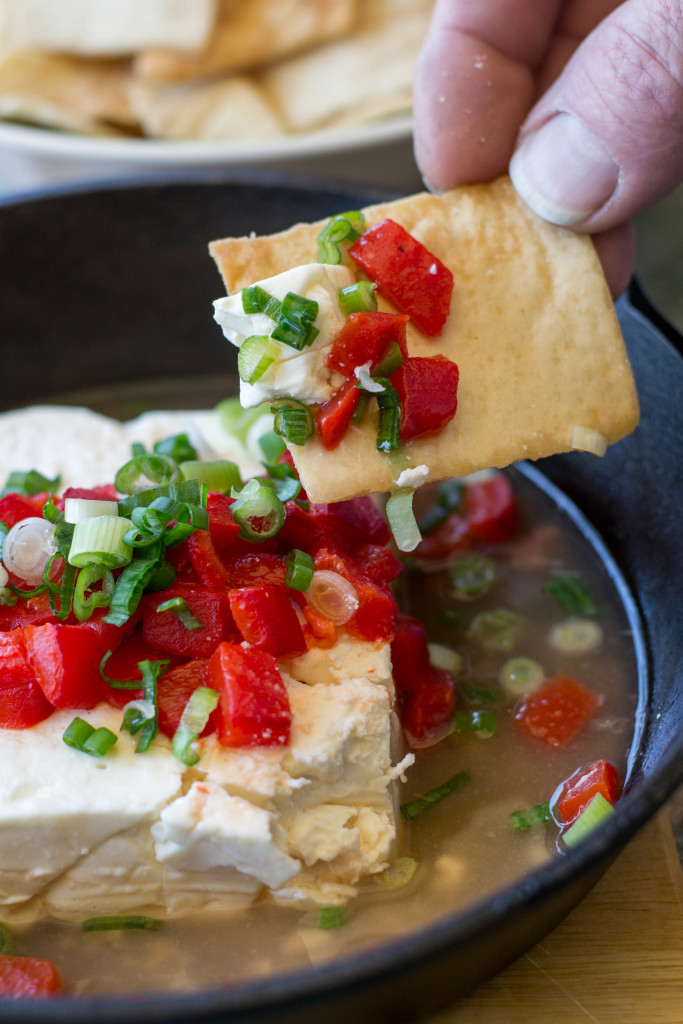
I used a cast iron skillet, but any oven proof skillet will do. I just liked the contrast of the white feta and the black skillet. The feta block went into the skillet and I poured just enough of the broth around to cover the bottom of the pan. Top the cheese with the roasted red peppers and baked in a 400* oven for about 10 minutes. Garnished with green onions and serve with pita chips.

I really like the look and taste of the Baked Feta. Pretty enough for a party and rustic enough for just hanging around on a Sunday snack day. Best thing…. this can be reheated in the same skillet, so reserve that broth for a repeat Baked Feta.

Baked Feta

Print
clock clock iconcutlery cutlery iconflag flag iconfolder folder iconinstagram instagram iconpinterest pinterest iconfacebook facebook iconprint print iconsquares squares iconheart heart iconheart solid heart solid icon
Baked Feta

Baked Feta

5 Stars 4 Stars 3 Stars 2 Stars 1 Star No reviews
  • Author: Marty Boyd
  • Yield: 6

Ingredients

Scale
  • Broth
  • 2 sprigs fresh oregano
  • 1 rib celery, roughly chopped
  • 1 medium carrot, roughly chopped
  • 1 small white onion, roughly chopped
  • 1 teaspoon freshly grated lemon zest
  • Salt
  • Baked Feta
  • 1 red bell pepper, roasted, diced (I used a jarred roasted red pepper)
  • 1-1/2 block of feta
  • 2 tablespoons green onion, thinly sliced
  • Pita chips to serve


Instructions

  1. Place oregano, celery, carrots, onions, lemon zest, salt to taste, and 3 cups water into a large pot and bring to a boil. Reduce heat and simmer for 30 minutes. Remove from heat, cover, and let steep for 15 minutes. Strain broth through a fine-mesh sieve into measuring cup, discarding solids. Keep broth warm.
  2. For the baked feta: Preheat the oven to 400°.
  3. Place the feta in a small ovenproof nonstick skillet( I used a cast iron skillet) and top with roasted red peppers. Pour just enough of reserved broth around the feta to cover the bottom of the skillet. Bake until softened, 8–10 minutes.
  4. Garnish with green onions and serve with pita chips.
  5. Serve immediately.
 

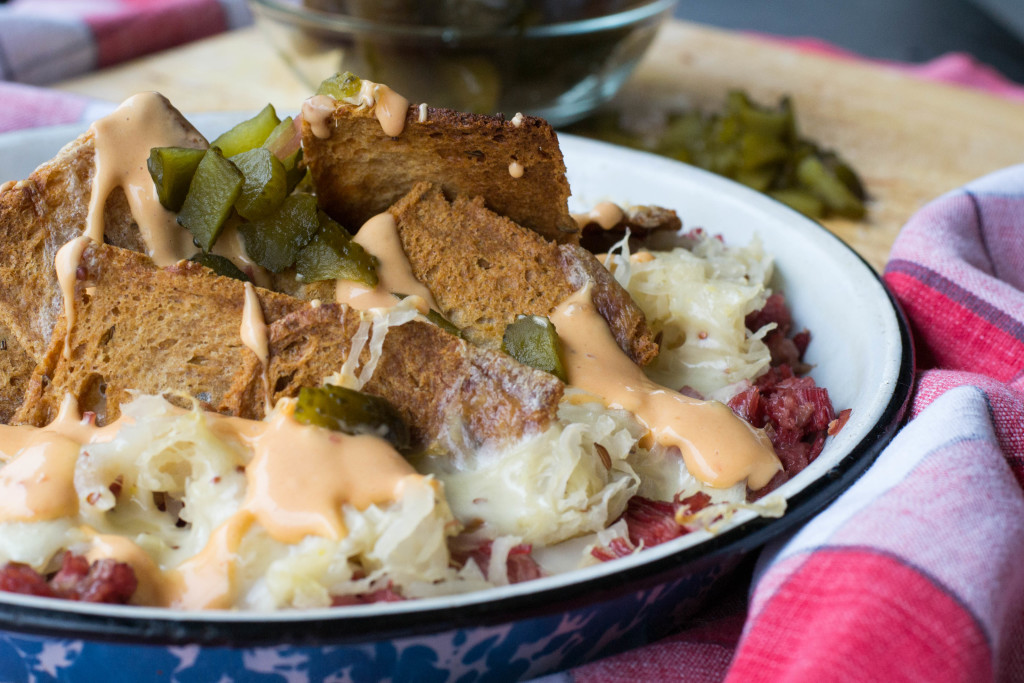
Rueben Nachos

What are you going to do with all that left over corned beef?……. Rueben Nachos thats what!

Rueben Nachos

So after St Patty’s Day you have some left over corned beef. Not really enough to have for a meal but you don’t want to throw it out. Rueben Nachos are just the ticket. And since St Patty’s Day is on Thursday this year, you can have Nachos on Friday or Saturday night.

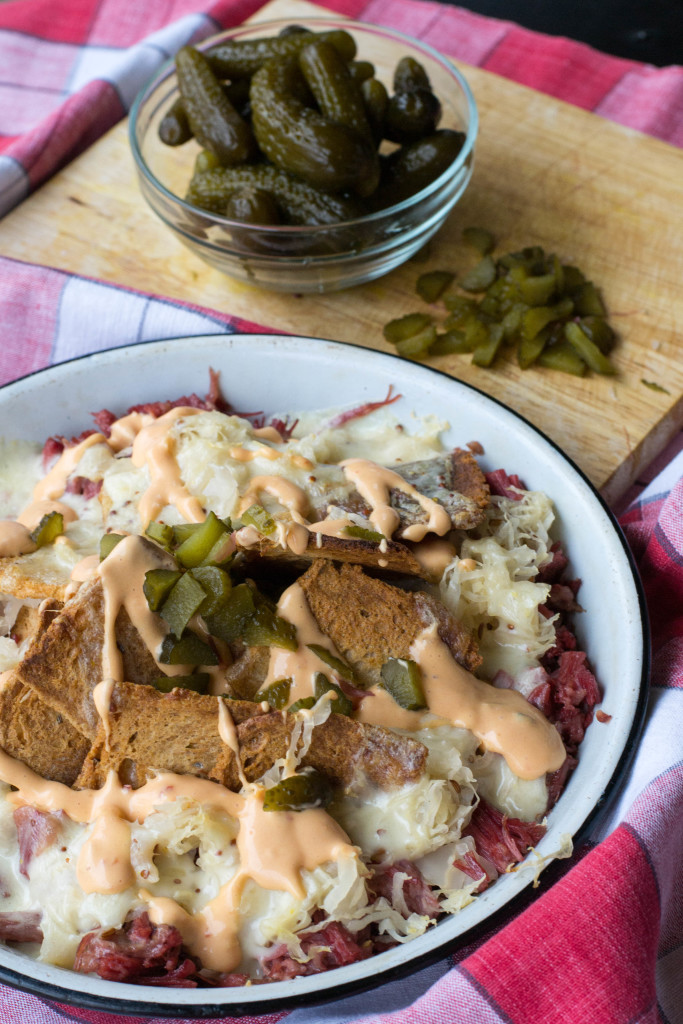
I have never seen rye chips so, I made my own. You know those little cocktail party bread loaves you get for the cucumber sandwiches……..well I thought they would make the perfect base for nachos. Pepperidge Farm has a light Jewish Rye Party Bread…..perfection.

Rueben Nachos

Roll them thin and bake them they are as close to a rye chips as you can get, and rueben need mohave rye bread. A little spray of non stick cooking spray, into the oven, and you have rye chips! Cool huh?

Now of course you need that left over corned beef.I actually cooked a small on in …….wait for it……my pressure cooker! It took 90 minutes, but it came out perfect. I shredded and chopped it.

Rueben Nachos

Heap the rye chips on a cookie sheet or in a baking dish if you want to be fancy. Place the corned beef around the edge, at least that is what is did if you want to layer it on top of the chips feel free.

Next sauerkraut. For my money Frank’s Sweet Bavarian Kraut is the best. Be sure to drain to and squeeze it dry in some paper towels. The last thing you want is soggy chips. I just kind tossed it on top of the chips, but if layering is your thing, place it on top of the corned beef.

Rueben Nachos

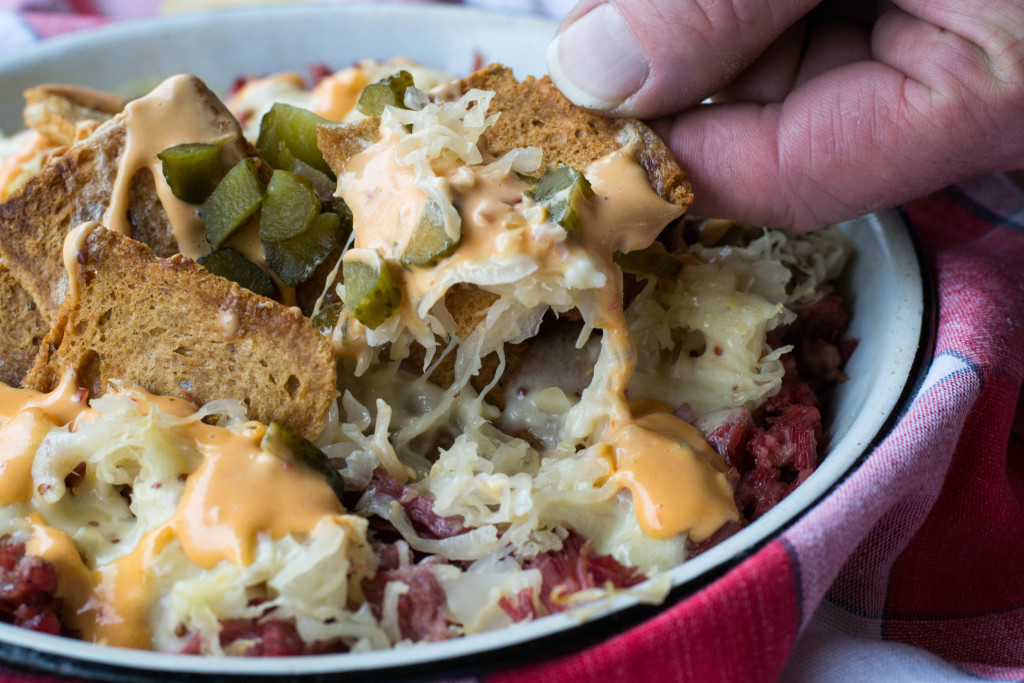
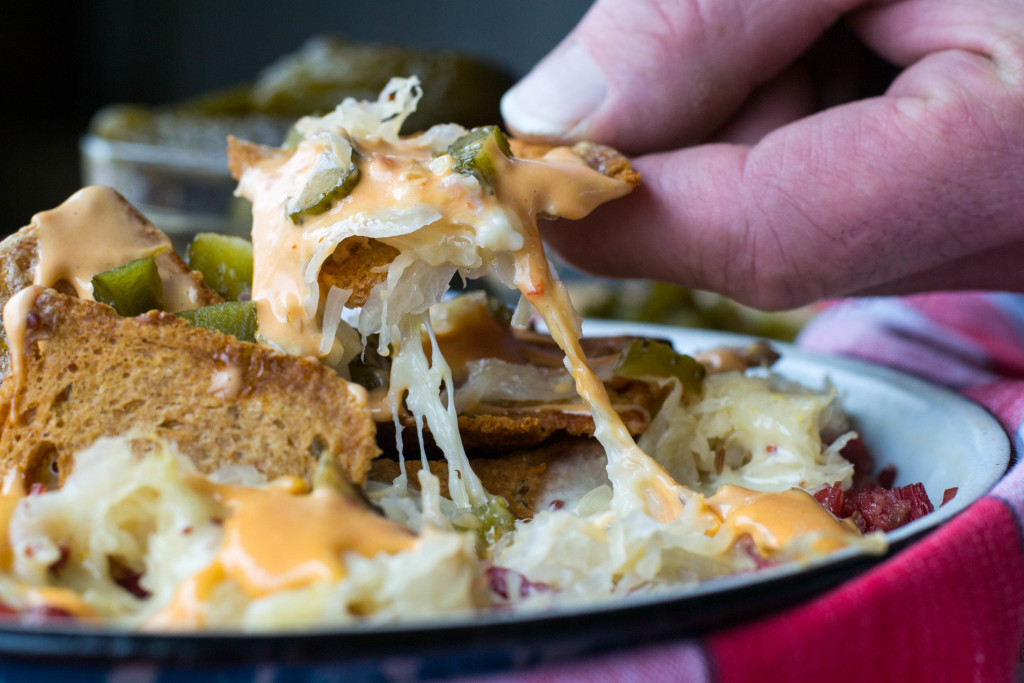
I decided that beer cheese sauce was what should go on top. I have always had beer cheese made with cheddar……..swiss is the bomb! A couple of tips…….be sure to not boil the beer, heat it just until its hot. Coating the cheese in corn starch helps to thicken the sauce and kinda, keeps the sauce from clumping too bad. It will clump so be prepared. Try to add the cheese slowly and keep stirring. At first you will think what have I gotten myself into and why isn’t this working……keep stirring. It will like magic melt and be beautiful. Just before you pour it over the nachos, stir in some grainy mustard. This beer cheese is too good for words.

I put mine under the broiler for just a few minute to kind warm the corned beef and let the cheese melt down into the chips all the while keeping the chips as crispy as possible.

Rueben Nachos

Once out of the broiler, drizzle with 1000 Island Dressing and chopped pickles. I am not a huge fan of sweet pickle but they added that little something extra.

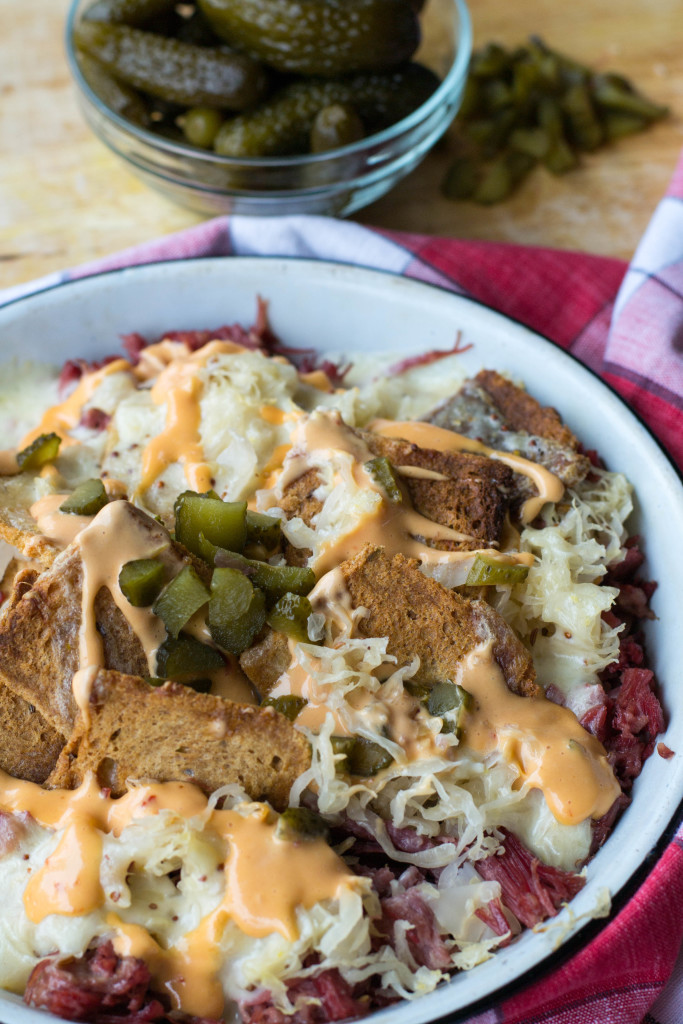
All the flavors of a Rueben in nacho form…….. Rueben Nachos! Erin Ole`

Print
clock clock iconcutlery cutlery iconflag flag iconfolder folder iconinstagram instagram iconpinterest pinterest iconfacebook facebook iconprint print iconsquares squares iconheart heart iconheart solid heart solid icon

Rueben Nachos

5 Stars 4 Stars 3 Stars 2 Stars 1 Star No reviews
  • Author: Marty Boyd
  • Yield: 6

Ingredients

Scale
  • 1-12 ounce package Pepperidge Farm Jewish Rye Party Bread
  • 1 cup corned beef, chopped
  • 1/2 cup sauerkraut, drained and squeezed dry
  • 1 1/2 cups swiss cheese, shredded
  • 1/2 tablespoon cornstarch
  • 1 teaspoon grainy mustard
  • 1/3 – 1/2 cup beer
  • 1/4 cup 1000 Island Dressing
  • 1/4 cup chopped sweet gherkin pickles


Instructions

  1. Preheat oven ot 400*
  2. Trim the crust from the rye bread and using a rolling pin, roll each slice as thin as possible.
  3. Place rolled bread on a cookie sheet and spray with non stick spray. Bake in preheated oven for 7-10 minutes or until browned and crispy. Remove from oven and set aside to cool.
  4. Meanwhile place shredded swiss cheese in a plastic baggie and add cornstarch, shake to coat cheese. Pour beer into a small saucepan, warm the beer but do not bring to a boil. Add cheese/cornstarch mixture in small batches, continually stirring. It will be a big glob of cheese, but keep stirring, it will melt. If sauce is too thick add beer until desired consistency. Stir in mustard, keep warm.
  5. To assemble nachos heap toasted bread onto a cookie sheet or baking dish. Place corned beef around the outer edge of the bread. Top bread with sauerkraut, and pour cheese sauce over top. Place under broiler for a few minutes to warm the corned beef and melt the cheese into the dish.
  6. Remove from broiler and garnish with 1000 Island dressing and pickles.


Pickle Brined Chicken Tenders

How many ways can you cook chicken??? Here one more, Pickle Brined Chicken Tenders.

Pickle Brined Chicken Tenders

I adapted this from a recipe that I found on Epicurious. When I first started to really get into cooking, this my my go to site for whatever I wanted to cook. The recipes are all phenomenal and I was never at loss as to what to cook. I never had to ask What the Forks for Dinner?

When I first saw this recipe I thought maybe the recipe had pickle juice in it…….no, but it had the pickling spices for pickles……I was intrigued.

Pickle Brined Chicken Tenders

The original recipe called for chicken thighs, but friends were coming over to my brothers house to watch the Nascar and fried finger foods were on the menu. So, for my contribution, instead of the thighs……light bulb moment…….chicken fingers.

The only problem I had was when making the brine my salt never did dissolve, but that did not affect anything.

Pickle Brined Chicken Tenders

All and all the recipe, although a couple of steps was easy to make. During the brine period you can make other things or just set back and relax…..I chose option one, but whatever suits you is fine.

Breading was a messy process, but in the end well worth the mess.

Pickle Brined Chicken Tenders

Now, my brother’s friend Jeff manned the deep fryer so I got off easy in the actual cooking department. Jeff also made fried fish which was out of this world. So….. Thank you to Jeff for making this recipe so easy for me. And for the super tasty fish.

Fry Master Jeff

End result………so “forking” good…….not a crumb left. This picture of my nephew about says it all.

Pickle Brined Chicken Tenders
Picture says it all!!

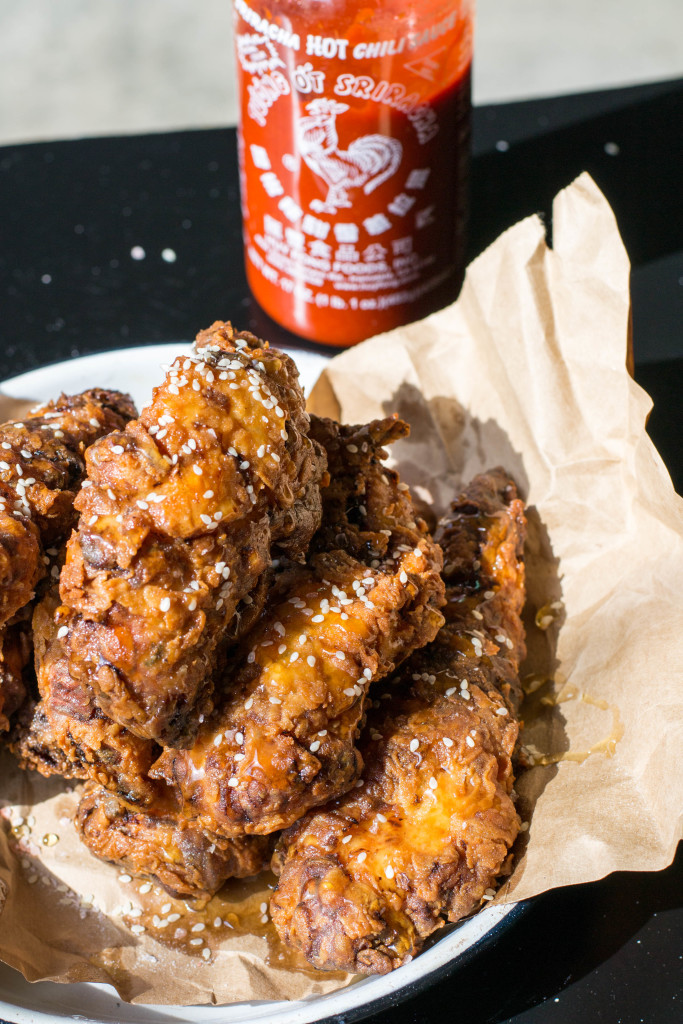
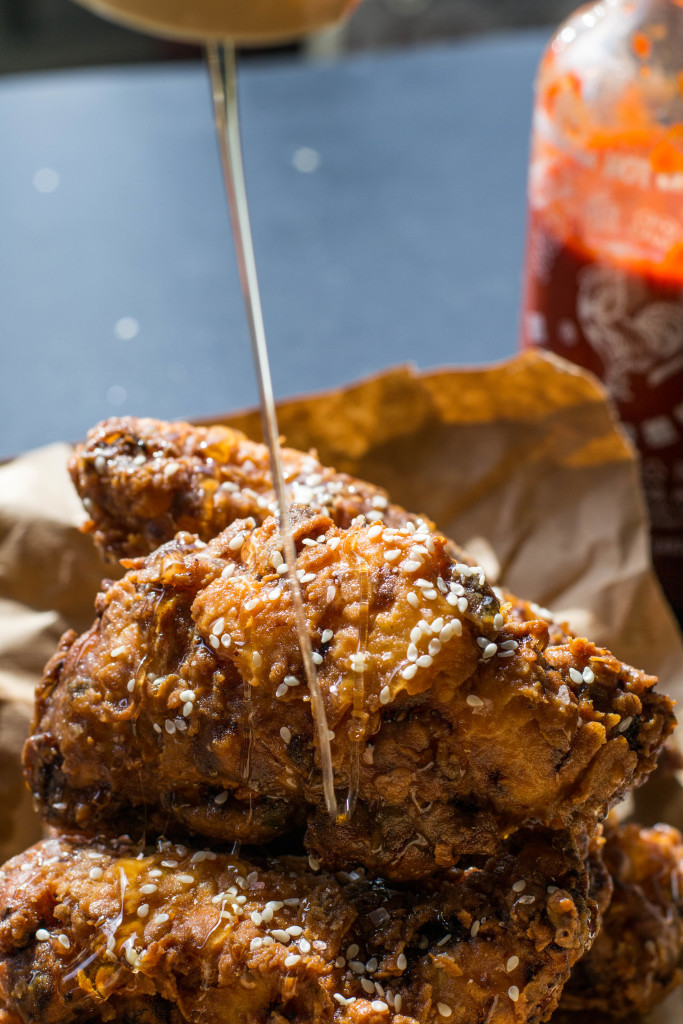
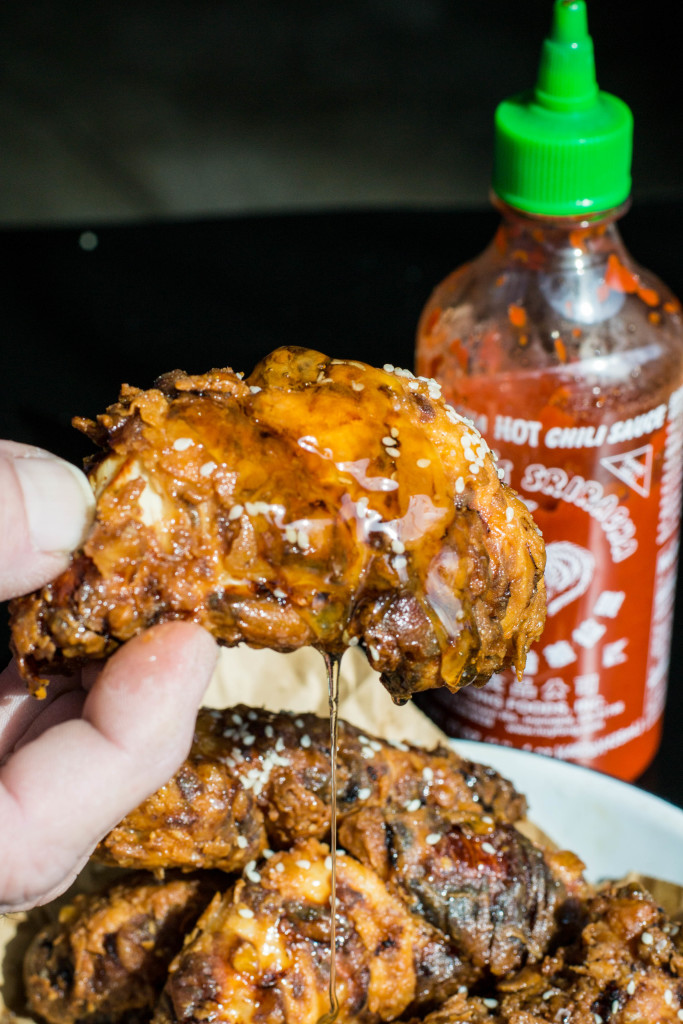
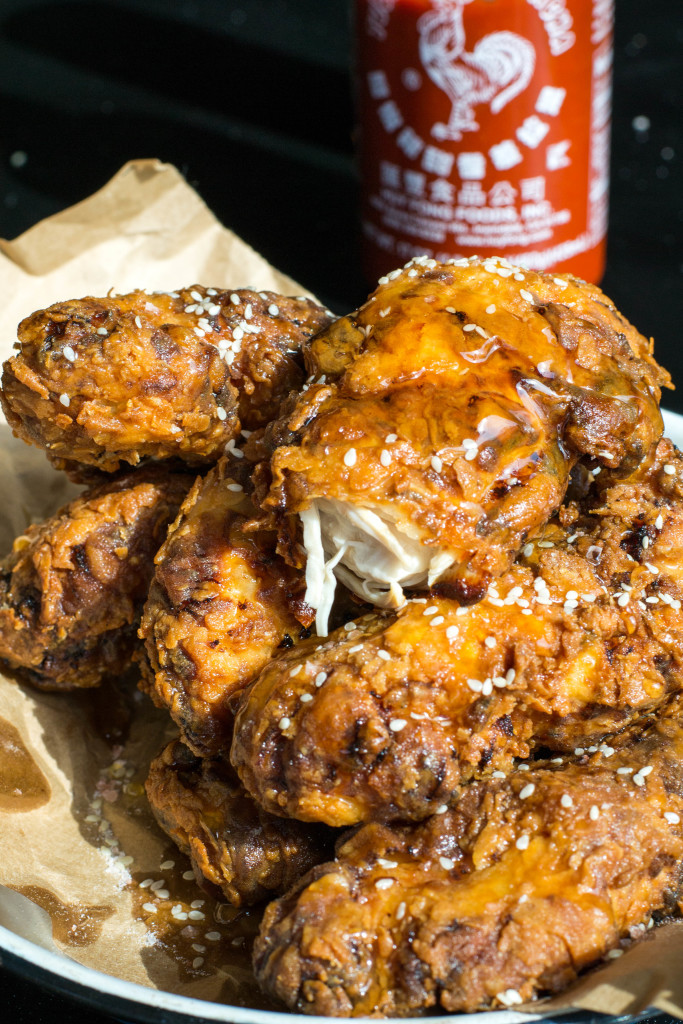
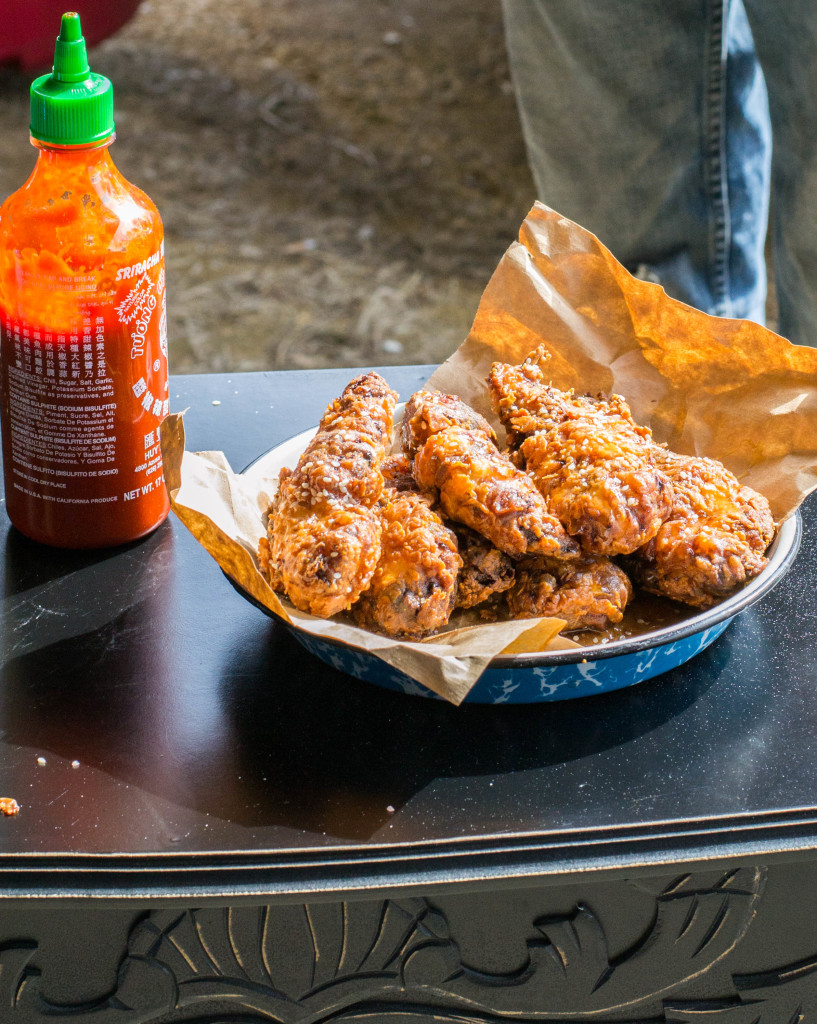
The meat was tender and juicy, and the coating was crispy. The addition of honey drizzled over the top and a dash of hot sauce. Lets just say nobody had a plate we just ate as it came out of the fryer.

Yeah it was that good!!

Pickle Brined Chicken Tenders

In the mood for chicken strips….a.k.a. chicken finger…… Pickle Brined Chicken Tenders are your bird!!!!!

Print
clock clock iconcutlery cutlery iconflag flag iconfolder folder iconinstagram instagram iconpinterest pinterest iconfacebook facebook iconprint print iconsquares squares iconheart heart iconheart solid heart solid icon

Pickle Brined Chicken Tenders

5 Stars 4 Stars 3 Stars 2 Stars 1 Star No reviews
  • Author: Adapted from Epicurious
  • Yield: 6

Ingredients

Scale
  • Brine:
  • 2 tablespoons yellow mustard seeds
  • 1 1/2 teaspoons coriander seeds
  • 1 cup apple cider vinegar
  • 2/3 cup kosher salt
  • 1/3 cup sugar
  • 1/4 cup chopped fresh dill
  • Chicken:
  • 3 pounds chicken tenders
  • Vegetable oil (for frying; about 10 cups)
  • 2 cups buttermilk
  • 2 cups all-purpose flour
  • Kosher salt
  • Honey, sea salt, sesame seeds, hot sauce (for serving)


Instructions

  1. Brine:
  2. Toast mustard and coriander seeds in a dry medium saucepan over medium heat, tossing often, until mustard seeds begin to pop, about 3 minutes. Add vinegar, salt, and sugar and bring to a boil. Reduce heat and simmer, stirring often, until salt and sugar are dissolved, about 4 minutes. Remove from heat; stir in dill and 4 cups water. Let cool.
  3. Chicken:
  4. Place chicken and brine in a large bowl, cover and chill for 3 hours. Remove chicken from brine, scraping off seeds, cover, and chill until ready to fry.
  5. Heat oil in deep fryer until 350°F.
  6. Place buttermilk in a large bowl. Place flour in another large bowl; season with kosher salt. Coat chicken in buttermilk, then dredge in flour, dipping your fingers in buttermilk as you pack flour on. Transfer to a baking sheet.
  7. Working in batches fry chicken, until skin is deep golden brown and crisp and chicken is cooked through, 6–8 minutes. Transfer to a wire rack set inside a baking sheet.
  8. Drizzle chicken with honey; sprinkle with sea salt and sesame seeds. Serve with hot sauce.