Roasted Red Pepper Pasta

Looking for a quick and easy meal? Roasted Red Pepper Pasta to the rescue!

Roasted Red Pepper Pasta

Sometimes you get home from work and the last things you want to do is make dinner! You know I’m right……

Roasted Red Pepper Pasta

This pasta is super duper easy, and will have you from stove to plate in a flash.

Roasted red peppers in a jar are a God send in the kitchen. No work ……all the flavor. Roasting red peppers is great when you have the time but when you don’t…..grab a jar.

Roasted Red Pepper Pasta

Drain and chopped, the red peppers are added to walnuts, basil, a smige of sugar, and garlic. I also added a pinch of red pepper flakes for a touch of heat. Blend in a food processor, or blender. Leave it a bit chunky…..pesto like.

Angel hair pasta is one of my favorites. It cooks in just a few minutes, so when you want something easy it a good to go pasta!

Roasted Red Pepper Pasta

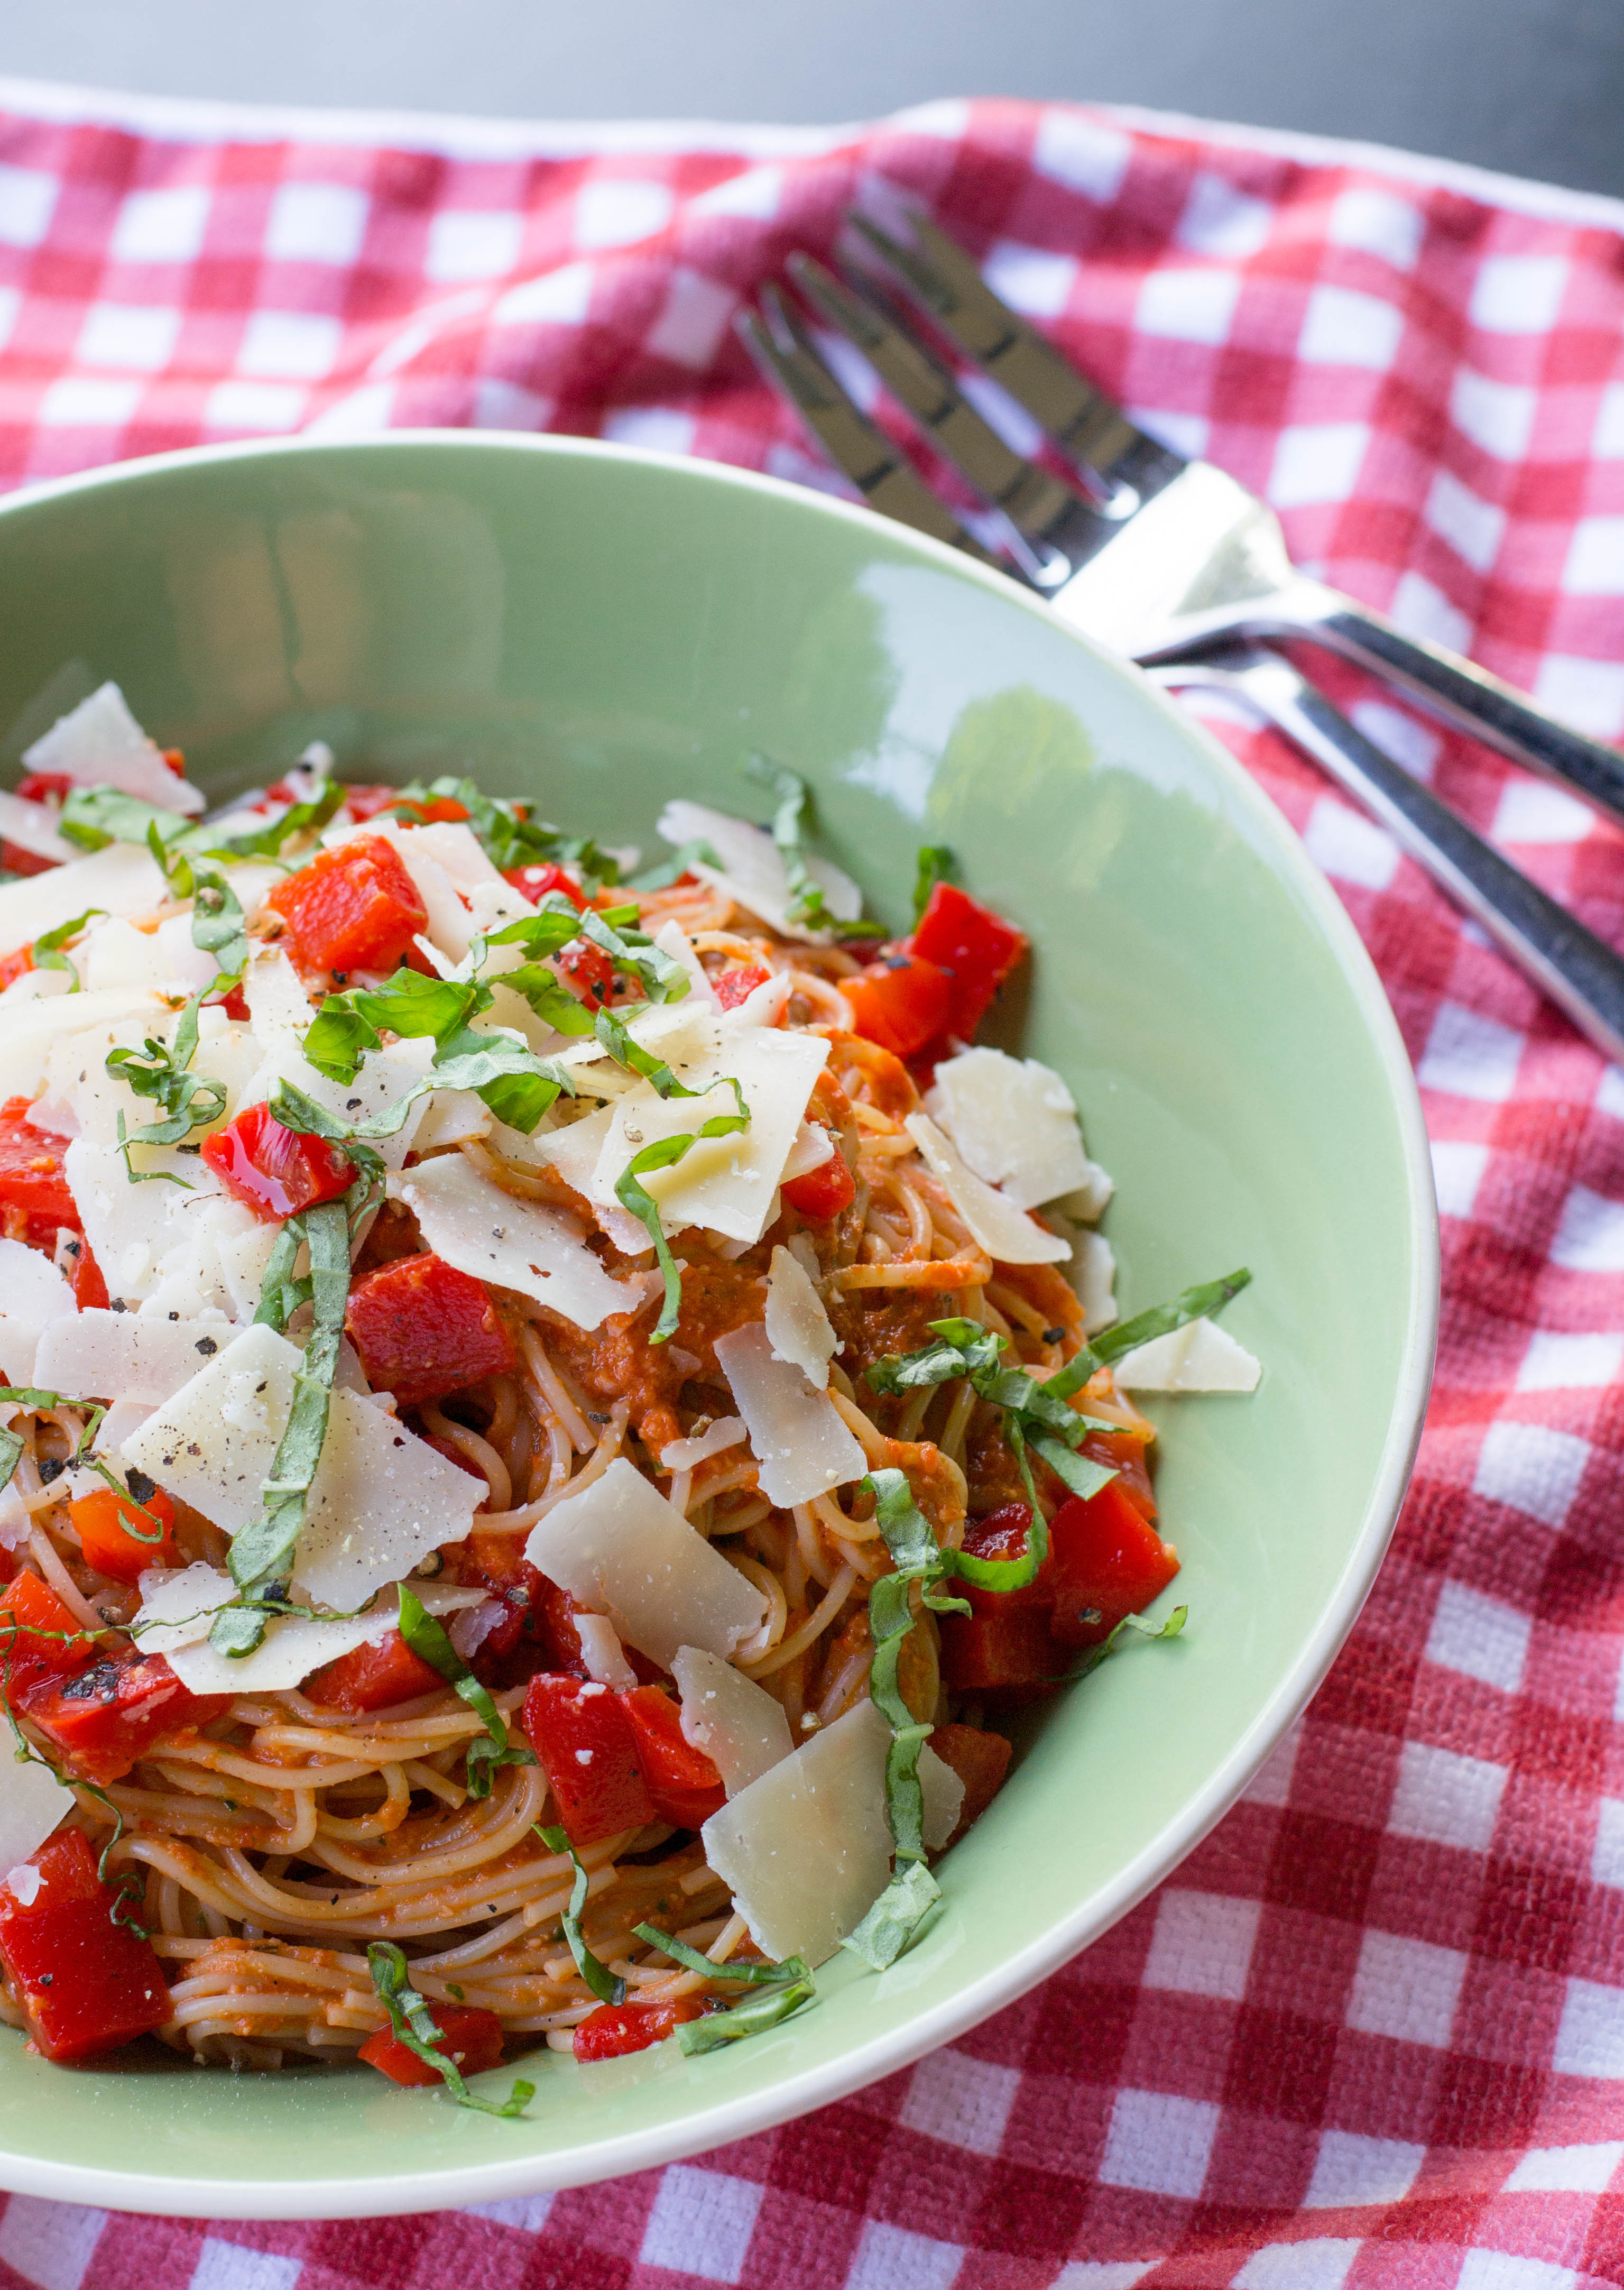
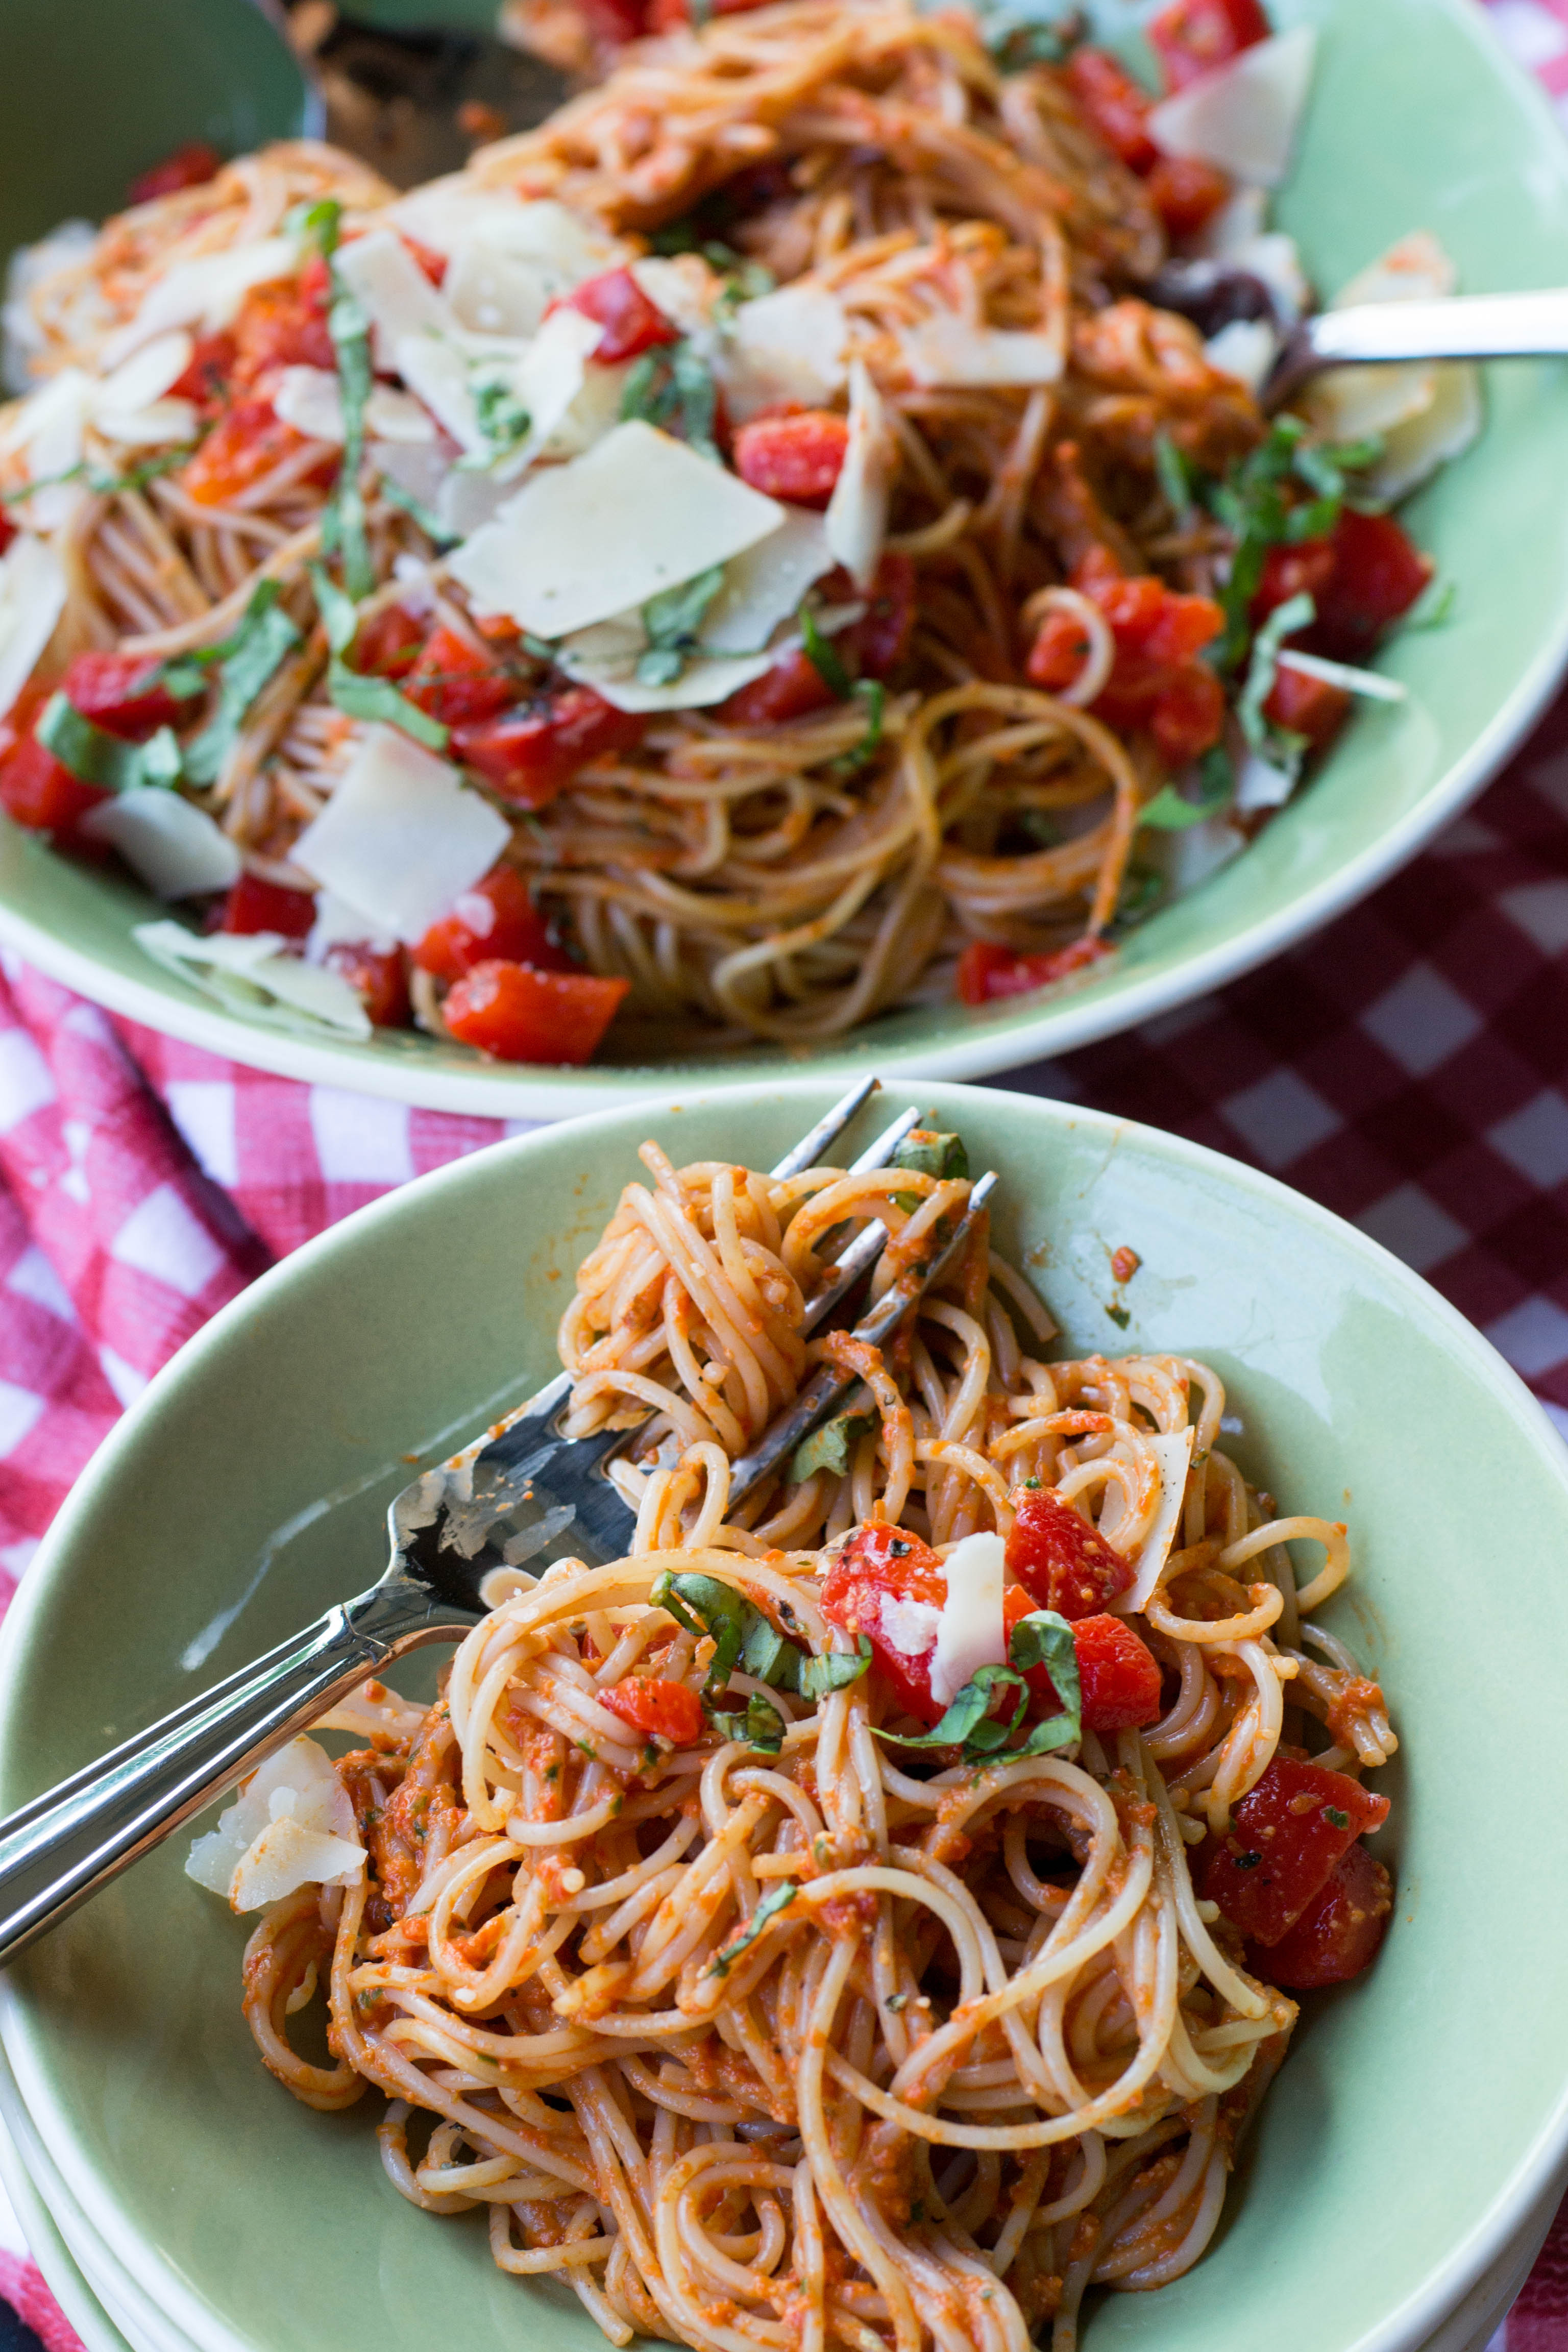
Drain the pasta and give it a quick rinse, then toss with the red pepper sauce.

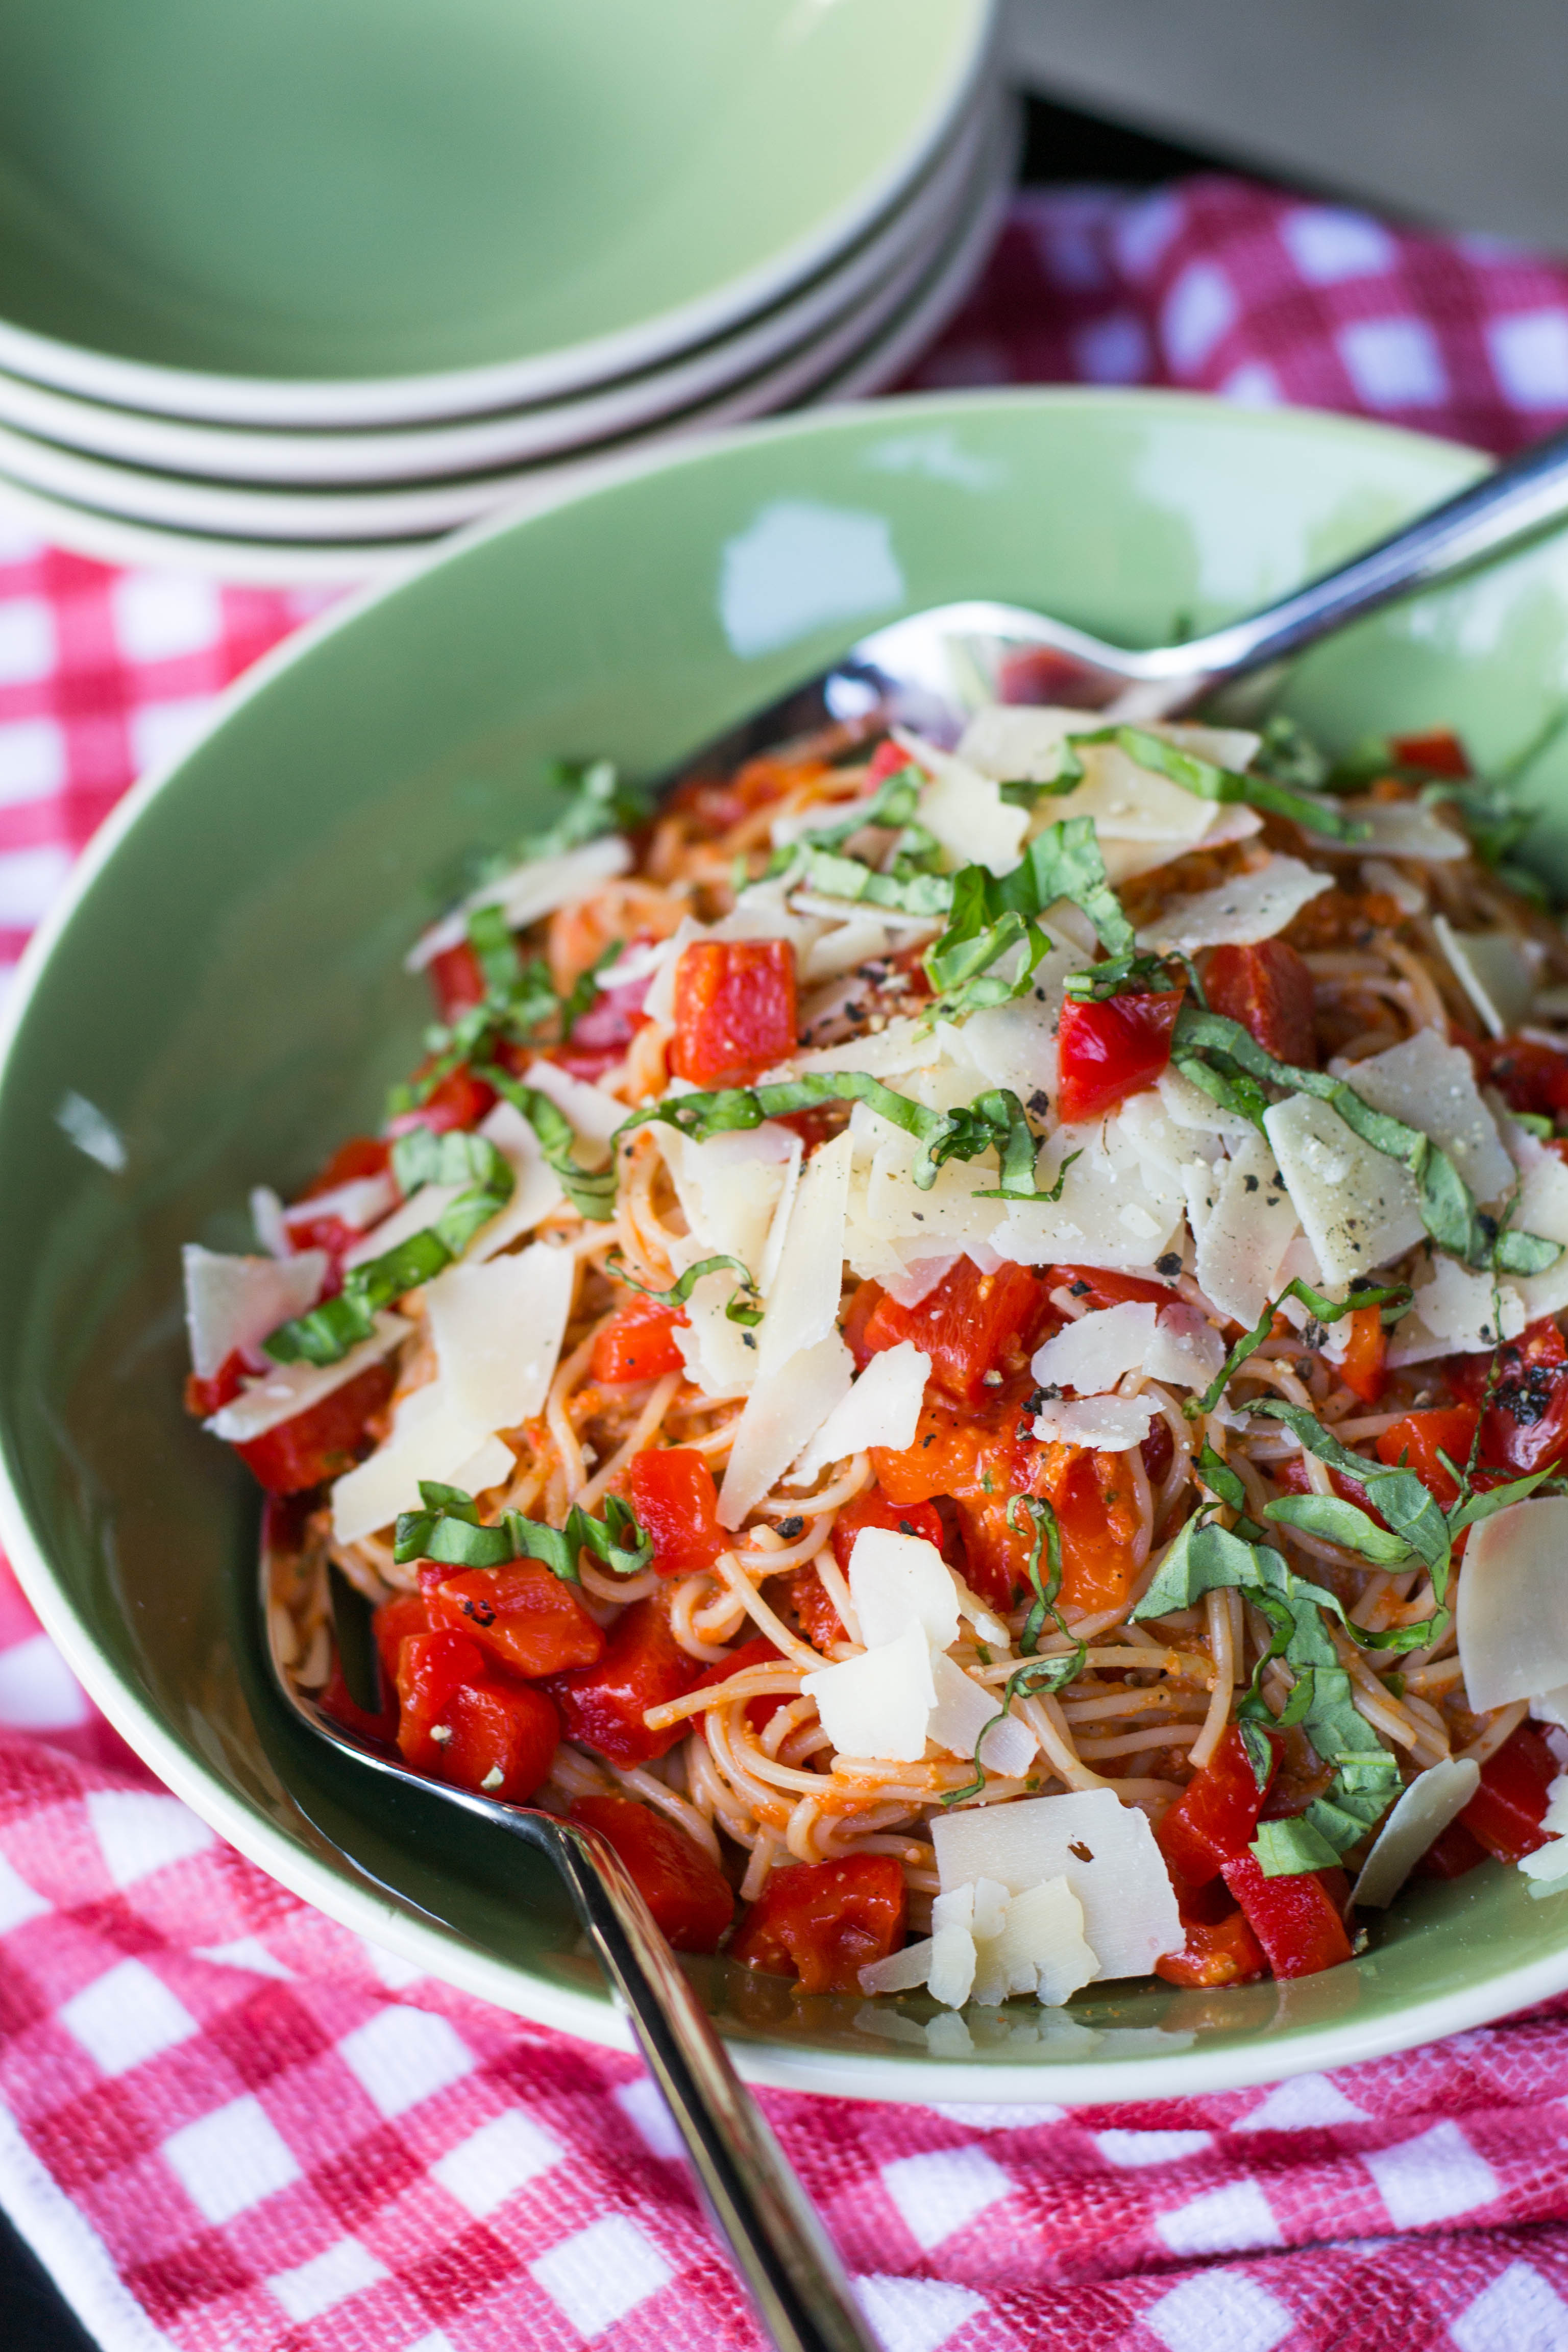
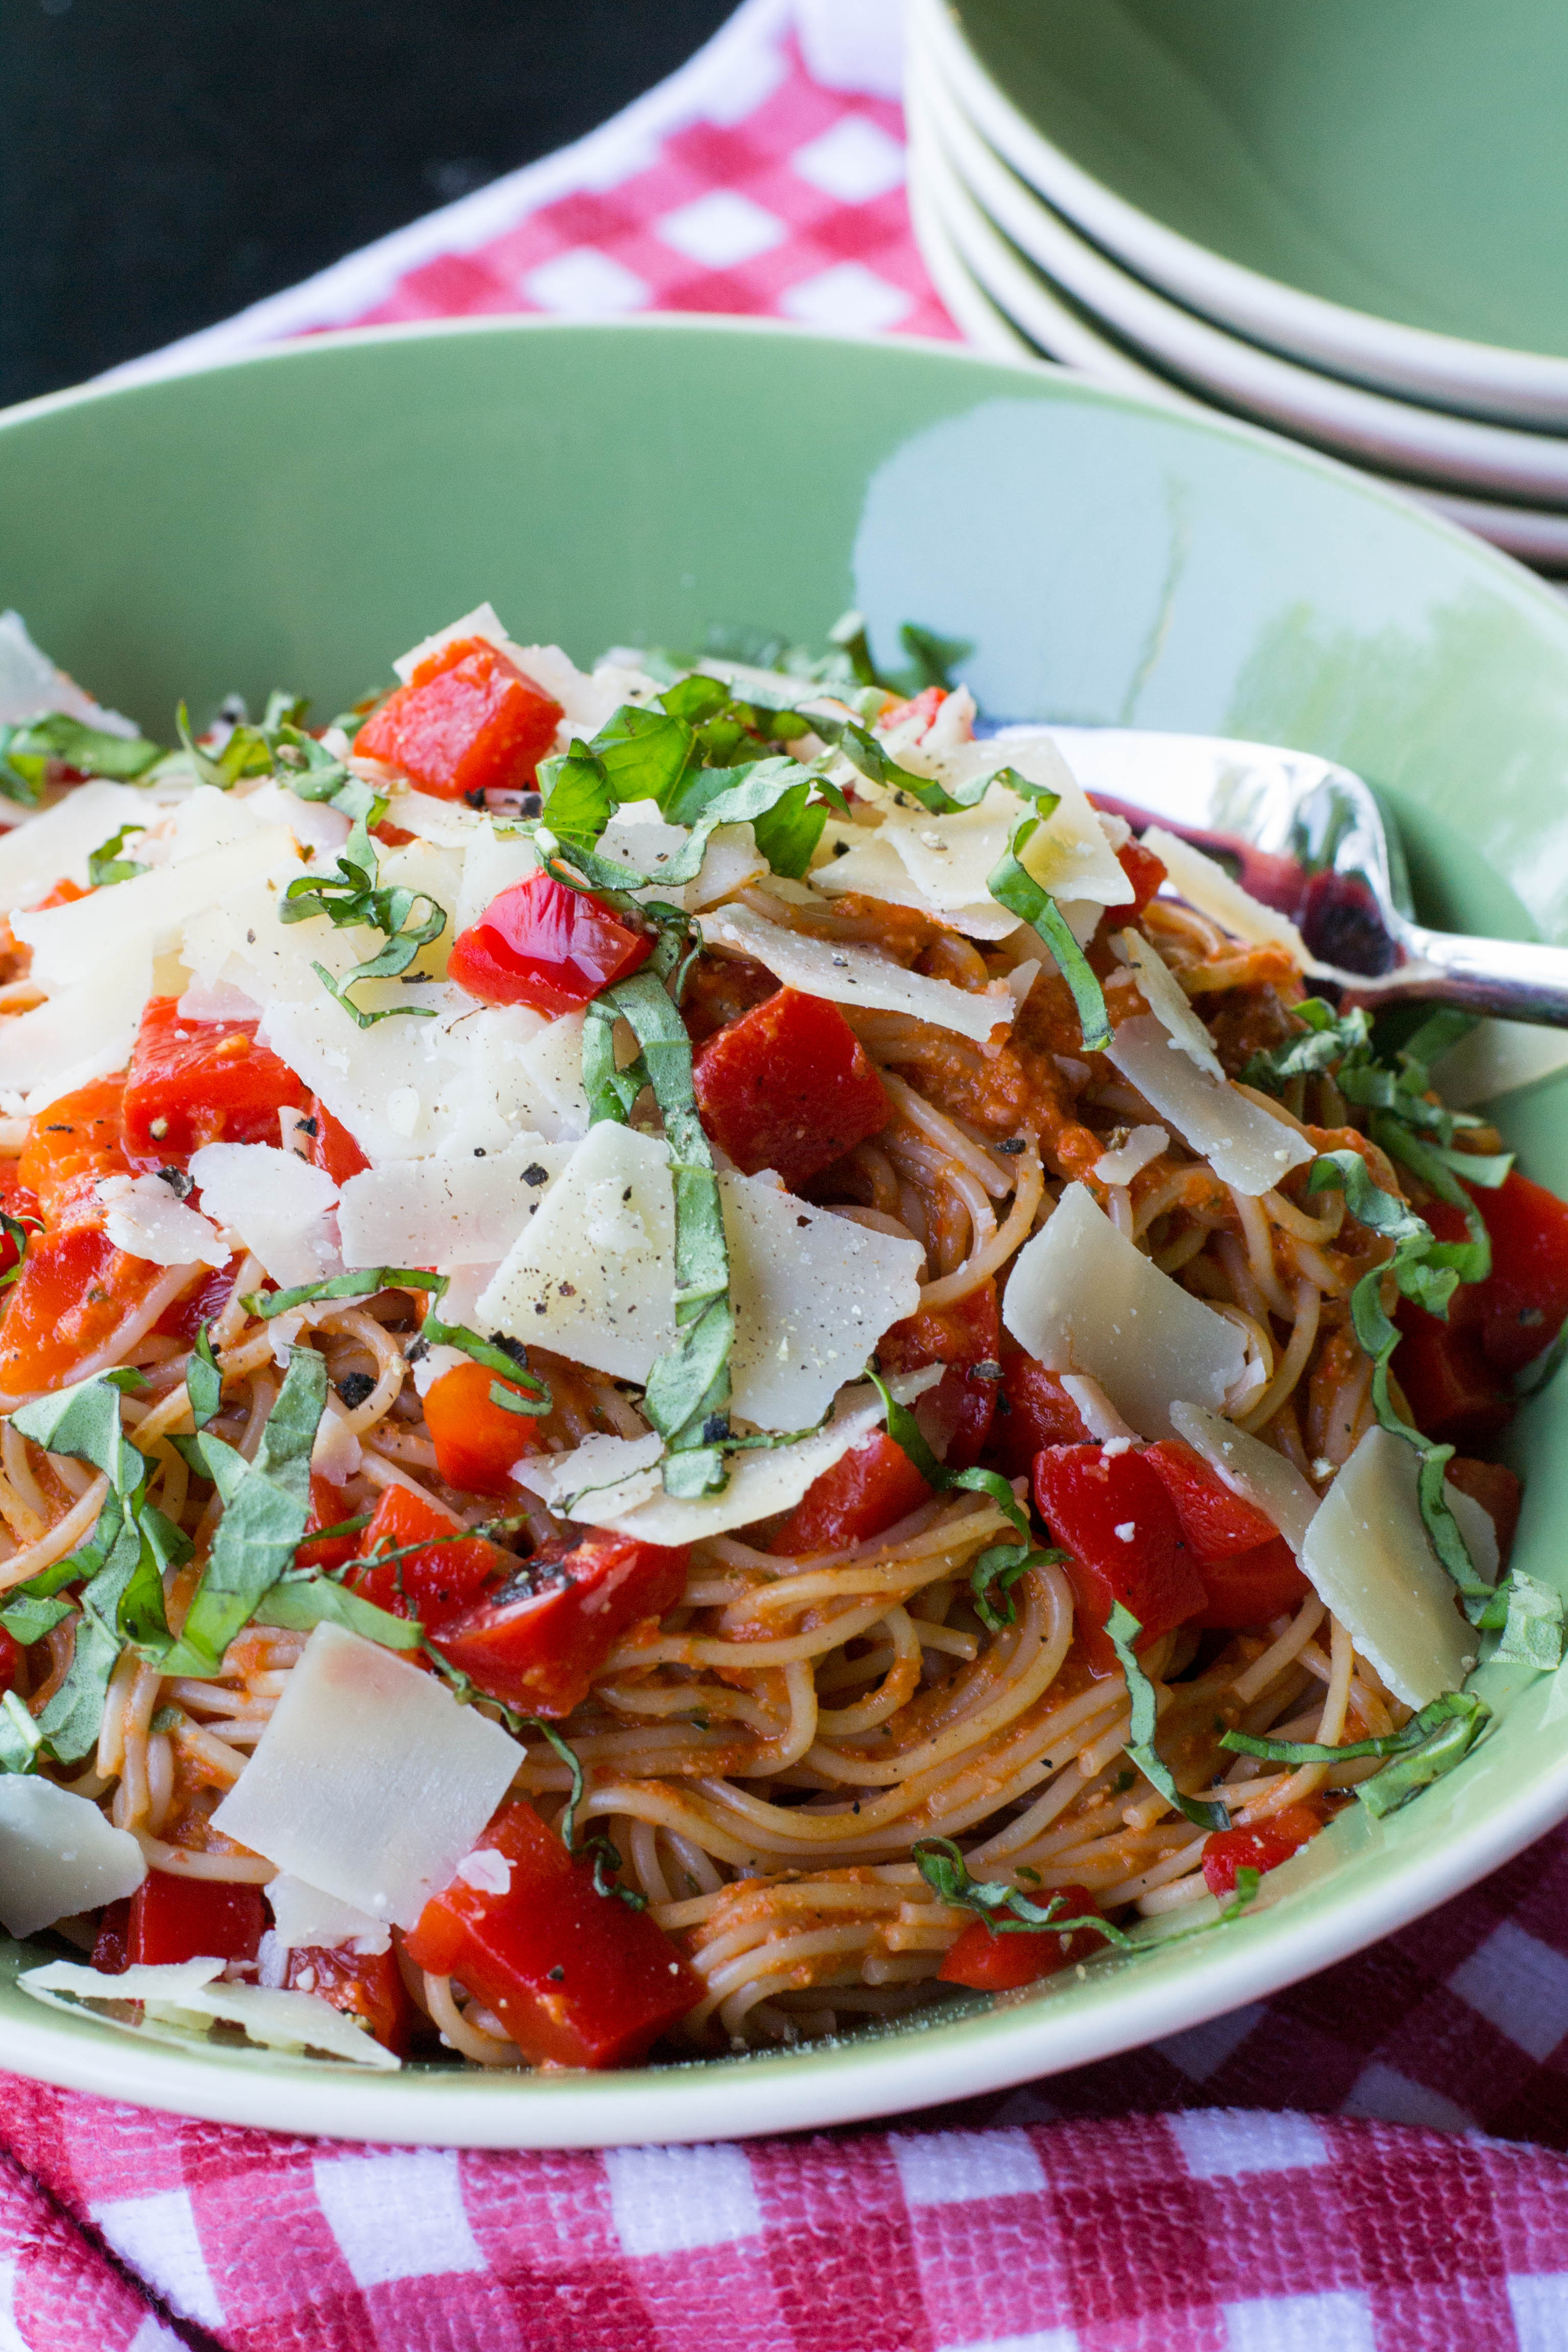
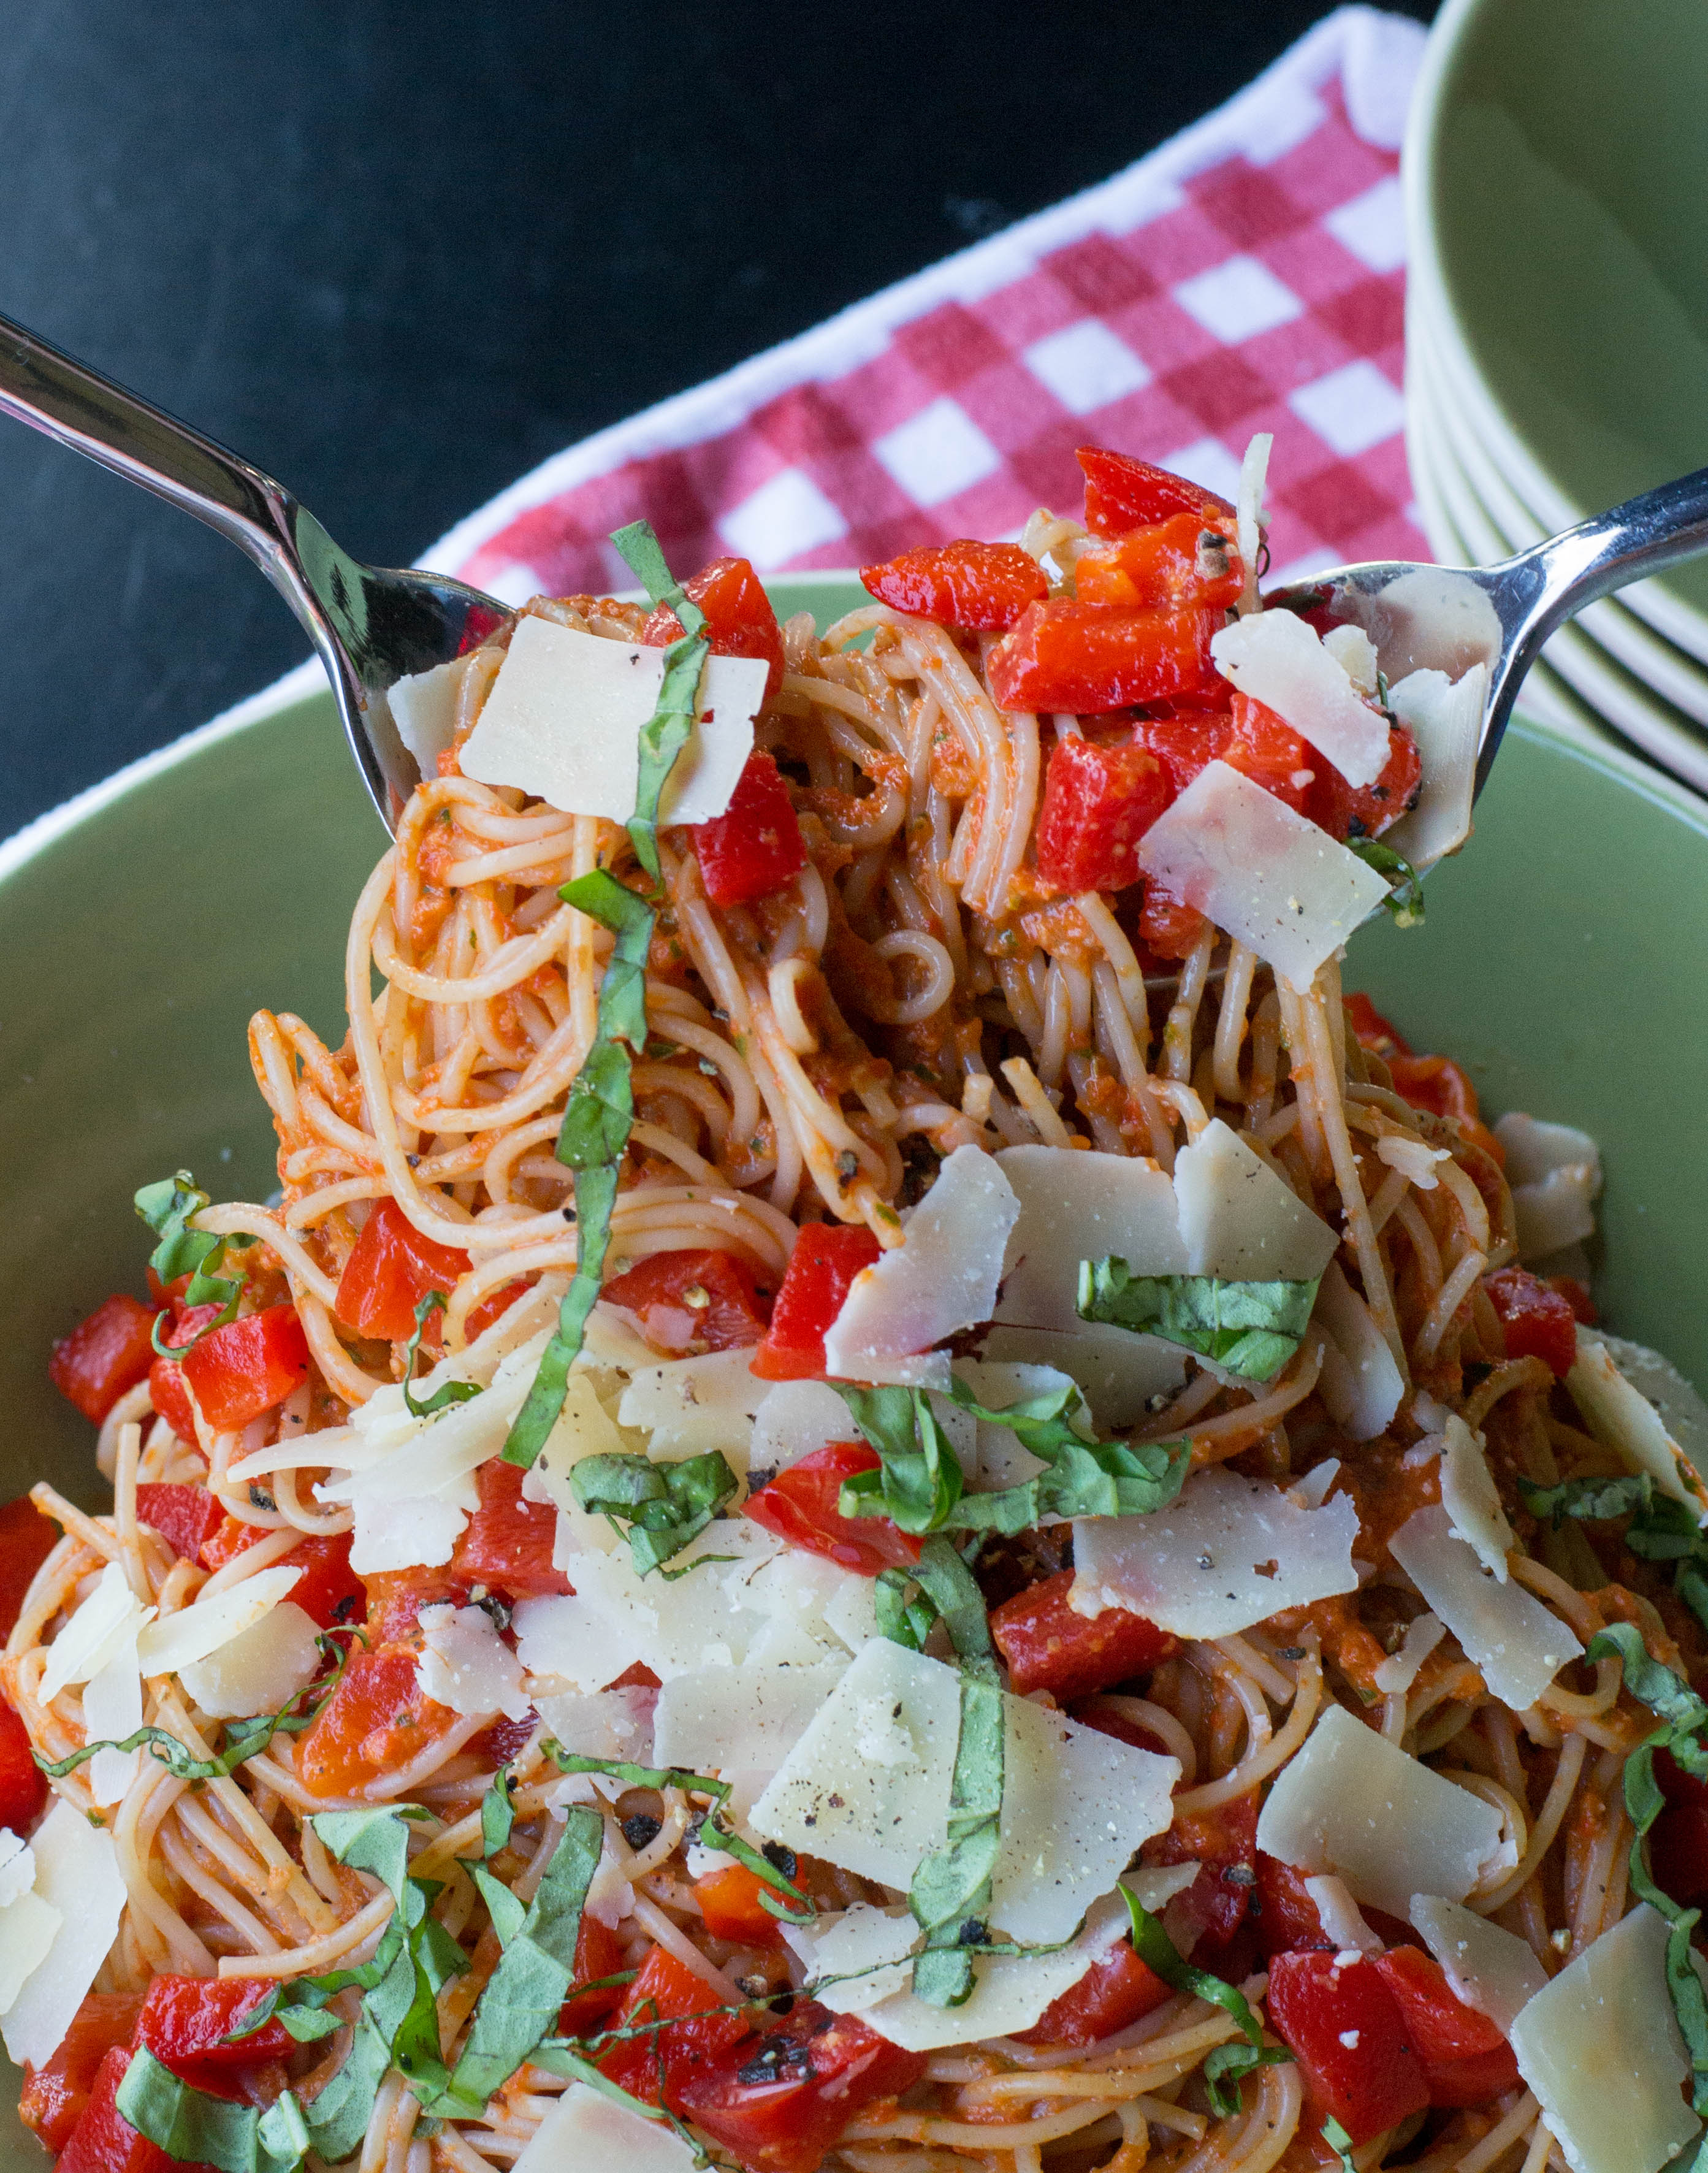
Garnish with the reserved red peppers and basil. Dinner is ready!!

Roasted Red Pepper Pasta

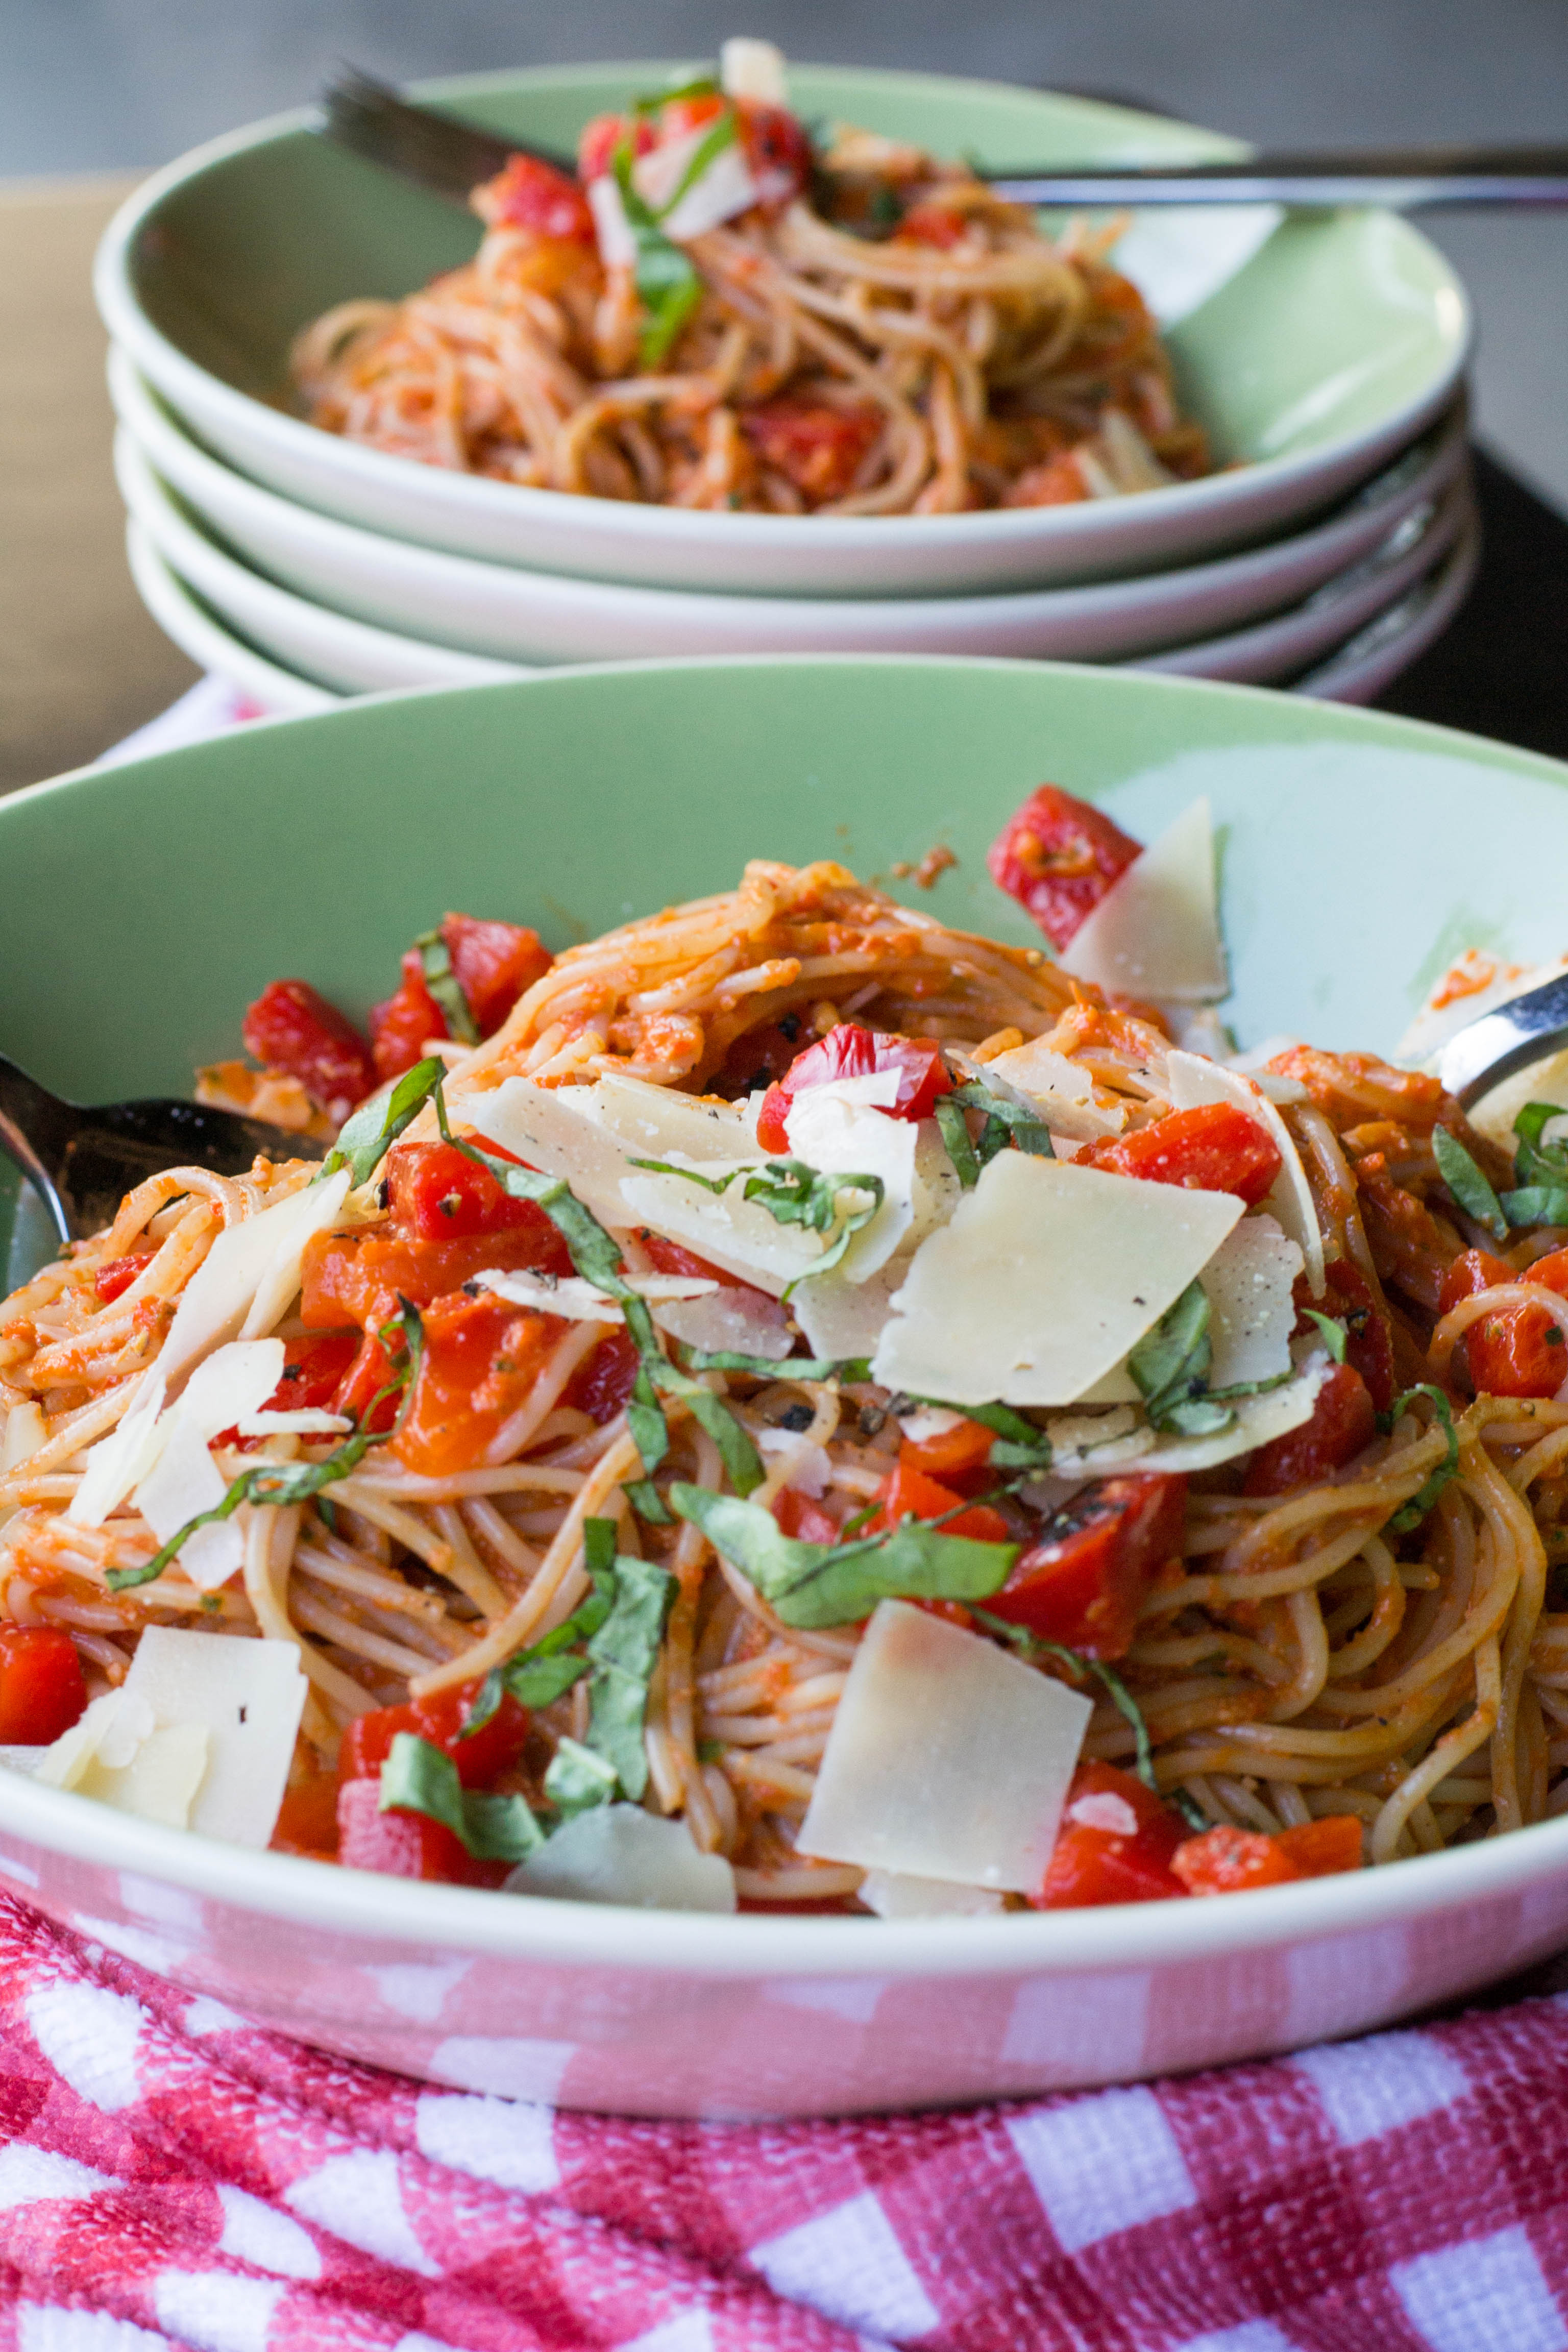
Serve Roasted Red Pepper Pasta with some crusty bread and a salad and you have a quick easy dinner thats on the table in a flash.

Roasted Red Pepper Pasta

Print
clock clock iconcutlery cutlery iconflag flag iconfolder folder iconinstagram instagram iconpinterest pinterest iconfacebook facebook iconprint print iconsquares squares iconheart heart iconheart solid heart solid icon

Roasted Red Pepper Pasta

5 Stars 4 Stars 3 Stars 2 Stars 1 Star No reviews
  • Author: Marty Boyd
  • Yield: 6

Ingredients

Scale
  • 1- 16 ounce jar roasted red peppers
  • 3 tablespoon walnuts
  • 1 tablespoon sugar
  • 1 clove, smashed
  • 1/4 cup basil leaves, plus more for garnish
  • 1/8 cup extra-virgin olive oil
  • Salt and freshly ground pepper
  • Pinch of red pepper flakes – optional
  • 1 pound angel hair pasta
  • 1/2 cup shaved parmesan cheese


Instructions

  1. Drain and chop the peppers, reserving 1/2 cup for garnish.
  2. In a small skillet, toast the walnuts over moderate heat until golden, and let cool.
  3. Transfer the peppers and walnuts to a blender. Add the garlic and basil leaves, blending until coarsely chopped. Add the olive oil and puree to a chunky pesto. Season with salt and pepper and red pepper flakes if using.
  4. Cook pasta until al dente. Drain and cool slightly under running water. Transfer the pasta to a bowl and toss with the red pepper pesto. Season the pasta with salt and pepper. Top with the chopped basil, reserved red peppers and parmesan cheese. Serve at room temperature.


Thai Chicken Pizza

It’s the weekend….busy Saturdays call for take out? How about take in? Thai Chicken Pizza is the best of two carry out favorites.

Thai Chicken Pizza

When I think of carry out, I think of pizza and Chinese………..Thai Chicken Pizza is carry out combined.

Pizza is a weekend staple for us, and if you have read my blog you know, we love pizza, and have it at least once a week. I love Chinese food, Tim not so much, but he does like spicy, this pizza is all of those things.

Thai Chicken Pizza

Pizza, Chinese, spicy, plus easy to make! What could be better?

Now, pizza has to have sauce, Thai needs peanut sauce. I see a combo……no tomatoes here, but a spicy smooth peanut butter sauce than is the perfect “pizza sauce”.

Thai Chicken Pizza

Pre-made pizza crust make a pizza easy to make at a moment notice. I keep them on hand for that impromptu pizza moment……you know when you just gotta have a pizza.

Pre-grilled chicken strips……in the freezer section, makes it easy to have grilled chicken at the ready.

For toppings, chicken, bean sprouts, carrots, and green onions. Now I know that mozzarella cheese is not Thai or Chinese, but, no self respecting pizza is sans of cheese!

Thai Chicken Pizza

Mozzarella is a bit neutral so….perfect. Compliments but doesn’t over power.

Once the crust is loaded with toppings into the oven for about 10 minutes. I like a brownish cheese, so a few minutes under the broiler helps give that golden color.

But remember, it only take a minute to go from perfect, to slightly more than golden…..a.k.a. burnt! So watch your pizza carefully if you broil.

Thai Chicken Pizza

Once you have that perfect golden cheese, remove the pizza and garnish with the green part of the green onions, cashews, cilantro, and if desired the cooling coconut cream.

Funny story……the day I made this pizza, I made the coconut cream and put it in the frig, so when the pizza was ready and I was taking pictures I could garnish with the cream………I forgot the cream until the next day…..yikes!

So, none of the pictures have the cream in them but, when I reheated a piece the next day I put the coconut cream on the pizza……..OMG it was awesome!

So, this weekend when you want take out – in…….. Thai Chicken Pizza.

Thai Chicken Pizza

But be sure to set the coconut cream out when asking the pizza so you can enjoy the total taste experience…..you won’t be sorry!

Print
clock clock iconcutlery cutlery iconflag flag iconfolder folder iconinstagram instagram iconpinterest pinterest iconfacebook facebook iconprint print iconsquares squares iconheart heart iconheart solid heart solid icon

Thai Chicken Pizza

5 Stars 4 Stars 3 Stars 2 Stars 1 Star No reviews
  • Author: Marty Boyd
  • Yield: 4

Ingredients

Scale
  • 1 pre-made pizza crust, I like Boboli
  • 1/2 of 22 ounce bag Tyson Grilled and Ready Chicken Breast Strips
  • Peanut Pizza Sauce
  • 1 tablespoons reduced sodium soy sauce
  • 2 tablespoons water
  • 1/4 cup brown sugar
  • 1 tablespoon lime juice
  • 1 teaspoon fish sauce
  • 1/2 teaspoon Sriracha/Asian hot chili sauce (optional)
  • 1/2 teaspoon garlic powder
  • 1/2 teaspoon dry basil
  • 1 teaspoon fresh grated ginger
  • Salt & Pepper to taste
  • 1/2 cup peanut butter
  • Toppings
  • 6 green onions onion, thinly sliced, separating the white and green parts
  • 1 cup shredded mozzarella cheese
  • 1/2 cup white bean sprouts
  • 1/3 cup shredded carrots
  • Cashews, chopped
  • cilantro, chopped
  • Coconut Cream
  • 1/2 of a 5.3 oz coconut yogurt
  • 1 1/2 tablespoons mayonnaise
  • 1/2 teaspoons honey
  • 1/2 teaspoon lime juice


Instructions

  1. Coconut Cream: Whisk all the ingredients together in a medium bowl until smooth. Store in the refrigerator.
  2. Preheat oven to 400 degrees
  3. In a medium sauce pan whisk all the peanut pizza sauce ingredients. Heat over medium high heat until the peanut butter has melted and the sauce is smooth.
  4. Place pizza crust on a pizza stone or baking sheet.
  5. Spread peanut pizza sauce over crust.
  6. Top with sprouts, carrots, white part of green onion,and chicken.
  7. Sprinkle mozzarella cheese evenly over pizza.
  8. Bake for 10 minutes or until cheese is starting to brown. You can broil to achieve desired brownness.
  9. Garnish with, green part of the green onion, cashews, cilantro and Coconut Cream.


Sweet and Spicy Chicken Kabobs

Whether Mother Nature like its or not, its time to grill…… Sweet and Spicy Chicken Kabobs.

Sweet and Spicy Chicken Kabobs

When boneless skinless chicken is on sale……. you stock up! After all you never know when a chicken idea will come across your mind.

Kabobs are a perfect summer griller. I did not use them for this recipe as I only have two and we had a few more people than that for dinner, but if you can find kabob baskets……buy them. Much easier to turn, and nothing falls off the skewer or spins around……you know what I’m talking about!

Sweet and Spicy Chicken Kabobs

But, I used bamboo screwers for this recipe and soaked them for a few hours so they didn’t burn during cooking.

The biggest part of the recipe, is making sure you have similar size chunks of meat and veggies. I prepped my meat and veggies ahead, so when the time came I just had to skewer them.

Sweet and Spicy Chicken Kabobs

Strips of bacon, woven in-between keeps the meat moist and gives the kabobs that smoky bacon flavor.

The real start of the show, is the sauce, sweet and spicy……..pineapple juice, brown sugar, soy sauce, and a nice pinch of red pepper flakes for heat.

Sweet and Spicy Chicken Kabobs

So, you all know that a pinch wasn’t really how much I used, being the house of spice. But, for normal folks, a pinch will add just the right amount of heat.

Cornstarch thickens the sauce and gives it that nice shine you get from cornstarch. Brush the sauce during just the last few minutes of grilling as the sauce will burn quickly.

Serve the extra sauce on the side along with some steam rice and you have a perfect summer meal.

Sweet and Spicy Chicken Kabobs

Sweet and Spicy Chicken Kabobs ………get your grill on!

Print
clock clock iconcutlery cutlery iconflag flag iconfolder folder iconinstagram instagram iconpinterest pinterest iconfacebook facebook iconprint print iconsquares squares iconheart heart iconheart solid heart solid icon

Sweet and Spicy Chicken Kabobs

5 Stars 4 Stars 3 Stars 2 Stars 1 Star No reviews
  • Author: Marty Boyd
  • Yield: 6

Ingredients

Scale
  • 2 pounds boneless, skinless chicken breasts, cut into 1 1/2 chunks
  • 1 large fresh pineapple, cut into inch chunks
  • 2 large red bell peppers, cut into inch pieces
  • 1 large onion, cut into inch pieces
  • 12 strips of thick applewood smoked bacon
  • FOR SAUCE:
  • 1½ cups pineapple juice
  • 1½ tablespoons cornstarch
  • 3/4 cup brown sugar
  • 2 tablespoons soy sauce
  • Pinch of red pepper flakes or to taste.
  • 6 bamboo skewers, soaked in water for several hours.


Instructions

  1. To make the sauce: Combine cornstarch and brown sugar in a large sauce pan, whisk until combined. Add remaining ingredients and bring the mixture to a boil, reduce the heat to medium and simmer for 2 minutes or until thickened. Set-aside until ready to use.
  2. Begin with a pieces of bacon and weave around each piece of chicken and pineapple, then place the bell pepper and onion together and weave the bacon around both of those. Continue weaving until you have 4 pieces of chicken on each kabob. Spray kabobs with non stick cooking spray ( I use coconut oil spray)
  3. Preheat the grill to medium high. Grill the kabobs for 10-15, turning a couple of times, until done.
  4. Brush with sauce during the last few minutes of grilling.
  5. Serve with remaining sauce and steamed rice.