Heat oil in medium sauce pan over medium heat. Sauté shallots until softened about 5 minutes. Reducing heat to medium low if necessary. You do not want to brown the shallots. Add ginger and sauté until fragrant another minute or two.
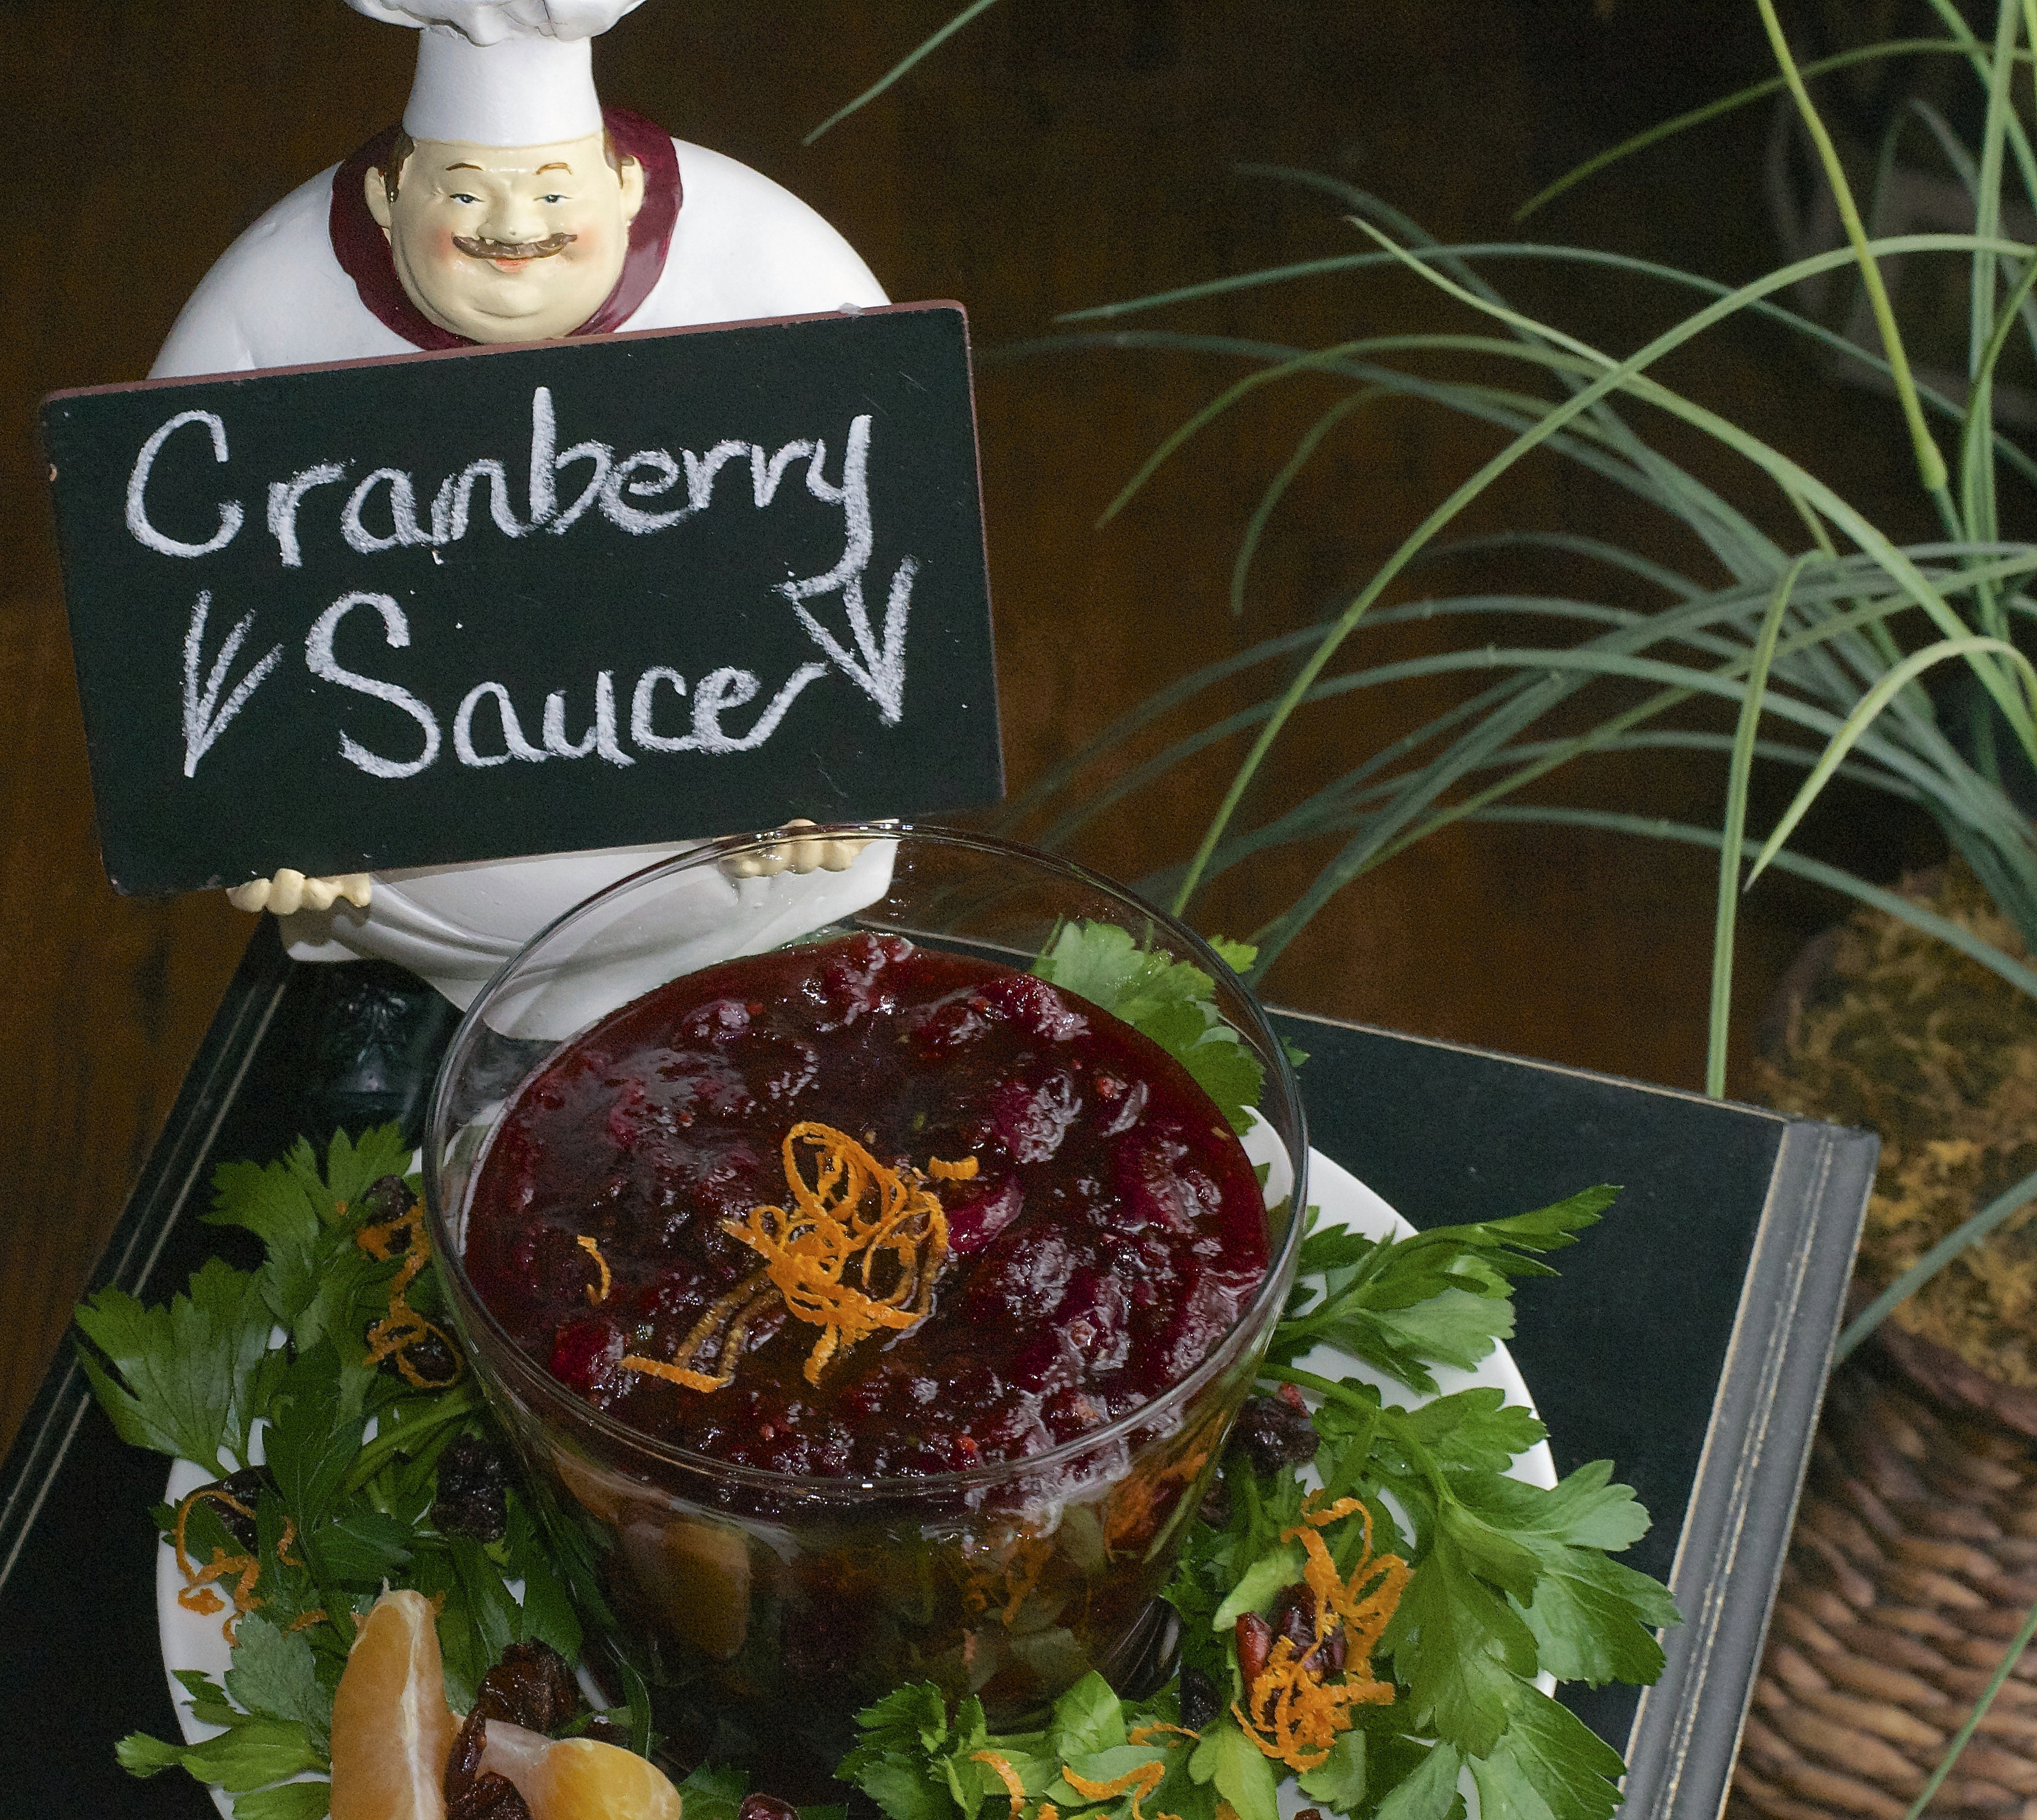
Add cranberries,both sugars,vinegar,orange juice, and cinnamon stick. Bring to a boil. Reduce heat, add rosemary and simmer for 10 minutes until the cranberries have burst and sauce begins to thicken. Remove from heat and remove cinnamon stick. Stir in orange zest and cool.
Store in airtight container in refrigerator up to 10 days.
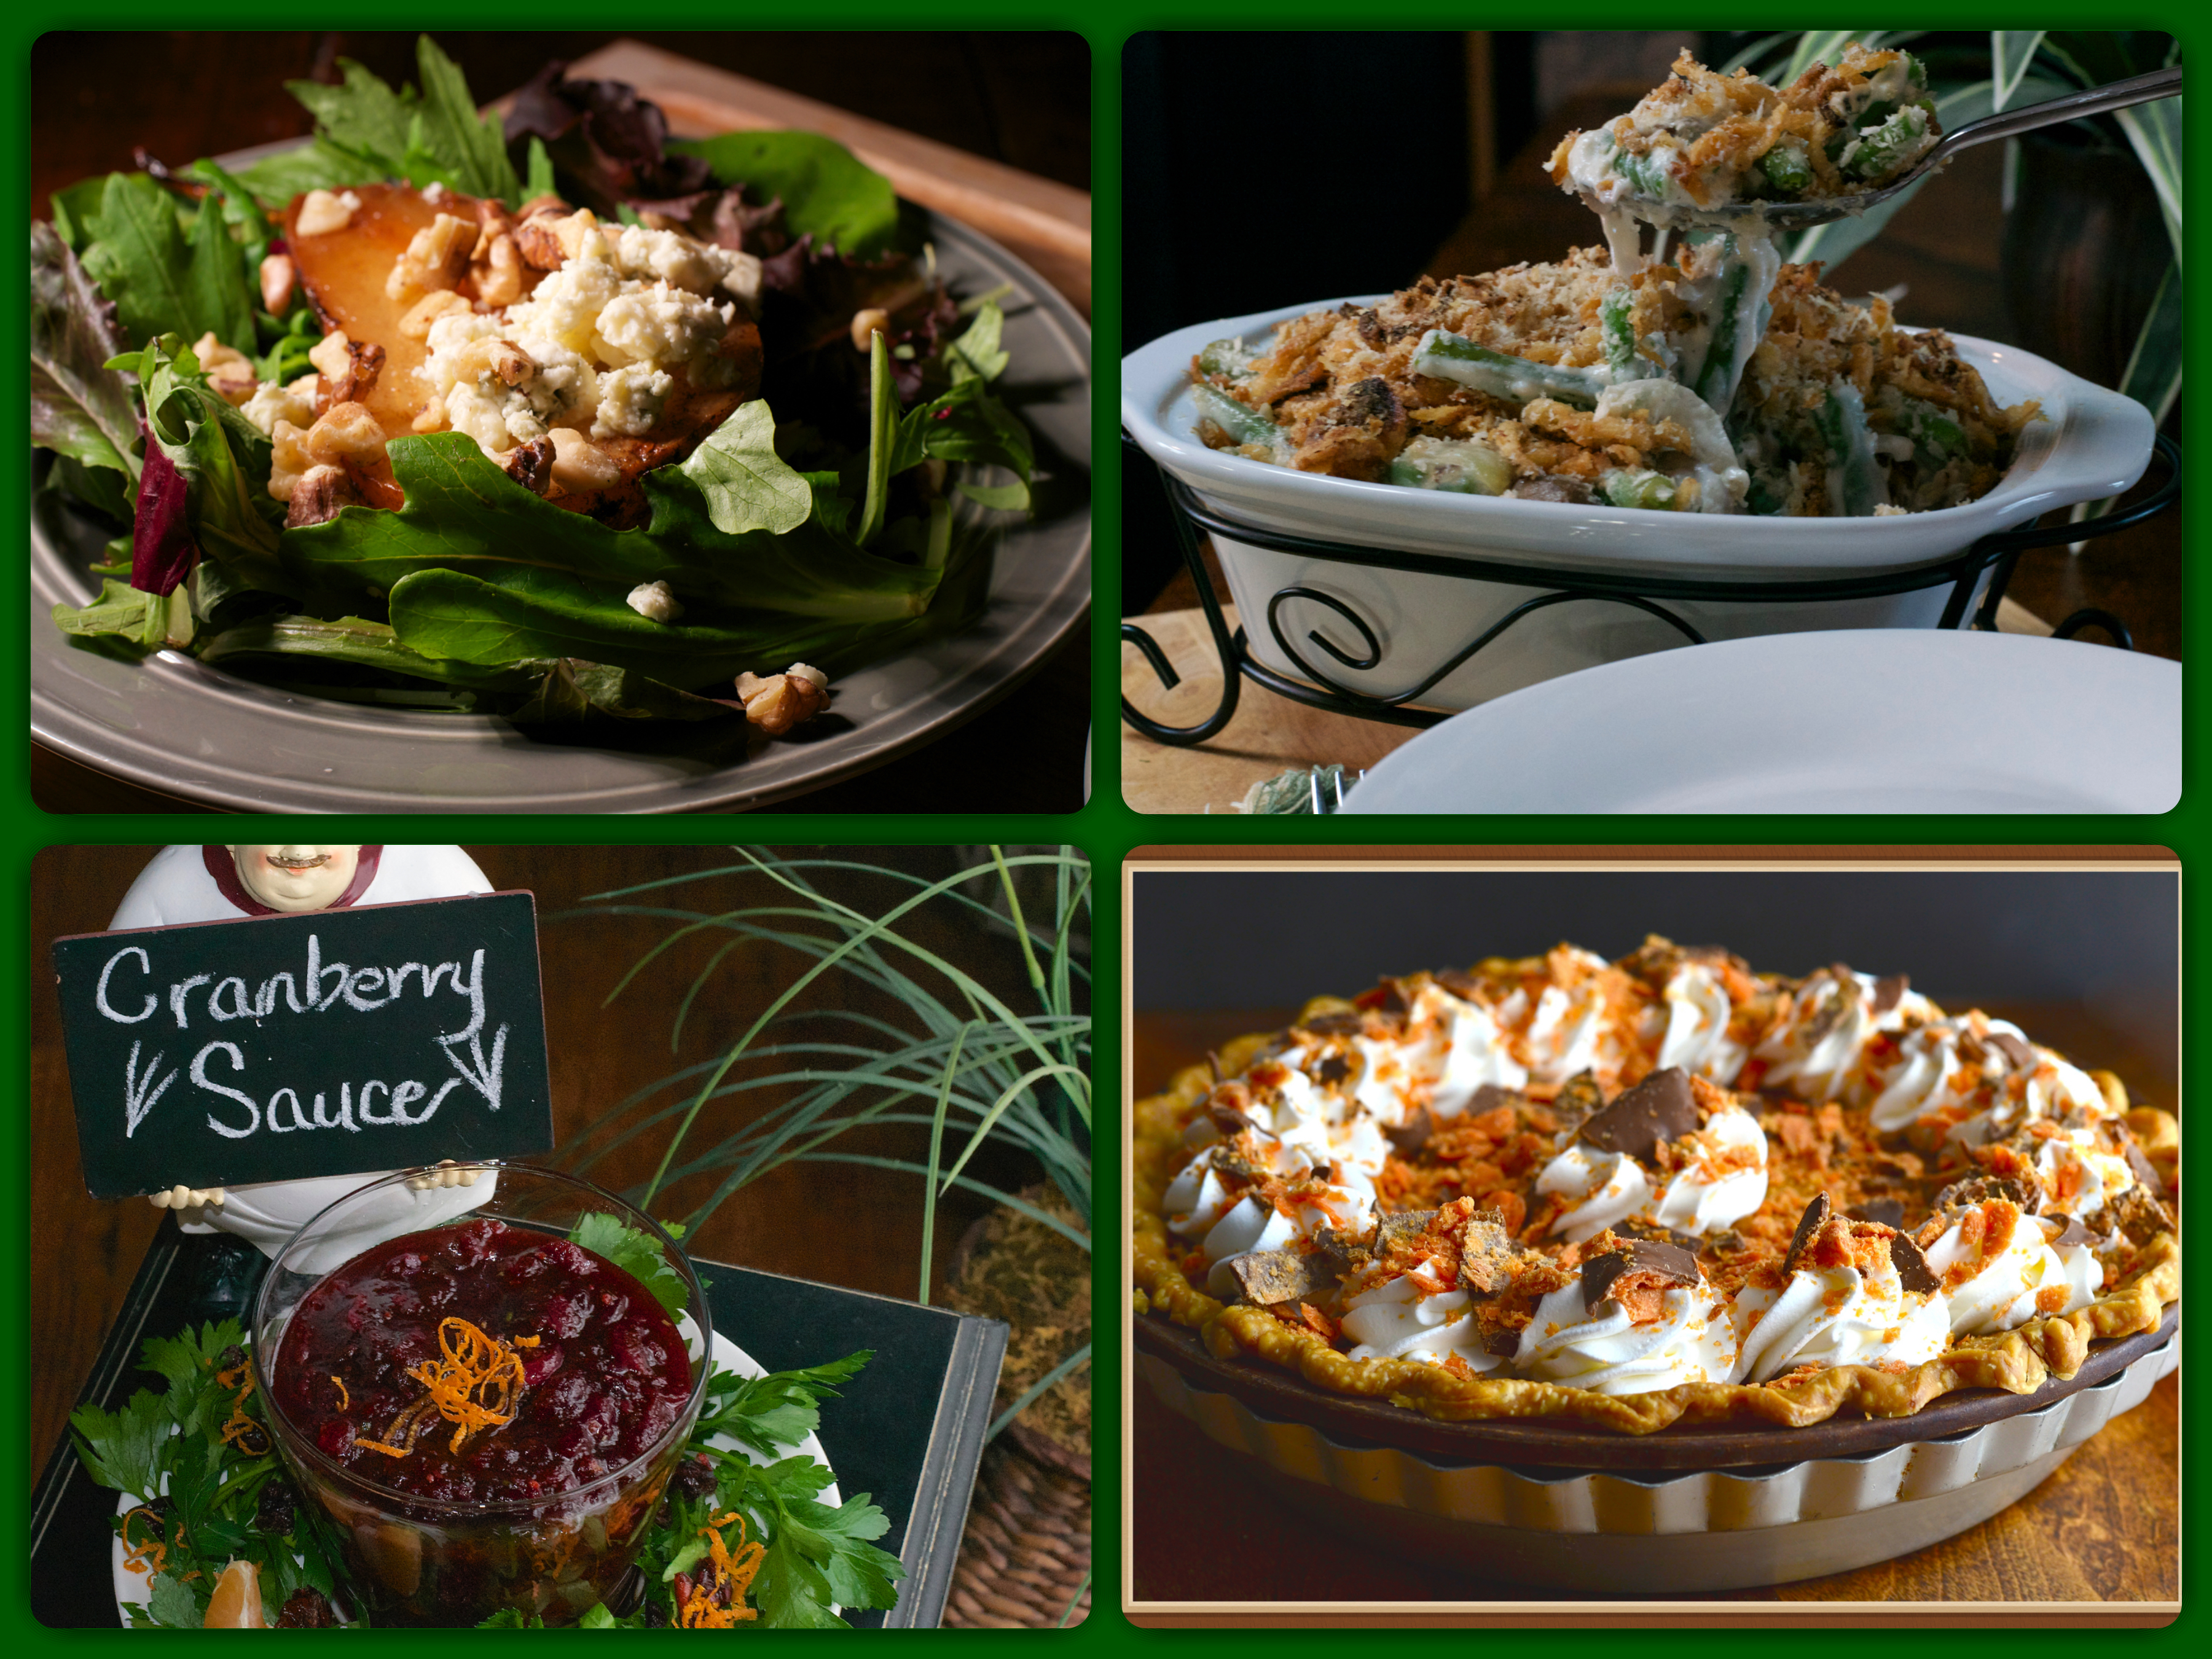
Green Bean Casserole
All the flavor of the traditional but homemade……with a little store bought…….can beat those french fried onions……get the recipe here Green Beans Casserole Recipe
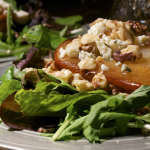
Pear Salad
This is sure to be a show stopper. It’s a beautiful salad and the taste of the roasted pears will surely be remembered by your guests…….get the recipe here Roasted Pear Salad
Butterfinger Pie
I am all for the traditional Pumpkin pie, but not everyone likes pumpkin pie, so why not switch it up and have a Butterfinger pie. This is one of my oldest and most favorite recipes……….make it as a second option. My bet is on the Butterfinger to be gone first…..get the recipe here Butterfingers Pie.
Tim and I wish you and your family a Happy Thanksgiving and hope you will try at least one of our sides for your Thanksgiving fare. Enjoy!
The green bean casserole was first created in 1955 by the Campbell Soup Company. Dorcas Reilly led the team that created the recipe while working as a staff member in the home economics department. The inspiration for the dish was “to create a quick and easy recipe” around two things most Americans always had on hand in the 1950s: green beans and Campbell’s Cream of Mushroom Soup.
The tradition of this casserole has been here for almost 60 years. Now, sometimes “if it ain’t broke don’t fix it”……well this wasn’t so much broke, as it needed an update.
Canned vegetable to my mind are mushy and oddly colored. I prefer fresh. Canned cream of mushroom soup…….everyone grew up with it as the base for…….well anything with the word casserole in it. Again I prefer homemade. Sure a little more time consuming, but come on……..it the holidays. Doesn’t your family deserve your very best?
Now, I have a story to tell about green bean casserole………I have a brother……he was married……..to a very nice woman who gave him an absolutely amazing son……..that being said…….she did not really cook, except on holidays and she always made….you guessed it…..Green Bean Casserole. It was perfectly fine, don’t get me wrong, but by this time I had become kind of a food snob. So, anything that was not made from scratch…….well I turned up my nose. I have eased up a bit on the homemade thing……not a lot but some…….after they divorced it was kind of a joke that we wouldn’t be having green bean casserole anymore.
Ok……. so I swooped in on my white…..apron……… and revamped the recipe so it was part homemade, part traditional.
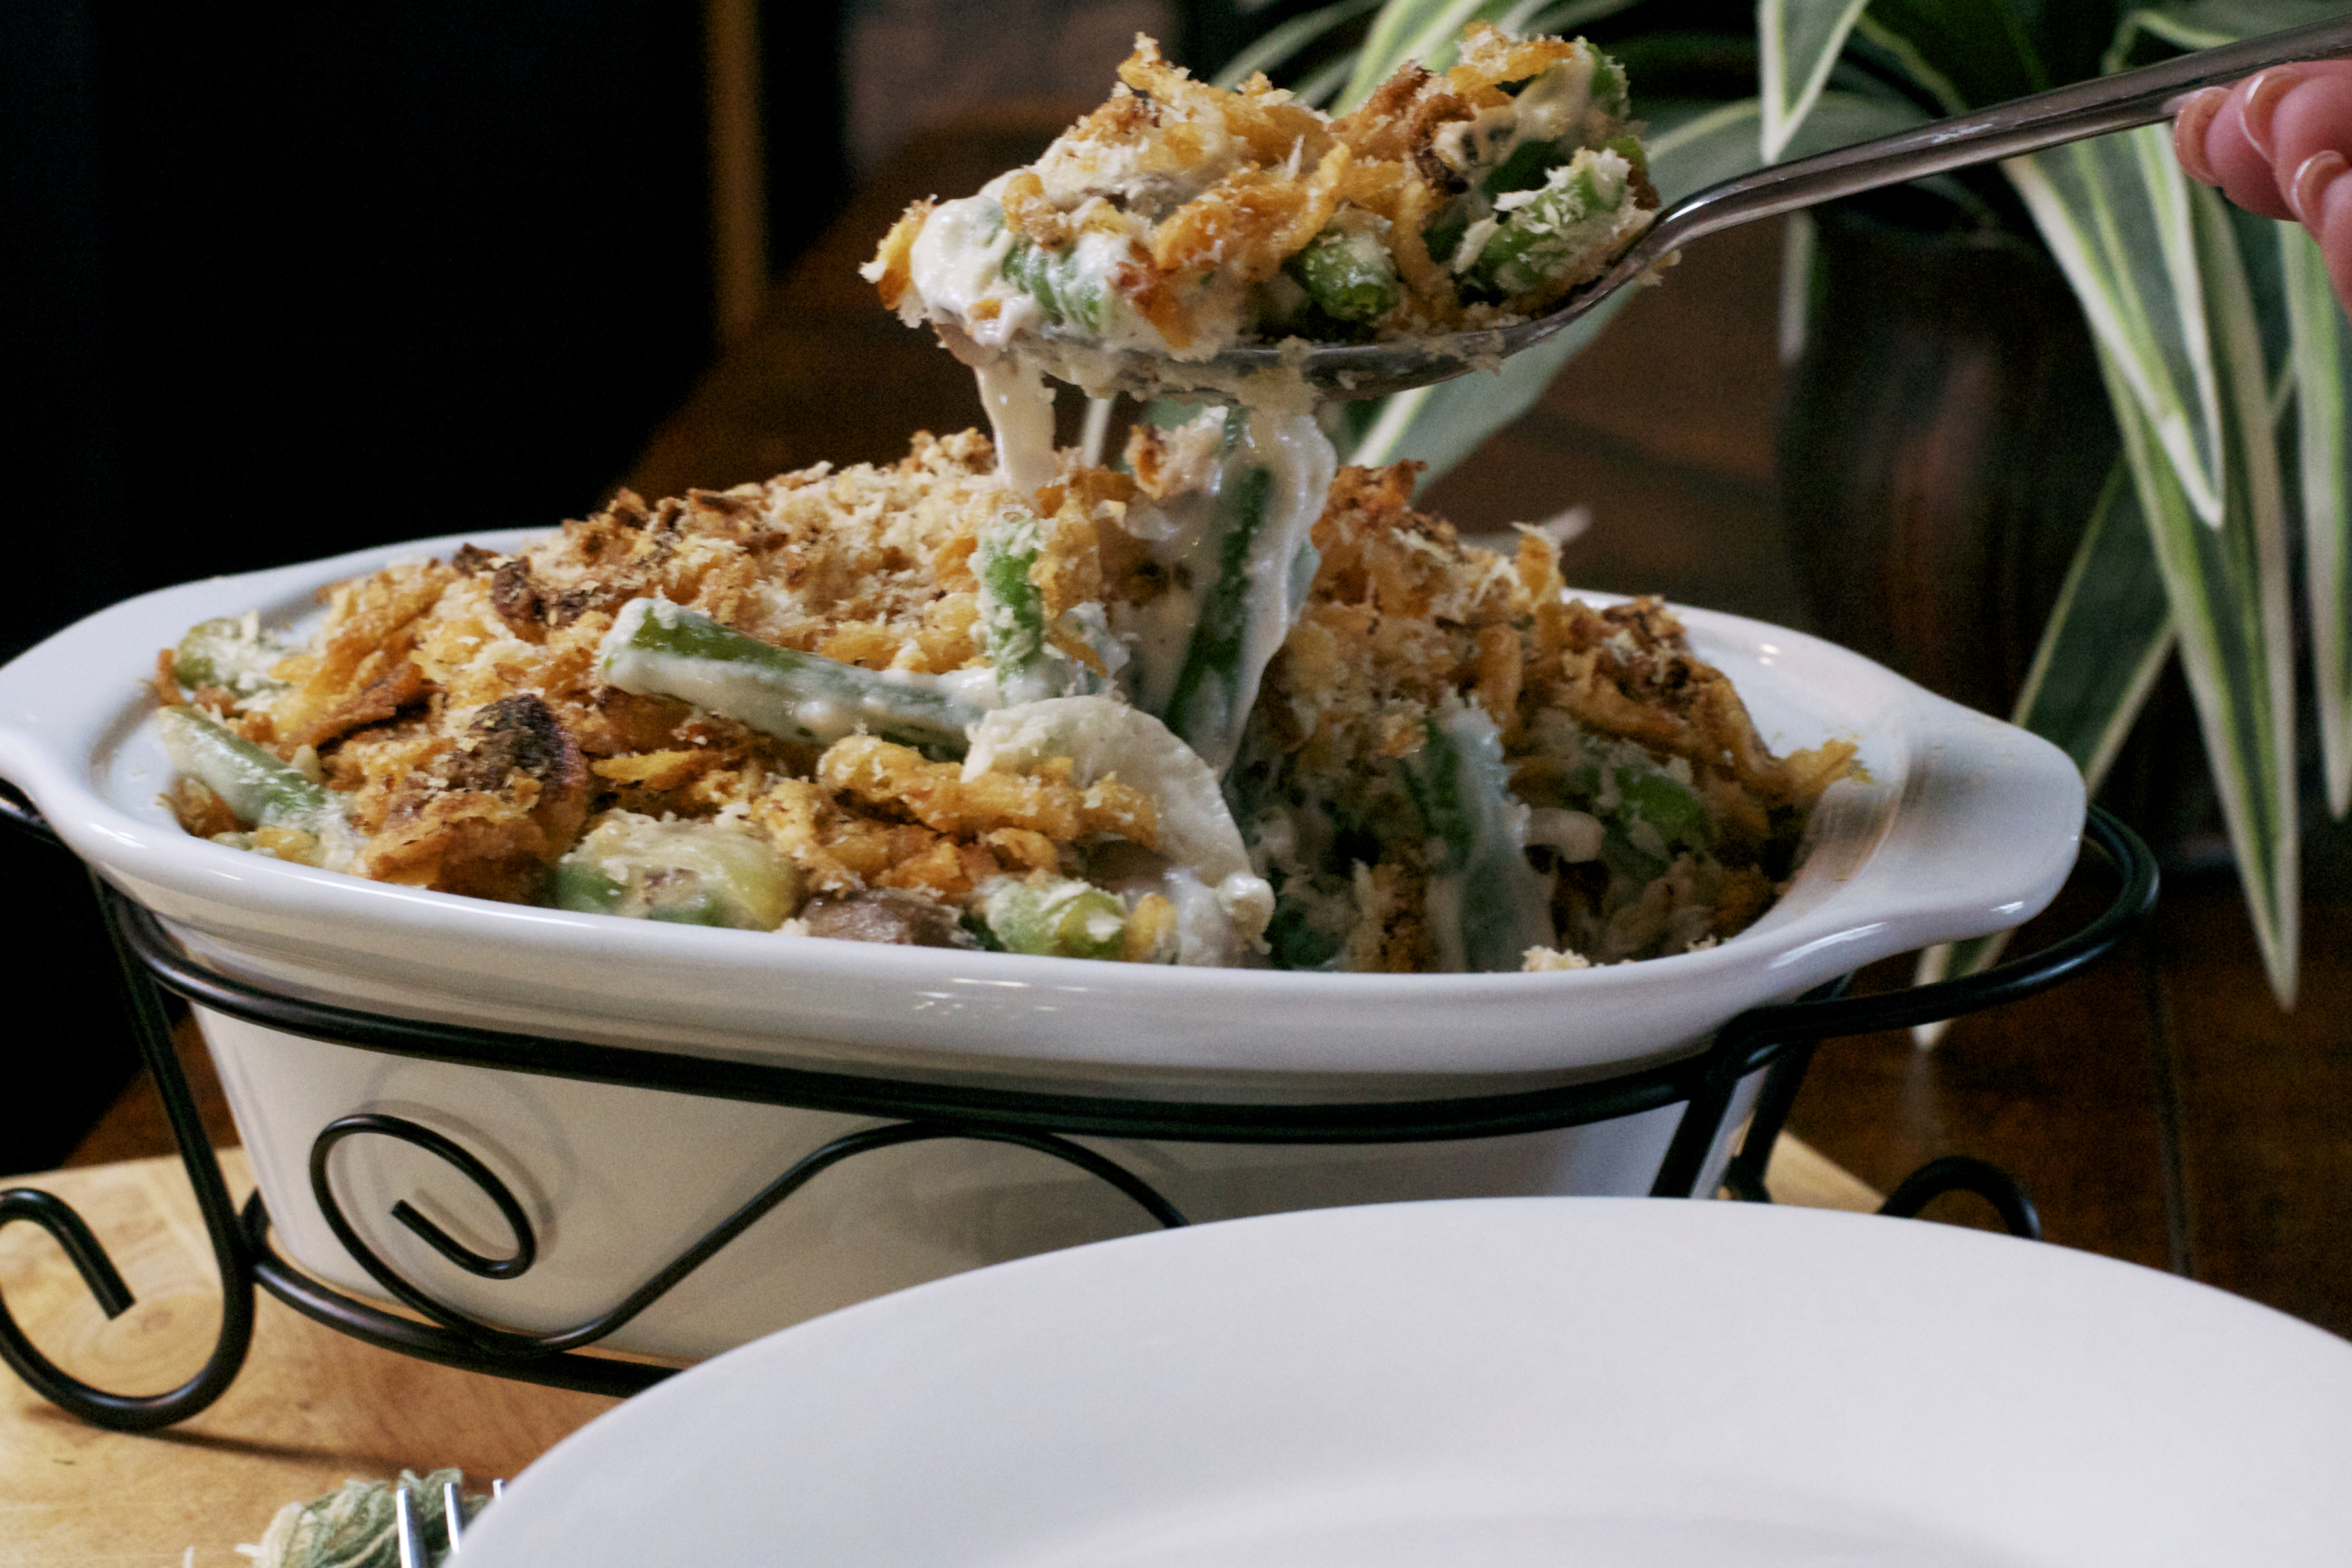
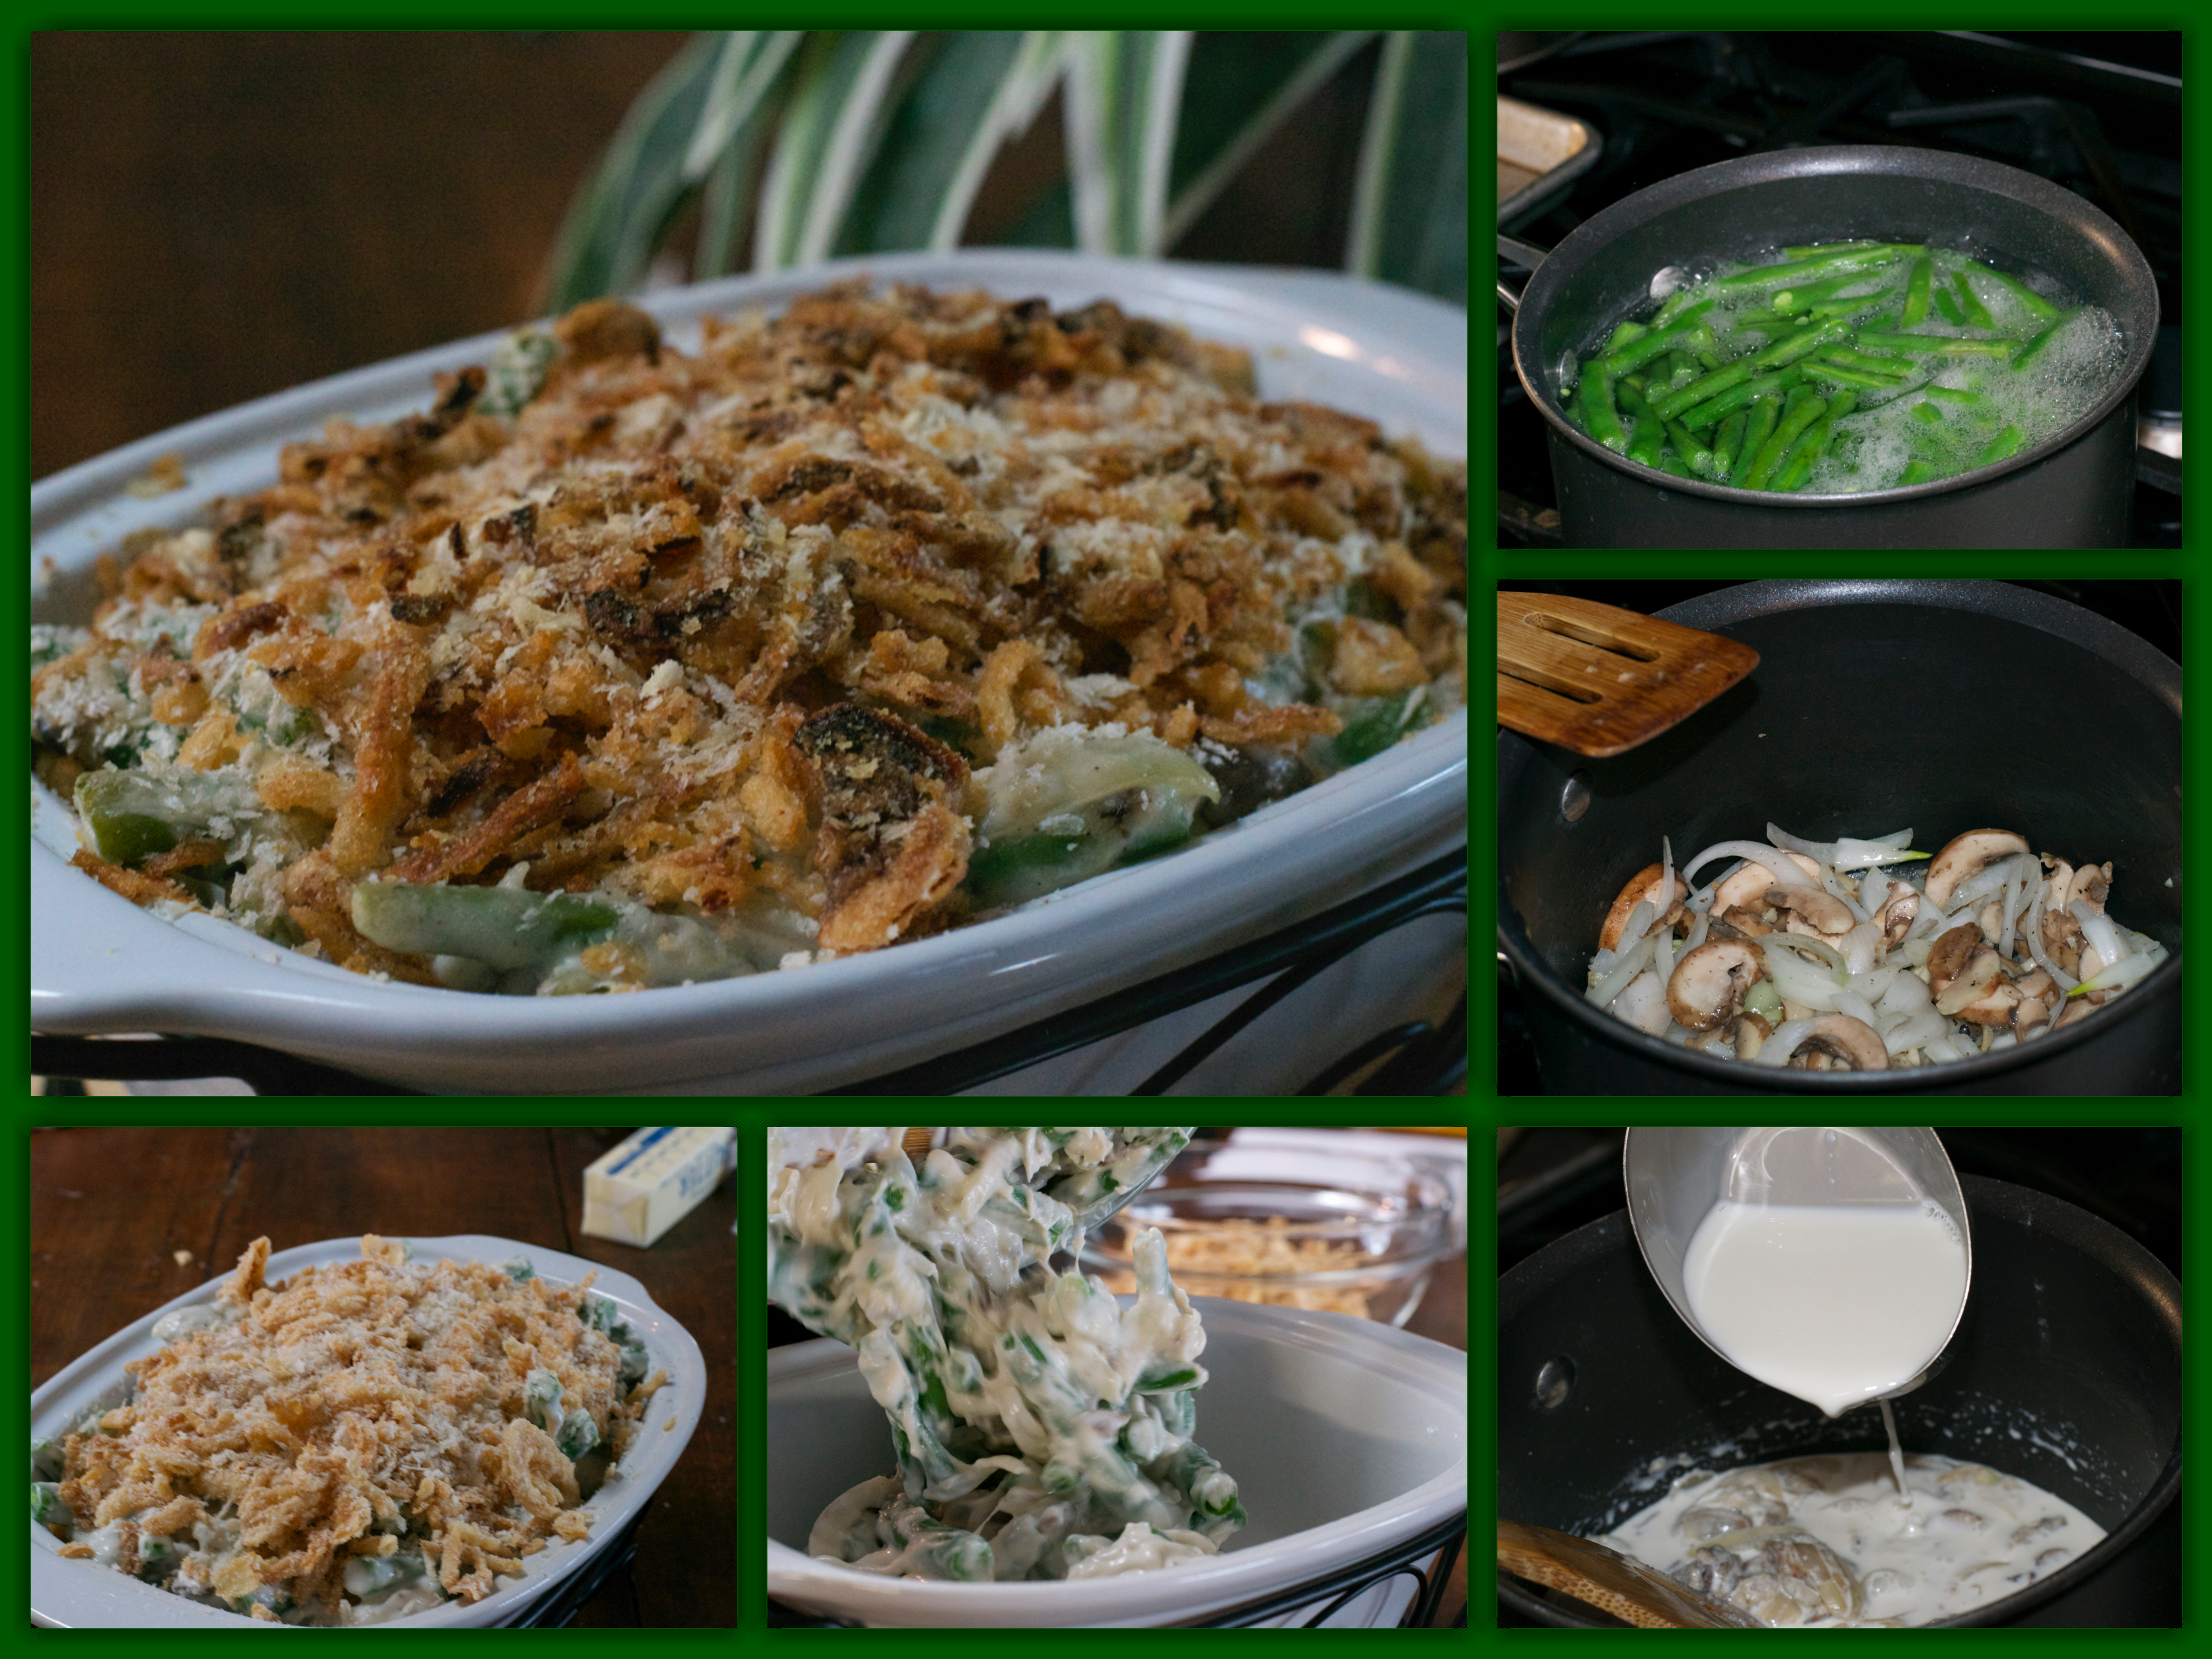
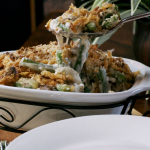
I used real green beans, onions, mushrooms, a simple white sauce with sour cream for …..well creaminess. I just couldn’t make the fried onions for the topping that were anywhere near those traditional store bought ones. Of course I couldn’t leave well enough alone so, I added some panko crumbs for extra crunch.
It is not as easy as the open can and dump method, but you can make it ahead, so all you have to do is throw it in the oven.
So, treat you family right and make them a homemade Green Bean Casserole for this holiday season.
Preheat oven to 350ºF. Spray a baking dish with nonstick cooking spray.
Cook the green beans to desired doneness in a pot of salted boiling water. Plunge in an ice bath (big bowl of ice and water) to stop the cooking.
Melt butter in a medium saucepan over medium heat; add onion and mushrooms cooking about 5 minutes. Add garlic and cook 1 minute more. Add flour and cook 2 minutes, stirring frequently. Slowly whisk in milk. Simmer 5-10 minutes, until mixture thickens. Whisk in sour cream, and season with salt and pepper.
Drain beans add to sauce in saucepan. Stir to combine. Bake 25 minutes, until hot and bubbly. Top with fried onions and panko crumbs and bake 5 minutes more or until topping is golden brown.
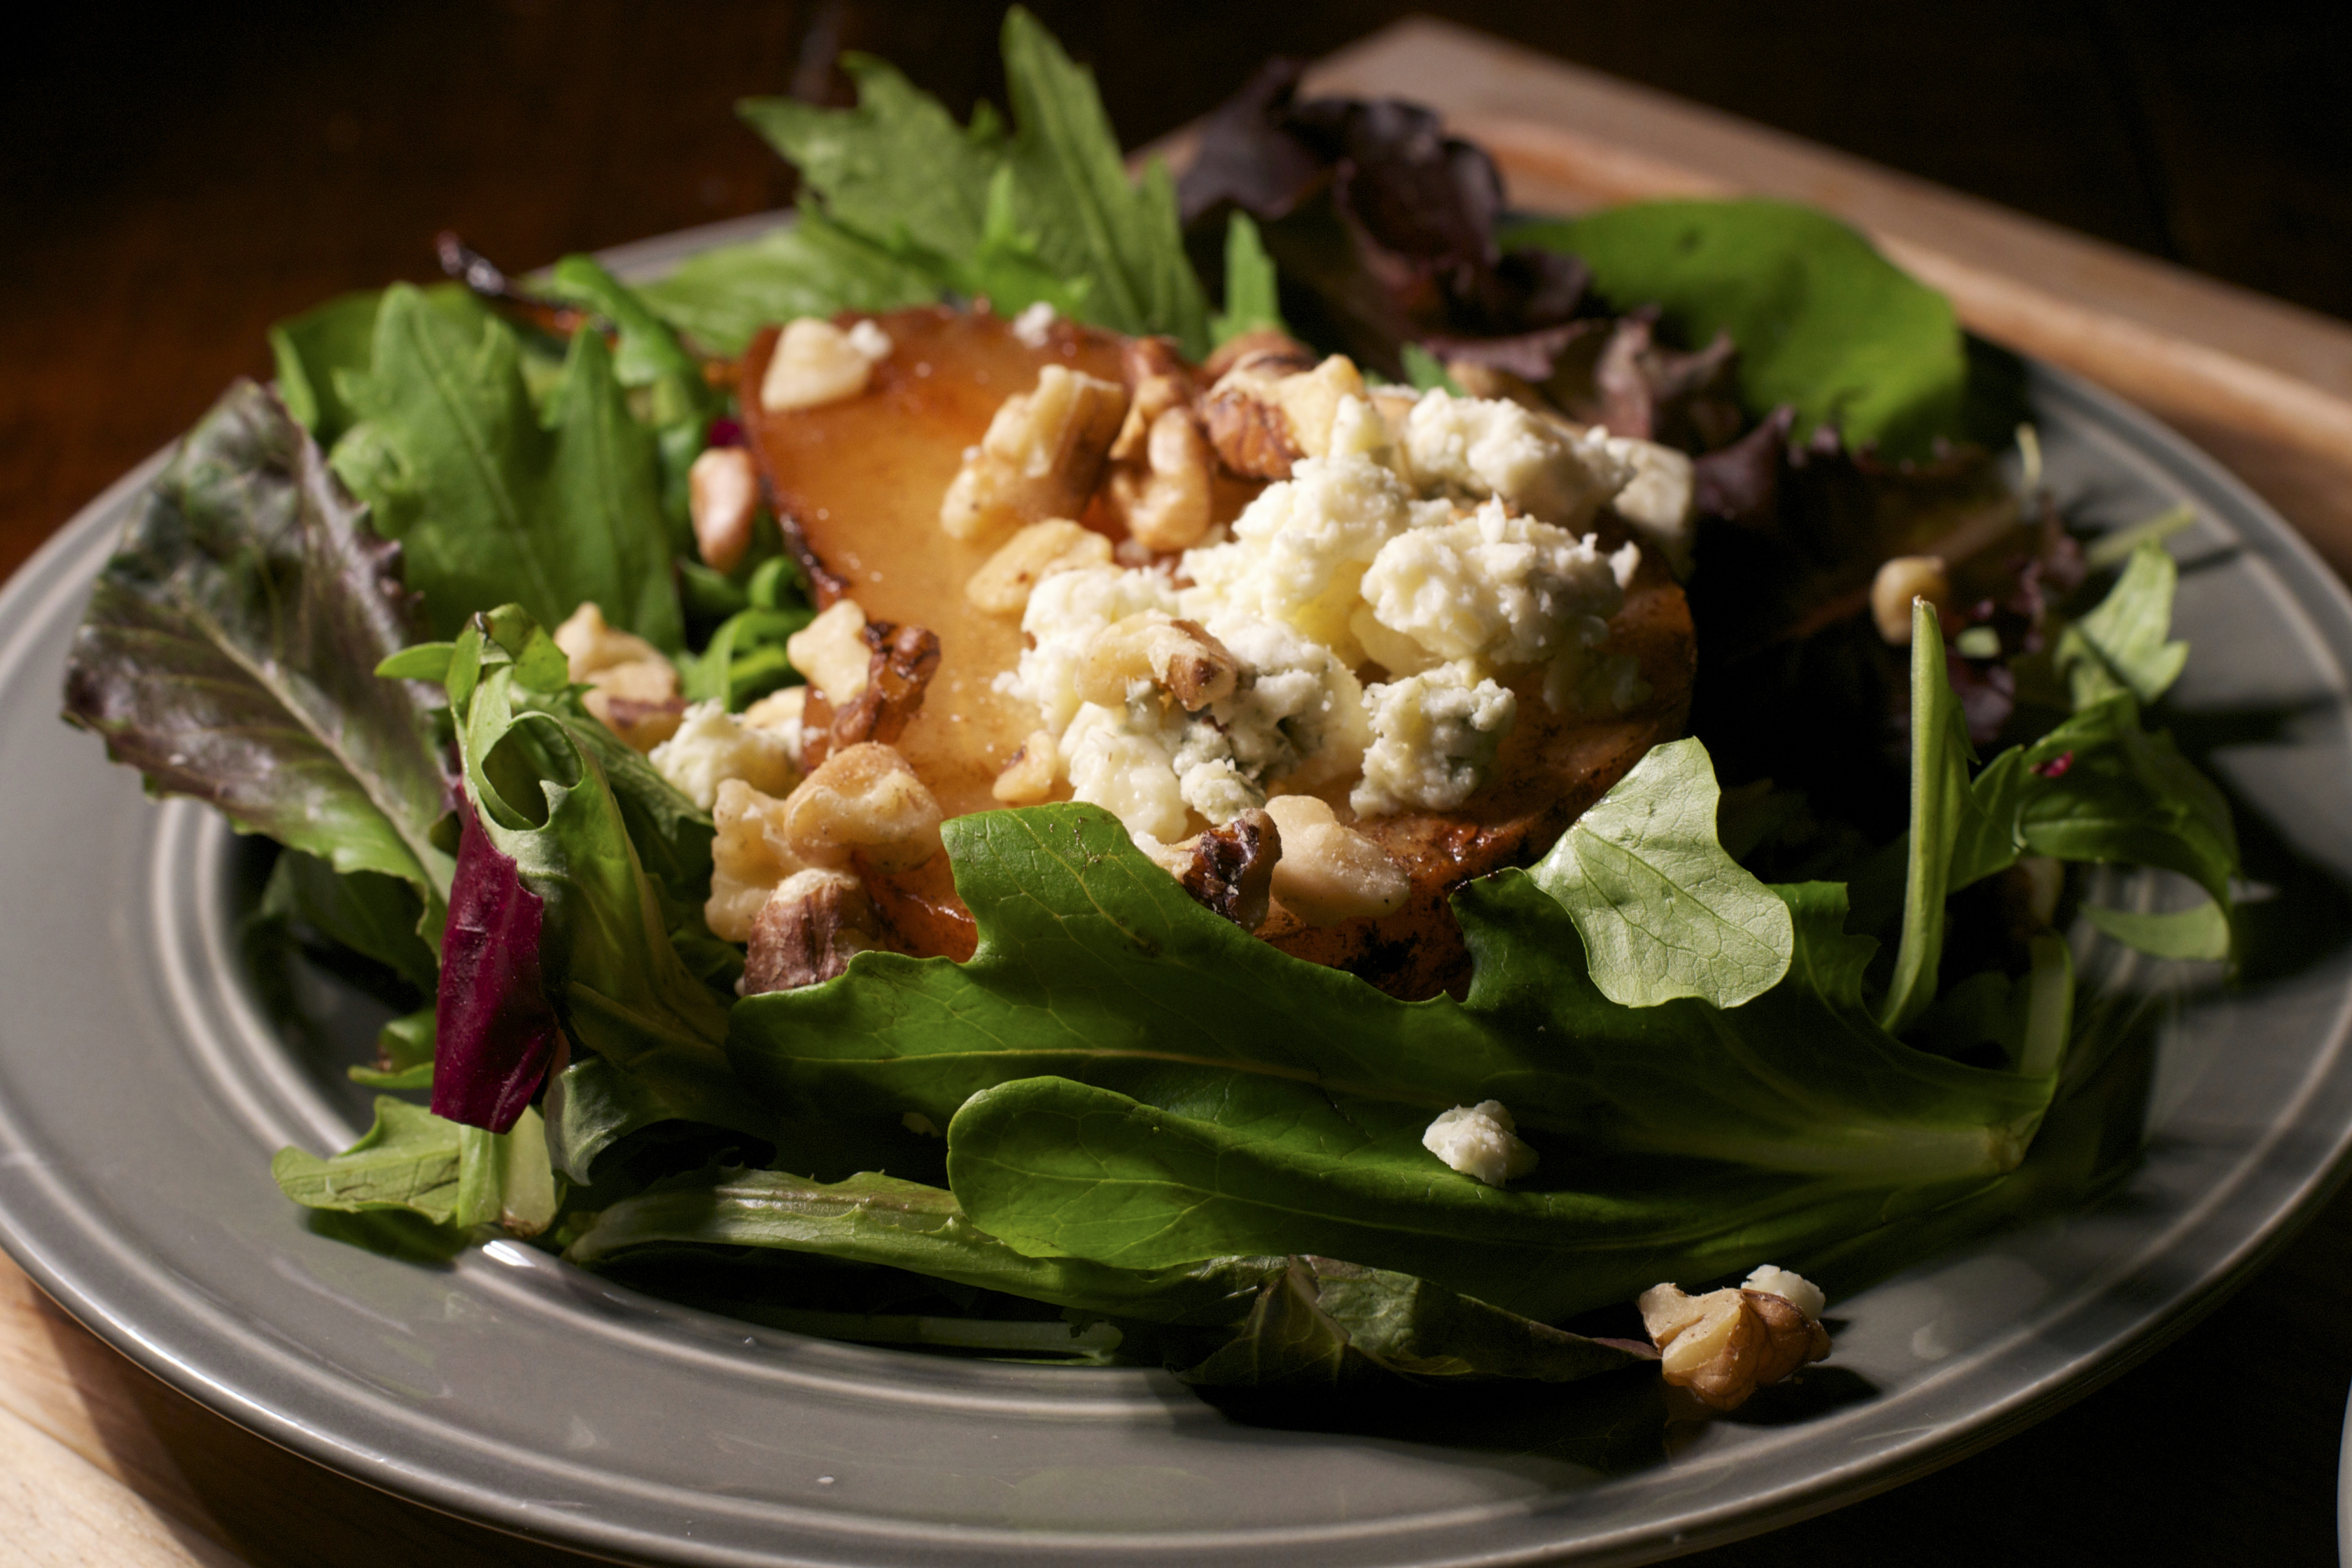
Looking for a special side dish for the upcoming holidays?……… Roasted Pear Salad is it!
I am a recent convert to fruit on a green salad ………..well recent as in the last 10 years……ok so not so recent, but it is a taste to behold.
In my experience, salad was always lettuce,tomato,cucumber…….blah,blah,blah. So, the first time I tried fruit I was surprised how good it was, so I tried it again, and again and it kept getting better and better.
If you read my blog, you know if something catches my eye at the store it will make its way here…….lucky you!
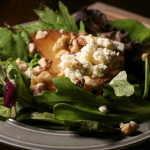
I saw these pears and a fall salad came right to my mind. The pears on a bed of baby greens with walnuts and blue cheese……..sounded yummy. Some kind of vinaigrette to dress the salad……I had a plan.
Now, the biggest problem I have with apples or pears on a salad is that they turn color so easily unless you serve it right away and I am the make ahead type of gal!
I have tried lemon juice and the trick of soaking in 7-up, but never with much luck. I know you all can’t see it, but sometime a light bulb goes off in my head……..no really it does……..
If I roasted the pears the only color they would turn is a pretty, fall golden color, and what’s better than butter to make that happen?…….Paula Deen has the whole butter thing right, everything is better with butter.
So, cut side down in butter and 20 minutes later add a touch of balsamic…….it was going in the dressing, so why not add the flavor to the pears?…….light bulb! When they came out of the oven I wanted them to soak up all that balsamic butter flavor so, even though it was all I could do not too……..I left them cut side down until they were completely cool. When I turned them over…………I swear they were the most beautiful things, all glossy and golden. I knew I made the right choice. Another plus to preparing the pears this way besides them not turning colors, you can make them ahead,along with all the other things for the salad, and put it together at a moments notice. Perfect if you are going to a holiday happening and you are ask to bring the salad……totally portable.
Blue cheese and walnuts “pear” beautifully with pears. I like gorgonzola better than regular blue cheese. To me it has a smoother creamy flavor, but by all means use what ever blue type cheese you like best. Toasting the walnuts…….or any nut for that matter, enhances their taste, like a million, billion times………if you have never tried it, you really have too!
I used individual plates, but if you were taking this to a get-together you can use a platter and just slice the pears. But, I wanted a fancy smancy plate, so heres how it went…….Baby greens, roasted pear half ( cut side up to show all it beauty), sprinkle with gorgonzola and walnut……serve with Honey Balsamic Dressing.
Both Tim and I thought the presentation was elegant and beautiful…….then we ate the salad…….the seas parted and angels sang……..ok not really, but it was a little piece of heaven.
So, impress your friends, family or significant other with this beautiful looking and tasty fall salad Roasted Pear Salad……..it will “leaf” them breathless !
Place 2 tablespoons butter in a 8×8 inch baking dish. Place in oven to melt butter. Remove core from pears halves using a melon baller or a small spoon.
Place pears cut side down in the melted butter and bake uncovered for 20 minutes. Remove from oven and drizzle with the balsamic vinegar,return to oven for another 5 minutes. Remove from oven and let set until room temperature. Do not remove the pears from the baking dish until completely cooled.
Divide the mixed green among 4 plates. Top greens with one pear half,skin side up. Sprinkle with Gorgonzola cheese and walnuts.